
How to Apply Paving Paints: Step-by-Step Guide
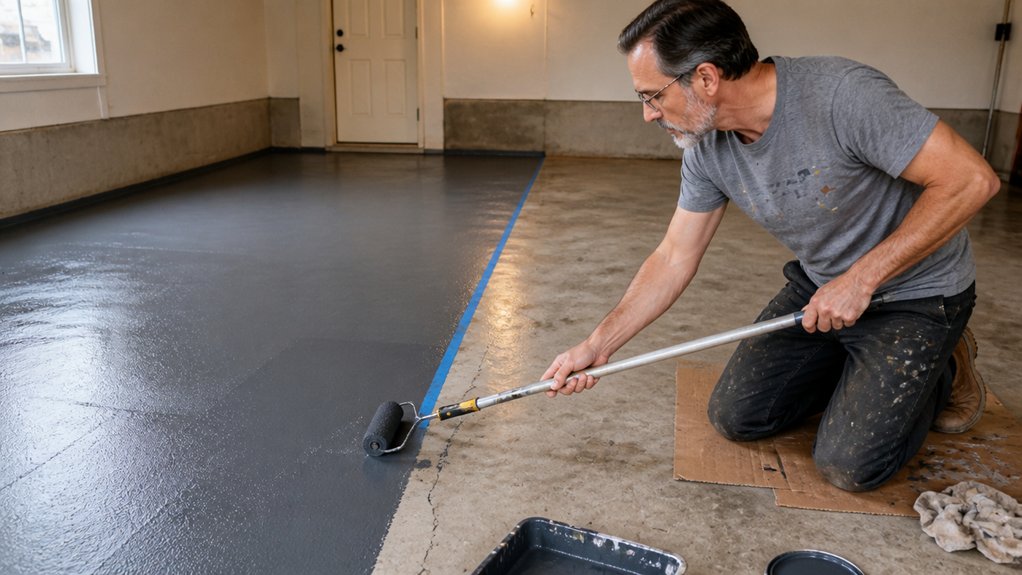
Paving paint fails when the surface prep is rushed, not when the paint is cheap. If you skip cleaning and priming, you are basically inviting peeling and chipping within months.
This guide walks you through the full process, from pressure washing to the final cure time, so your driveway or patio actually lasts. You will learn the right paint for garage floors versus patios, plus how to apply a thinned first coat and a full second coat for a smooth, even sheen.
The good news is the whole job is doable in a weekend, with seven days of cure time before heavy use.
Stick with this step by step breakdown and you will avoid the messy mistakes that send DIYers back to the hardware store.
Quick Answer
- Clean concrete with a pressure washer and detergent, skipping acid wash on old paint.
- Let the slab dry 48 hours, then apply a masonry-specific primer before topcoat.
- Choose epoxy for heavy wheel traffic, acrylic for foot-traffic patios and walkways.
- Thin the first acrylic coat with 20% water, roll in sections maintaining a wet edge.
- Apply a second unthinned coat, then cure seven days before heavy use or washing.
Get Your Concrete Ready for Paint
Before you open the paint can, the concrete has to be clean, dry, and sound. I start with a pressure washer and blast off moss, dust, and loose grit.
For tough spots, I scrub with a detergent mix. That step stops mildew from bleeding through your topcoat later.
If the slab is bare and smooth, I do an acid wash. A mild muriatic acid solution etches the surface and opens the pores so the paint can grab hold.
You can skip the acid wash if the concrete already has paint on it. The acid will eat into the old finish and cause adhesion problems.
After washing, let the slab dry a full 48 hours. Painting wet concrete traps moisture under the film, and you will get peeling and blistering. Aggressive degreasing with a concrete cleaner is also essential if any oil stains are present, as oil repels water-based paint completely.
Seal the deal with a primer meant for masonry, then apply a satin or matte exterior paint. Use a roller with a 1/2-inch nap to push the coating into the etched texture.
Keep a wet edge while you roll, so you avoid lap marks. A second coat after the first dries gives you even sheen and longer protection.
Use a drop cloth to protect nearby areas, and painter’s tape for clean edges. Low-VOC paint works fine here and keeps the fumes from being overwhelming.
Drying time is a few hours, but cure time is about seven days. Wait that long before you pressure wash or drag heavy furniture over the surface.
Choose the Best Paint for Concrete Surfaces
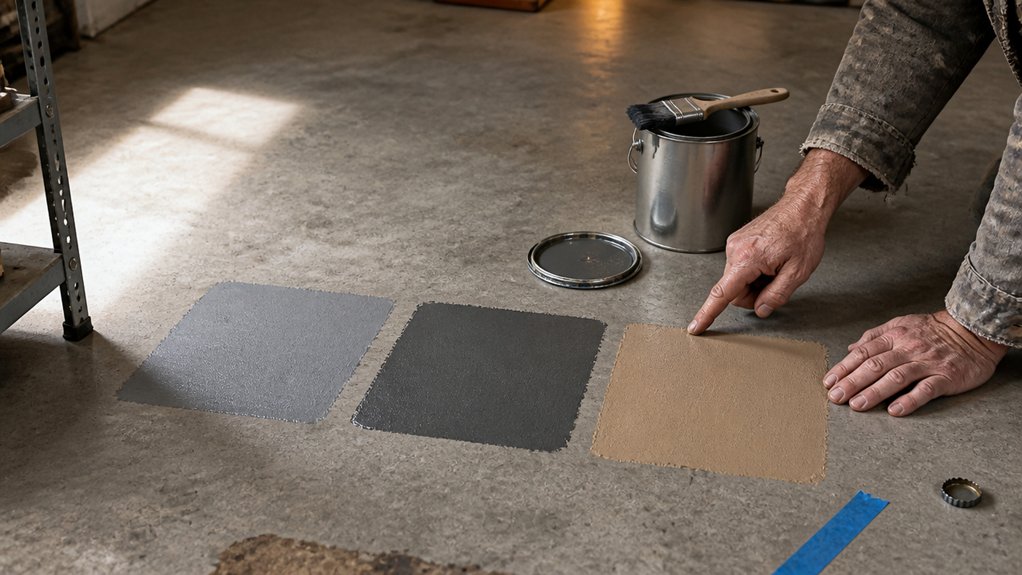
Choosing the right paint for concrete comes down to matching the product to the wear it will see. Epoxy is your best bet for garages or any spot where heavy wheels roll over the surface.
Epoxy resists chips, peeling, and oil stains far better than standard paint, and it holds up for years. It costs more, usually $50 to $70 per gallon, but you won’t be recoating it every season. Industrial-grade two-part epoxies can deliver up to a 20-year residential lifespan when properly prepped.
Epoxy shrugs off chips, peeling, and oil stains, so you skip the yearly recoat.
Acrylic works better for patios and walkways where foot traffic is the main stress. It is water-based, dries fast, breathes well, and cleans up with soap and water.
A gallon runs $30 to $45, and it is simple to recoat if you change your mind on the color later. For either option, start with a clean, dry surface and apply a concrete primer first to help the topcoat stick.
Use a roller with a 3/8 inch nap for smooth coverage, and keep a wet edge so you avoid lap marks. Drying time is quick, but cure time matters, so wait the full week before parking cars or dragging heavy furniture on it.
My rule is simple: heavy wheels get epoxy, heavy foot traffic gets acrylic. Match the paint to the abuse, and you are set.
Apply Concrete Paint for a Durable Finish
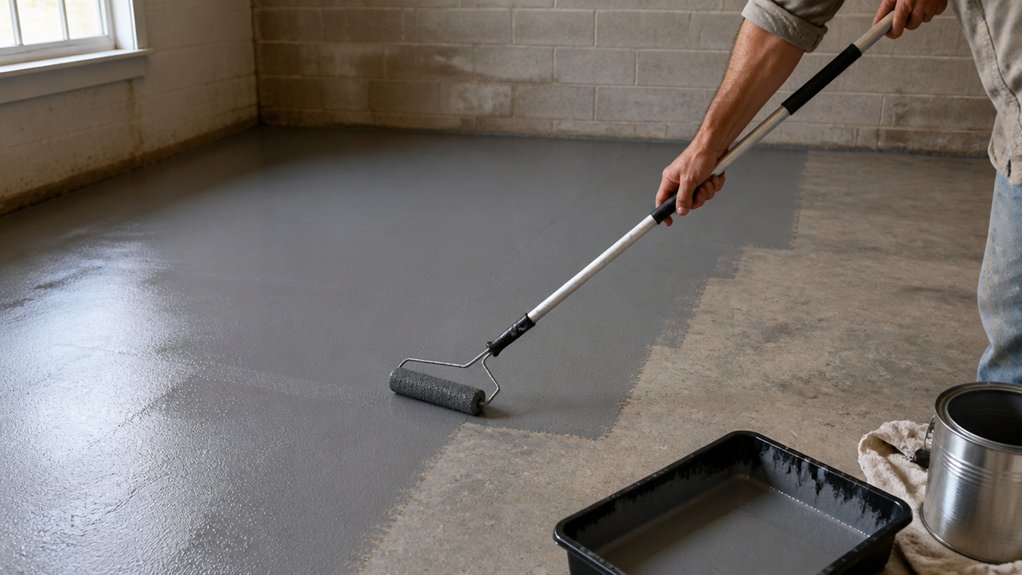
With the surface clean, repaired, and etched, you’re ready for the first coat. Never skip etching, or the paint will peel quickly and leave you frustrated.
For the first layer, thin the paint with about 20% water if you’re using acrylic. This thinner mix seeps into the concrete pores and bonds like a strong anchor, so it’s a smart bonding trick, not a shortcut.
Roll in sections from one end to the other, keeping a wet edge as you go. Don’t spread the paint too thin, or you’ll end up with patchy coverage and visible lap marks.
Wait two to six hours for the first coat to dry, then apply the second coat without thinning it. This second layer gives you the full film thickness and a durable topcoat that resists wear.
Use a roller with a medium nap for smooth concrete, and cut in edges with a brush if needed. A satin or matte sheen works well outdoors, while gloss adds more protection in high-traffic areas.
Keep in mind that drying time is not the same as cure time. The paint may feel dry in hours, but it takes several days to fully harden, so avoid heavy foot traffic or water exposure until then.
If you’re working near walls or trim, lay down a drop cloth and use painter’s tape for crisp lines. Low-VOC paints are a good choice for indoor slabs, but always check the label for proper ventilation. Proper surface preparation, including aggressive profiling, is mandatory to ensure the coating fully crosslinks and prevents blistering from trapped moisture.
The whole process is simple: thin the first coat for bonding, go thick on the second for durability. Follow that order, and you’ll get a tough finish without any extra steps.
Frequently Asked Questions
Can Painted Concrete Be Painted Over Without Stripping?
Yes, you can paint over painted concrete without stripping, but only if the existing coating is fully sound and tightly bonded.
Check for any peeling, bubbling, or powdery spots first; if you find failure, you must grind or chemically strip it, because nothing sticks to loose material. For sound paint, clean the surface with a degreaser, then etch it with a concrete etching solution or a 40-grit sanding pass to create tooth.
Confirm compatibility between the old coating and your new topcoat, since latex over oil-based paint often needs a bonding primer. Use a primer specifically rated for concrete, then apply two coats of acrylic or epoxy paint, waiting four hours between coats.
If you’re unsure about the old paint type, do a small acetone rub test; if it softens, it’s latex, and oil-based enamel requires a thicker primer. For a durable outdoor floor, consider a two-part epoxy topcoat, which adheres better to existing paint than water-based options.
How Long Must New Concrete Cure Before Sealing?
New concrete must cure for at least 28 days before sealing, though wet, cool weather can push that to 12 weeks. The key is not the calendar but the moisture level inside the slab, since sealing too early traps water and causes blistering or peeling.
Use the plastic sheet test: tape a 2×2 foot piece of clear plastic to the concrete overnight, then check for dark condensation or dampness underneath. If you see any moisture, wait another week and retest, or use a dampness meter with a reading below 4% to confirm it is dry enough.
For a faster, practical tip, wait until a dropped coin rings instead of thuds on the surface, which signals the slab has shed its surface water. One related term is “moisture vapor emission rate,” which, if above 5 pounds per 1,000 square feet, means hold off on any penetrating sealer. Patience pays off with a finish that bonds and lasts.
What Happens if It Rains Before Paint Fully Cures?
If it rains before the paint fully cures, you risk permanent damage like peeling and blistering. Moisture gets trapped beneath the partially formed film, which weakens adhesion and forces you to strip the coating and start over.
To avoid this, check the forecast for at least 24 hours after your final coat, since most latex paints need that window to reach a water-resistant state. A quick, practical tip: touch the surface with your knuckle; if it feels cool or tacky, it is not ready for rain.
For extra protection, hang plastic sheeting a few inches off the wall to create a drip loop, keeping moisture off while still allowing airflow. Remember that humidity also slows solvent evaporation, so even “dry” days above 85% relative humidity extend the curing timeline. This moisture intrusion issue is why pros always schedule exterior work around stable weather, and why a simple tarp can save you a full repaint.
Can Epoxy Paint Be Applied Over Old Oil-Based Paint?
Yes, epoxy paint can be applied over old oil-based paint, but only if you prepare the surface correctly to ensure the new coating bonds properly. The risk of peeling is high unless you remove the gloss and create a mechanical tooth, so do not skip this step.
Start by sanding the entire surface with 80 to 120 grit sandpaper to dull the sheen, then clean off all dust with a degreaser and rinse thoroughly. If the old paint is chalking or failing, chemical stripping down to bare concrete is the safer route, since even a well-scuffed oil layer can cause delamination under epoxy’s hard film.
For best results, apply a bonding primer made for glossy surfaces, then follow with two coats of epoxy, allowing full cure time between coats as the manufacturer specifies. A related search term is “epoxy primer compatibility,” which helps you find the right product for your specific substrate. Trust me, a few extra hours of prep beats a weekend of scraping flakes later.
How Do I Prevent Bubbles From Forming During Application?
You prevent bubbles from forming during application by controlling both your rolling technique and the paint’s condition before it ever touches the wall. The most common cause is overworking the material, so roll slowly and evenly, then lay off with a single pass in one direction without going back over a wet edge.
Always confirm the surface is completely dry and free of dust, as trapped moisture or debris will outgas and create blisters. Stir your paint gently, never shake it, and wait at least 15 minutes after mixing to let air settle.
For a concrete fix, apply your first coat thinner than you think you need, about 3 to 4 mils wet, and let it dry for a full hour before the second coat. Sand lightly with 220-grit between coats to knock down any micro-bubbles that did form, then wipe with a tack cloth. This prep step, not the paint itself, is where you win the battle.
Rounding Up
Applying paving paints starts with prep, and that discipline is what makes the finish last. Treat the surface like the real job, not the paint application itself.
Check for moisture and cracks before you buy anything. Write down the square footage and compare epoxy versus standard options for your garage or patio.
Ask your supplier about the product’s warranty and recoat window, then test a small patch first. Skip the cheap paint, because epoxy’s extra cost is worth it.
Take your time during application, and you won’t be repainting next year. Read next about concrete surface repair.


