How to Apply Satin Interior Wall Paints: Step-by-Step Guide
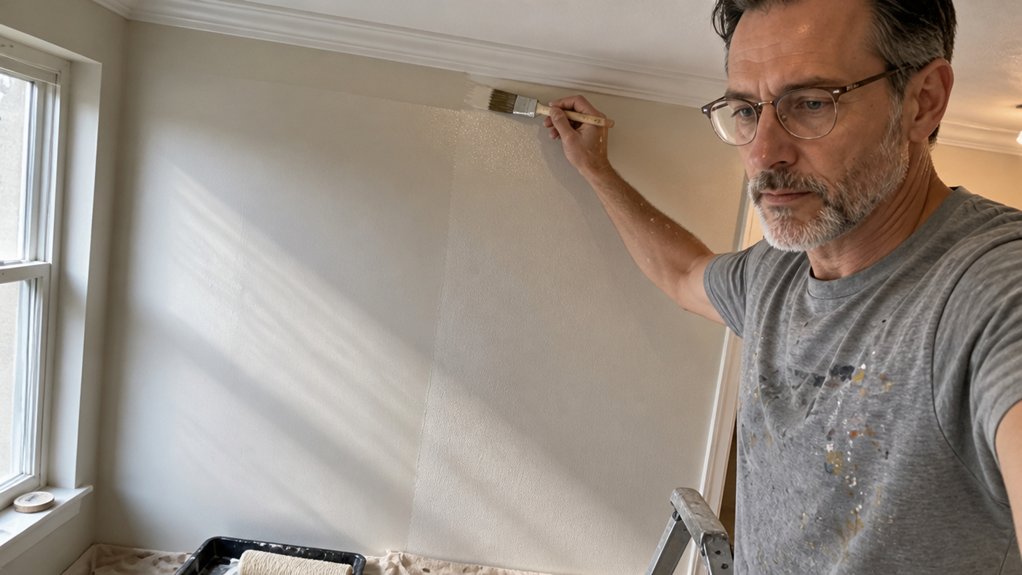
Satin interior wall paint rewards patience, but the payoff is a flawless, wipeable finish. If your last paint job ended up streaky or patchy, the problem was almost certainly in the prep and application, not the paint itself.
This guide covers the exact steps to get it right, from cleaning and sanding to choosing the right roller nap and brush. You will also learn how to handle primer, drying time, and the two coat rule without the guesswork.
By the end, you will know how to avoid the common mistakes that leave brush marks and uneven sheen. Let’s walk through the process so your satin finish looks smooth and professional.
Quick Answer
- Prep walls by cleaning, patching, sanding, and priming to ensure smooth satin application.
- Tape all trim and edges firmly before cutting in to achieve crisp, bleed-free lines.
- Cut in with a 2½-inch angle brush, then roll top-to-bottom with overlapping wet edges.
- Apply two coats of satin paint, waiting two hours between coats and sanding drips lightly.
- Allow 30 days for full cure before washing walls; clean tools with low-VOC topcoats.
Gather Supplies and Prep the Room for Satin Paint
Satin paint rewards preparation, and skimping on tools leads to frustration. Buy a quality 3/8-inch roller sleeve and a 2½-inch angle brush; cheap versions shed fibers or leave streaks that force a costly redo.
You’ll also need drop cloths, painter’s tape for trim and outlets, and a paint tray, which totals around $40. Satin needs two coats with a two-hour recoat window, so plan to spread cutting in and rolling across a full day.
Clear the room early, move furniture to the center, and cover everything, because dust settles fast on wet paint. Tape every edge you want to keep crisp, including baseboards and outlet covers, and press the tape down firmly.
Clear the room early, cover everything—dust settles fast on wet paint. Tape edges firmly; crisp lines save redo.
I’ve skipped that step before, and the bleed line taught me to never do it again. Use a primer first if the wall is bare drywall or has stains, and stick with low-VOC topcoats for easier cleanup.
When you roll, keep a wet edge by working from top to bottom in overlapping strips, and back-roll each section before it dries. Lap marks show up in satin more than flat, so finish one wall completely before moving to the next. Uniform nap density stops stippling and ensures even paint release across each section.
After the first coat dries for two hours, lightly sand any drips or rough spots with 220-grit, then wipe with a damp cloth. Apply the second coat the same way, and wait at least 30 days before washing the wall, since paint cures slower than it dries.
Your brush work sets the tone, so load the angle brush about halfway up the bristles and cut in along the tape in two-foot sections. Roll next to that cut line while it’s still wet, overlapping slightly, to blend the sheen and hide brush strokes.
Prep smart and spend a little more on tools, and the satin finish will look smooth and even. The roller is your reward for the boring work, just keep the room ventilated and the tray covered between coats.
Clean, Repair, and Sand Walls
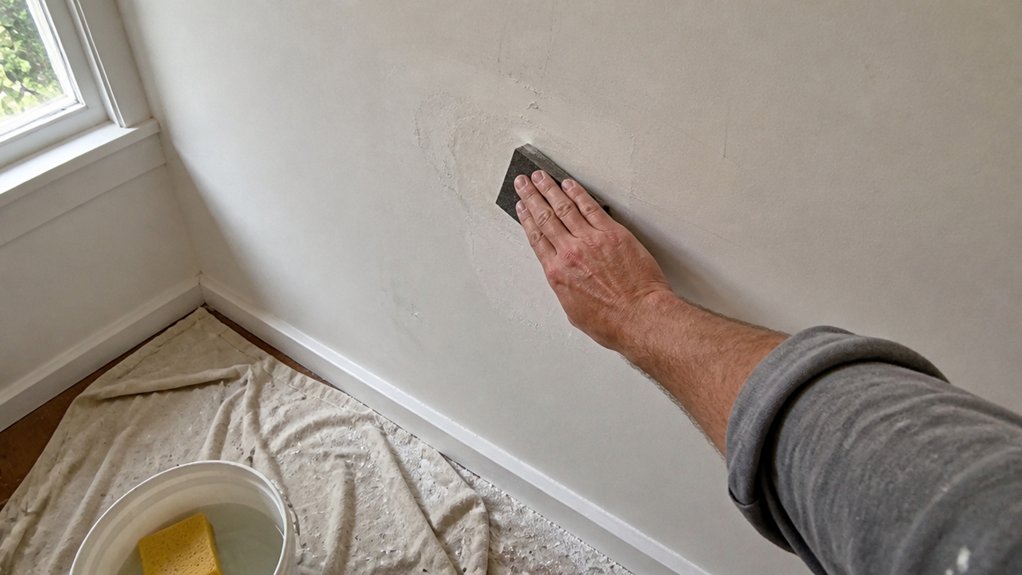
Once the tape’s down and the furniture’s under drop cloths, the real work starts. I scrub every inch with warm soapy water, or TSP if the wall feels greasy.
Chasing dirt and mildew is non-negotiable, then I do a dampness test. Tape a cheap plastic sheet overnight; if condensation beads up, you have a leak that paint won’t fix.
Next, I fill cracks and holes with lightweight spackle and let it dry. Then I sand smooth with 120-grit paper, keeping the motion even so the patch disappears.
Dust removal matters, so I wipe down with a damp cloth, then a tack cloth for stubborn bits. On glossy walls, I scuff the surface lightly so the satin topcoat can grip. Before sanding, remember that porous or textured surfaces can reduce coverage by 10 to 20 percent, so adjust your prep and paint quantity accordingly.
Skip this prep and every flaw shows under the sheen. Primer seals the patched spots, and a wet edge helps you avoid lap marks when you roll on the topcoat.
Remember that drying time isn’t the same as cure time, so read the label before recoating. With clean, smooth walls, the paint goes on even and the finish looks professional.
Prime Problem Areas, Then Tape Trim for Satin Paint
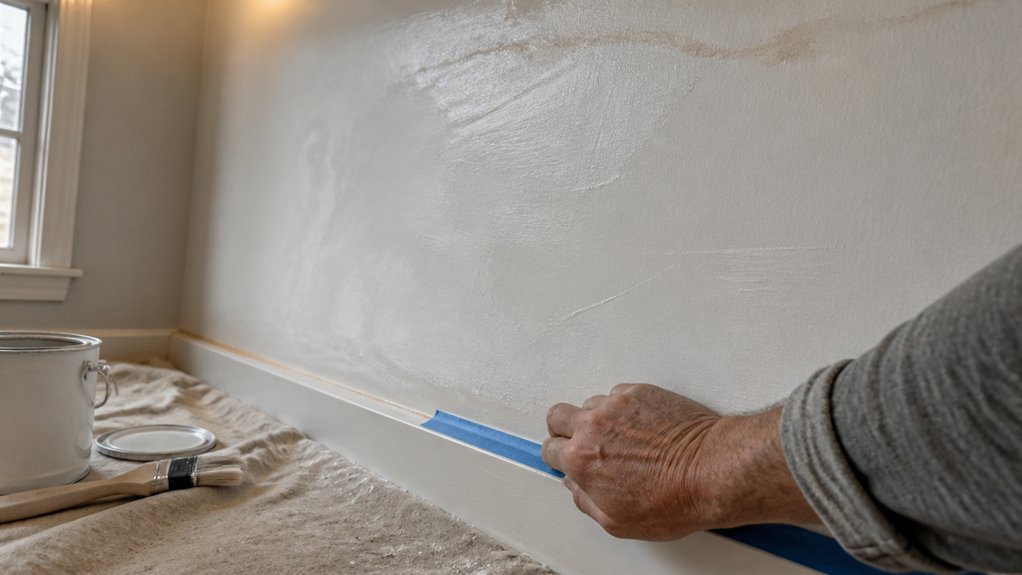
Prime the problem areas first, because satin paint shows every imperfection. Every patch and stain will stand out like a spotlight if you skip this step.
Match the primer to the job. Use a stain-blocking primer for water marks and tannin bleed, and a standard primer for fresh drywall or patched spots.
For heavy stains, spot-prime twice and let each coat dry fully. Cedar and redwood need two primer coats to lock in the tannins, or you’ll see a brown blush bleed through the satin topcoat later.
Once the primer is dry, tape your trim with painter’s tape. Press the edges firmly with your finger or a putty knife so paint can’t seep underneath.
Keep your lines crisp by pulling the tape at a sharp angle after the final coat dries. Prime first, tape second, and your satin finish stays clean and even.
Stain-blocking primer seals water marks and tannin. Standard primer covers fresh patches, and two coats are non-negotiable for cedar and redwood. Gray tintable primers offer water-repellent properties and roughly 400 square feet of coverage per gallon for interior or exterior walls.
Cut In, Roll, and Apply Two Coats Evenly
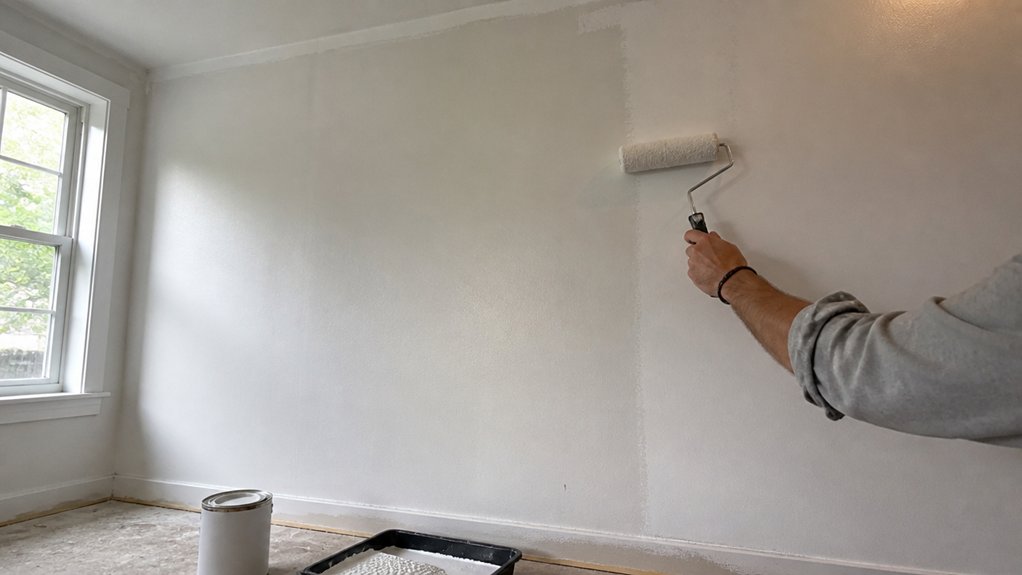
Every square inch of that satin finish depends on two steps you can’t skip: cutting in clean lines and rolling smooth, even passes. Grab your 2½-inch angle brush, dip it about an inch into the paint, and trace the edges with a steady hand.
Don’t rush the edges, because mistakes there stand out more than a hungry cat meowing at dawn. For rolling, load the roller lightly by dipping it into the tray, then roll it out on the ridges so the sleeve isn’t soaked.
Work from the top of the wall down, overlapping each row by three to five inches, and keep a wet edge at all times. That wet edge is your best defense against lap marks, which show up as dull bands after drying.
Stir the paint thoroughly before you start, and do it again between coats, to keep the sheen even across the whole wall. Satin sheen durability means you can scrub the finished surface without fear, but only if you maintain that consistent application. I learned that the hard way when one patch dried slightly glossier than the rest.
Apply the first coat, let it dry fully according to the label’s drying time, then check for missed spots. Lightly sand any drips or rough bits with 220-grit sandpaper, wipe off the dust, and apply the second coat.
Two coats hide the primer and the old color, and they give you a tough topcoat you can scrub without worry. Protect your floors with a drop cloth, and use painter’s tape along trim if you want extra safety.
Trust the process, keep your roller moving at a steady pace, and maintain that wet edge from start to finish. If you do that, you’ll get a durable satin finish that looks professional and lasts.
Frequently Asked Questions
Can I Use Satin Paint Over Wallpaper?
Yes, you can use satin paint over wallpaper, but it is not recommended because the adhesive and paper will eventually fail, causing peeling and bubbling. To get a lasting finish, you must strip the wallpaper completely, then repair any damaged drywall underneath before priming.
Once the wall is bare, apply a high-quality primer and sand smooth with 120-grit paper to ensure the satin topcoat adheres properly. Use two coats of satin paint, waiting at least four hours between coats for best results.
If stripping feels too daunting, consider a skim coat of joint compound over the wallpaper as an alternative, though this is trickier and less reliable. For most homes, removal remains the only dependable path to that durable, wipeable finish you want.
How Long Should I Wait Before Washing Painted Walls?
You should wait about four weeks before washing painted walls to allow the paint to fully cure and harden. This curing period is essential because washing too soon can soften the film, leading to streaks, dull spots, or even peeling.
During those first weeks, use only a dry microfiber duster or a lightly damp cloth to remove light debris if needed. After the full month, mix a few drops of mild dish soap with warm water, and use a soft sponge with a gentle, circular motion.
Avoid abrasive scrubbers or strong cleaners like ammonia, which can strip the sheen from satin finishes. For a quick spot test, dampen a cotton swab with your cleaning solution and rub a hidden corner to confirm the paint resists water without color transfer.
One practical tip: never work on a sunny wall while it’s hot, since rapid drying can cause soap residue to bond permanently. If you’re unsure about your specific paint brand, check the label for manufacturer guidelines on cleaning and recoating schedules.
What Sheen Works Best for Bathroom Ceilings?
The best sheen for a bathroom ceiling is a matte or flat finish, specifically a vinyl-acrylic matte paint. High gloss or satin will spotlight every imperfection and create unwanted glare under your vanity lights.
A matte finish scatters light, which naturally hides minor cracks and uneven drywall texture. For damp bathrooms, choose a mold-resistant matte paint with a vinyl base, as it forms a tougher, more washable film than standard flat paint. Skip the primer if you’re using a paint-and-primer in one, but sand any shiny patches with 120-grit first. Apply two thin coats, waiting at least two hours between them. If you prefer a slight wipe-down capability, a low-luster eggshell sheen also works, but it still shows ceiling waves more than pure matte.
Can Satin Paint Be Applied With a Sprayer?
Yes, satin paint can absolutely be applied with a sprayer, provided you set up your equipment correctly.
For a smooth result, thin the paint by 10 to 15 percent with water (for latex) or mineral spirits (for oil-based), and test the spray pattern on cardboard first.
Spraying works best for cabinets and trim, where a fine, even coat beats brush marks.
Use a 1.5 mm tip for most satin latex, and keep the gun about 12 inches from the surface, moving at a steady pace.
After spraying, back-roll while the paint is still wet to break any bubbles and ensure uniform sheen, which is critical for satin’s low luster.
For a single coat, expect to wait 2 to 4 hours before recoating, and lightly sand with 220 grit between coats to avoid tacky buildup.
If you prefer spray-only without rolling, thin slightly more and apply two thinner coats instead of one thick one.
Mil thickness matters here: keep each pass at around 3 to 4 mils wet, or you risk runs and uneven gloss.
A related term to search is “HVLP satin finish,” which helps with small projects like furniture.
How Do I Fix Roller Marks After Drying?
To fix roller marks after drying, lightly sand the ridged areas with 220 grit sandpaper to level the surface, then wipe away the dust with a damp cloth. Apply a thin, even topcoat using a fresh roller cover, keeping a wet edge and rolling in one direction to blend the texture.
Check your roller nap size against the paint’s thickness, since a too-short nap on rough drywall won’t hold enough finish, while a too-long nap on smooth surfaces leaves stipple. Wait for full curing, typically 24 hours for latex at 70°F, before judging the final appearance, as some sheen variations settle overnight.
Use a mini roller for touch ups and load it lightly, feathering the edges into the surrounding area to avoid creating new ridges. For stubborn marks, sand again with 320 grit, then apply a second thin coat, but never rush drying time with heat or fans, as that causes the film to skin over and trap solvent.
Rounding Up
Applying satin interior wall paint means prepping the surface first, then rolling on two even coats in a finish that balances shine and forgiveness. Check your walls for cracks and sand them smooth before you pour any paint, because that step decides how well the satin hides flaws.
Prime any patched spots and test your roller on a small section to see how the sheen catches light. Write down your drying times between coats, and keep a damp cloth handy to wipe drips before they set.
This article covered the full process, so you can start with your prep checklist today and grab your supplies. For your next read, consider tackling trim painting techniques.