How to Apply Rust-Preventing Paints: Step-by-Step Guide
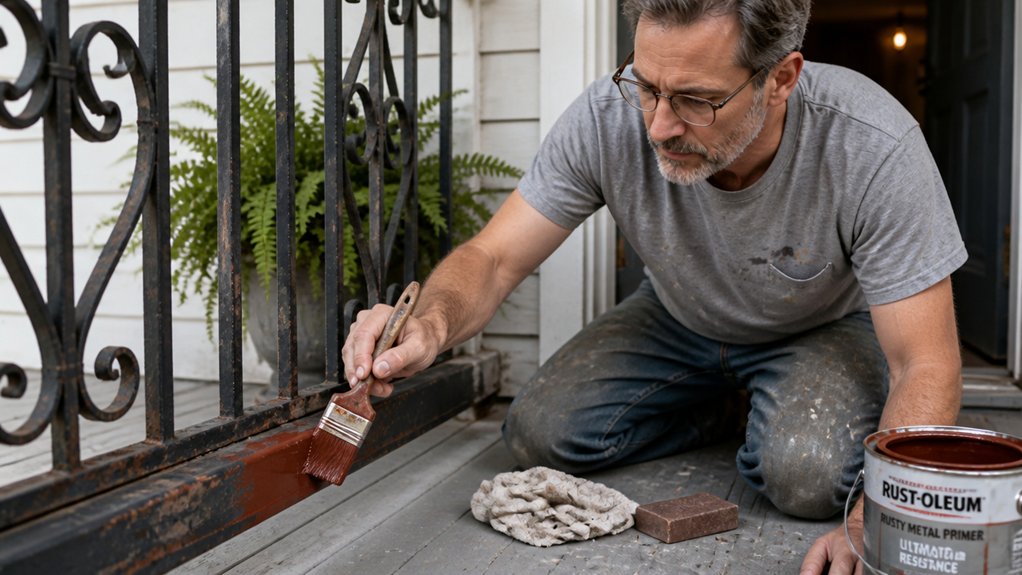
Rust always seems to win, no matter how much sanding you do. The good news is you do not need to fight it down to bare metal to get a lasting finish. A rust-converting primer does the heavy lifting, turning corrosion into a stable black layer you can paint right over.
This guide walks through the full process, from surface prep to the final topcoat, so your project stays protected for years. You will learn the exact drying times, coat counts, and sheen choices that make all the difference.
If you follow these steps, you will never dread rusty metal again.
Quick Answer
- Strip rust to bare metal using a wire brush, then clean with denatured alcohol.
- Apply two thin coats of rust-converting primer, waiting 15 minutes between coats.
- Let primer dry 12 hours; full cure takes up to 24 hours in low humidity.
- Use a dedicated rust-preventive topcoat, applying two thin coats 12 hours apart.
- Keep a wet edge while brushing to avoid lap marks; allow a day before heavy use.
Apply Rust-Converting Primer First
Prep work and the right primer decide how long your paint job lasts. I have learned this the hard way, so trust me on this one.
For the primer, pick a rust-converting formula rather than a plain metal primer. It chemically neutralizes the orange rust into a stable, black layer that the topcoat can bite into. Water-based formulas with sub-1% VOC keep indoor air safe while you work.
Watch the conversion timing after you brush it on. Give it about fifteen minutes to work, then check for any brown or gray spots peeking through.
If you see those spots, hit them again with a thin coat. That is your coverage check, and skipping it means repainting within a year.
Apply thin, even coats, because two thin ones beat one thick glop every time. A thick coat traps moisture and bubbles up later.
After the second thin coat, let it dry for a couple of hours before you lay on the topcoat. Drying time is not the same as cure time, so do not rush the cure.
Use a satin or matte topcoat for most outdoor metal, and keep a wet edge when brushing to avoid lap marks. Work in sections, and overlap each stroke before the previous one starts to set.
Keep a drop cloth and painter’s tape handy to protect the surrounding surface. Low-VOC primers and paints are easier on your nose, and they dry just as fast.
If you need to sand between coats on bare metal, use 120-grit to knock down roughness, then wipe off the dust with a tack cloth. That step matters more than you think.
Once the topcoat is on, give it a full day before heavy use. The paint might feel dry in a few hours, but it stays soft underneath until it cures.
Prep Steel and Galvanized Surfaces for Paint
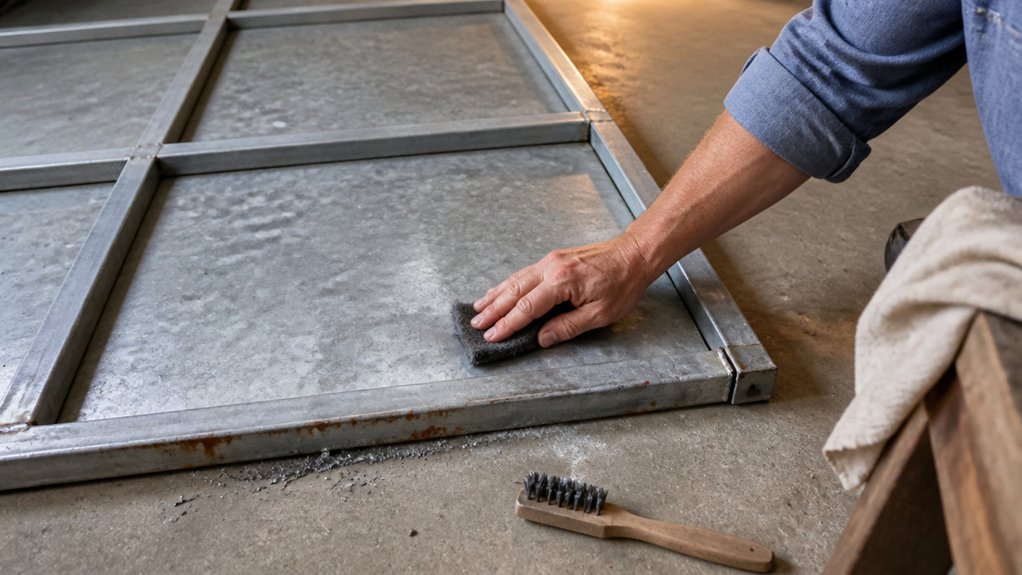
Prep work on bare steel and galvanized metal decides whether your paint lasts ten years or flakes off by fall.
Start with a wire brush to knock off loose rust and scale, then wipe the surface with denatured alcohol to strip oils and grime.
Watch the metal temperature, because dampness ruins adhesion.
If the surface reads below 50°F, condensation will form under the primer, so wait for a warmer day or warm the metal first.
| Surface Condition | Action Needed |
|---|---|
| Heavy rust | Wire brush to bare metal |
| Light rust | Sand with P320 grit, wipe with a damp cloth |
| Galvanized white rust | Scrub, rinse twice, dry fully |
| Old paint peeling | Sand to feather the edges |
| Oily or greasy | Solvent degreaser, no soap residue |
That abrasion creates a surface profile, which is microscopic teeth for the primer to grip.
Use a primer suited to galvanized metal, like a zinc-rich or etch primer, and apply a thin, even coat.
Give the primer its full drying time before you touch it, because cure time takes longer than touch-dry.
For the topcoat, pick a satin or gloss finish for easier cleaning, and keep a wet edge while brushing to avoid lap marks.
Lay down a drop cloth and use painter’s tape on edges you want crisp.
When you sand, wear a dust mask, and if you use a solvent degreaser, work in a ventilated area to keep VOC exposure low.
Check for any missed spots with a light scuff before priming.
If the metal is damp or greasy after cleaning, go back over it dry, because a clean, dry surface is what makes the primer bond.
That extra hour of prep now saves you from sanding and repainting next season.
For heavy rust, a twisted carbon-steel wire wheel at 12,500 RPM removes scale faster than hand sanding, though it can groove softer steel.
Select and Apply a Rust-Preventive Topcoat
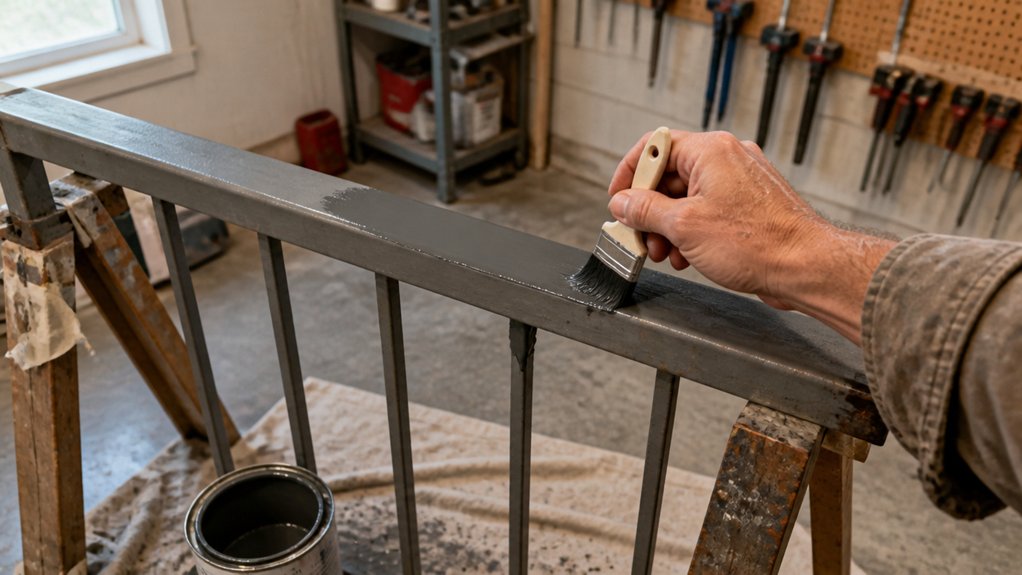
The topcoat is your metal’s last defense against rust, so pick a dedicated rust-preventive formula instead of the cheapest can. I’ve learned that lesson the hard way, and it’s worth the extra few dollars.
The topcoat is your metal’s last defense against rust. Don’t cheap out—spend the extra few dollars.
Choose a sheen based on your needs. Gloss handles harsh weather better, while satin hides surface flaws and minor dings.
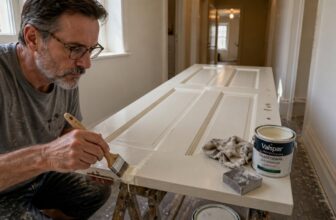
Use the right brush for your paint type. Synthetic bristles work with waterborne paints, and natural bristles work with alkyds. If you mix them up, you will fight streaks and brush strokes all afternoon.
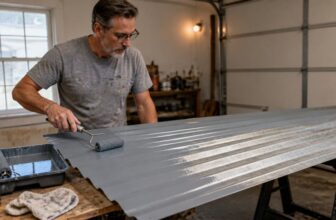
Apply two thin coats, waiting twelve hours between them. That wait lets the first coat dry properly before the second one goes on.
Keep a wet edge while painting to avoid lap marks, and work in a well-ventilated area to keep VOC exposure low. Use a drop cloth to protect the ground, and lightly sand with 220 grit between coats for better adhesion.
Your metal’s future self will thank you for matching the brush to the paint and keeping the coats thin. Skip the gimmicks and just do the work.
For best results on aged surfaces, chemical rust converters eliminate the need for sanding or wire brushing before you start.
Fix Rust Bleed-Through and Peeling Fast
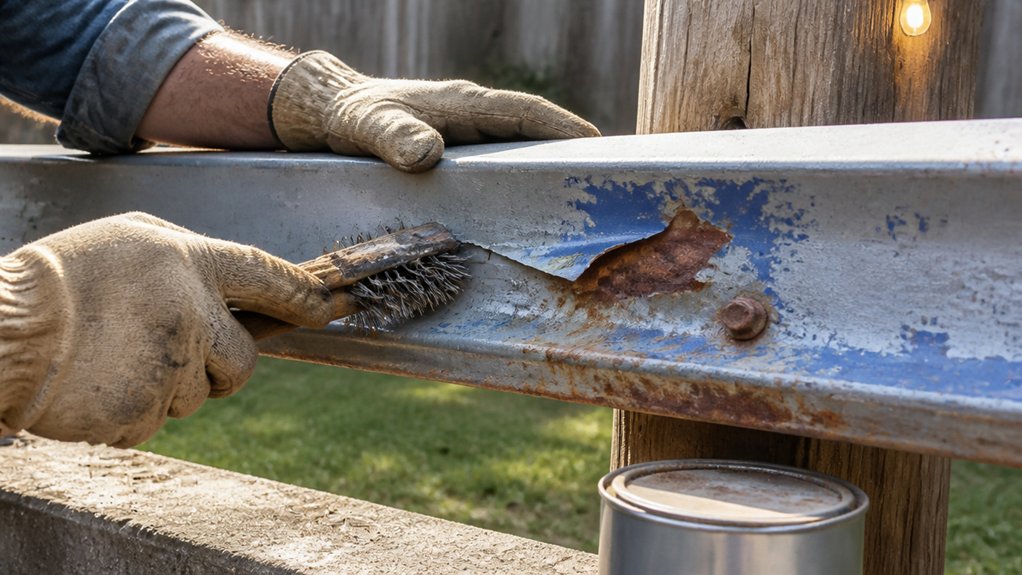
Rust bleed-through and peeling mean your prep or primer failed, so strip the affected area back to bare metal instead of painting over it. That brownish ooze usually happens when you skimp on sanding or use a cheap primer, and I’ve chased that mistake myself.
Grab a wire brush and knock off every flake until the surface is dull and rough. Wipe it clean with denatured alcohol, then apply a rust-converting primer in two thin coats with a brush or roller.
This primer neutralizes any rust you missed, and it gives your topcoat something solid to grip. Let the primer dry for a full 12 hours, and keep in mind that drying time is shorter than cure time, so wait overnight before the next step. Most formulas cure hard in 24 hours when humidity stays low, so check conditions before you start.
Use a satin or gloss topcoat for durable protection, and keep a wet edge to avoid lap marks or brush strokes on the final finish. If you skip this prep, the rust will show through again within a month.
Strip it, prime it properly, and you’ll save yourself the repaint, so get a drop cloth, painter’s tape, and a low-VOC primer to keep the fumes manageable. Take the time now, and you won’t see that rust-colored surprise later.
Frequently Asked Questions
Can Rust-Preventive Paint Be Applied Over Existing Rust?
Yes, rust-preventive paint can be applied over existing rust, but only after you remove the loose scale and powdery corrosion. I’d insist on scraping and wire brushing down to a stable, tightly adhered layer before you ever open a can.
For best results, sand the area with 80 grit to rough up the surface, then wipe clean with a degreaser. This surface preparation is non-negotiable; without it, the coating will fail within months, and you’ll waste both time and material.
After prepping, apply two thin coats of a rust-inhibitive primer, letting each dry for the manufacturer’s specified time, usually around two hours. Once that’s cured, top with your rust-preventive paint, and you’ll lock out further oxidation effectively. This process works with most corrosion control paints, whether oil-based or waterborne.
How Long Does Rust-Converting Primer Last Before Topcoat?
A rust-converting primer typically lasts around 12 hours before you should apply a topcoat, but waiting a full 24 hours is the safest route. This extended window lets the chemical reaction fully cure, which stops rust bleed-through from ruining your final finish.
Don’t rush the process. If you topcoat too early, the primer stays soft and can trap moisture, leading to peeling later.
For best results, sand the converted surface with 220 grit after it dries, then wipe it clean with a tack cloth before painting. This ensures the topcoat bonds properly and the conversion layer holds firm.
If you exceed the 24 hour window, the primer may become too slick to coat. In that case, lightly scuff it again, or check the product label for a recoat schedule, since some brands extend their window with a specific curing accelerator.
Is Sanding Necessary Before Applying Rust Converter?
Yes, sanding is necessary before applying rust converter for a lasting repair. It removes loose paint, scale, and contaminants so the converter can penetrate the rust completely, not just coat the surface.
Skip this step and you are sealing active corrosion under the product, which will fail quickly. Use 80 or 120 grit sandpaper or a wire brush on heavy flaking areas, then wipe with a clean, dry rag.
For best results, sand until the surface feels rough and dull, then apply a thin, even coat of converter and let it dry fully. That drying time is usually 30 to 60 minutes depending on humidity and temperature. If you skip sanding, you will also waste product and might need a second abrasive pass, so do it right the first time. A related term you will see is “surface etching,” which is exactly what the sanding promotes before conversion.
Can I Paint Over Galvanized Metal Without Primer?
Yes, you can paint over galvanized metal without primer, but it will almost certainly fail, so you should never do it. The zinc coating is slick and rejects most paints, causing peeling and chipping within months.
Skip the shortcut and use a specific non-ferrous primer designed for galvanized surfaces, like an etch primer or a zinc-rich primer. After priming, apply two topcoats of a high-quality acrylic or latex paint for maximum durability.
Lightly scuff the metal with 120 grit sandpaper before priming to give the primer a mechanical grip. This extra step, along with the correct primer, is the only way to guarantee a lasting finish that resists rust and weather. For best results, avoid painting in direct sunlight or below 50°F.
What Temperature Is Too Cold for Painting Metal Outdoors?
For exterior metal, painting is too cold when the air, surface, and paint all sit below 10°C (50°F). Below that, the coating won’t cure properly, leading to poor adhesion and early flaking.
I’ve seen this fail many times, especially with alkyd enamels. Wait for a dry day with at least 8 hours above 13°C, and use a metal primer first.
If you must work in borderline cold, choose a cold-weather formula and check the label for the minimum film-forming temperature. Also, warm the metal surface with a portable heater, but keep it moving to avoid condensation.
Finally, never paint in direct sun on a cold day, as the surface can be much warmer than the air. Sand with 120-grit before coating to improve grip, and expect longer drying times of 24 to 48 hours.
Rounding Up
Applying rust-preventing paint starts with surface prep, then a converter, then a topcoat. First, scrape off loose flakes and wire brush the area until you hit solid metal.
Then, wipe the surface clean and apply a $15 rust converter, which turns the remaining corrosion into a stable base.
Let that dry completely, then check your work under good light for any missed spots before you paint.
Topcoat with a durable enamel or urethane, and give it two thin coats rather than one thick one.
A trailer that looked like a desert floor held for years with this method, proving the process works.
Next, read about choosing the right topcoat finish for outdoor metal surfaces.