How to Apply Texture Additives: Step-by-Step Guide
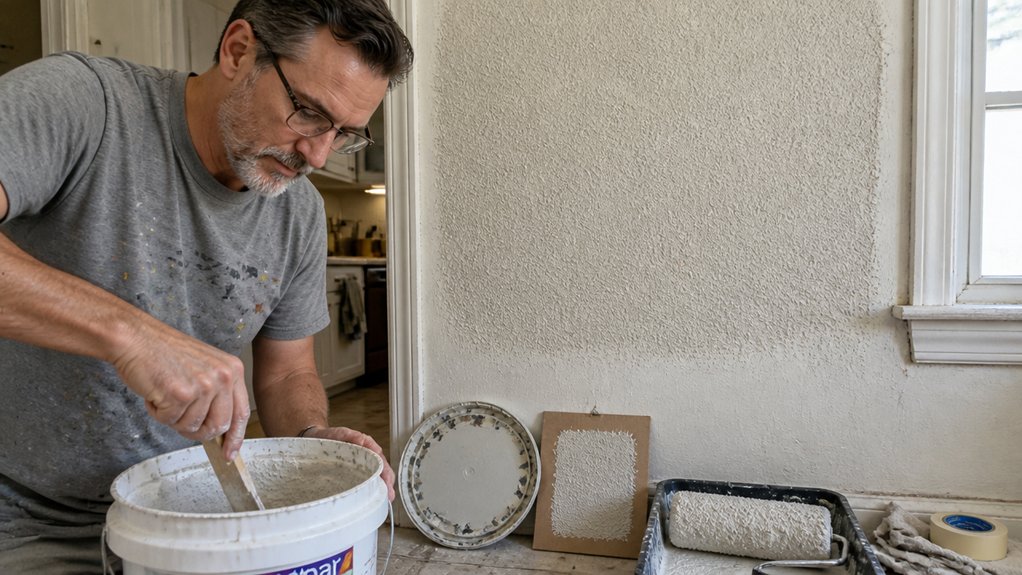
Sanding your new coating is frustrating, but most bond failures start before you ever pour the grit into the mix. Matching additives to your project is simple once you know how film thickness and mesh size work together.
This article covers the full process, from choosing the right grit to testing the final finish. You will learn why mixing slowly and waiting for full cure time prevents a costly recoat.
Get the surface prep and sheen right, and your floor or wall will handle foot traffic with confidence.
Next, we break down the two most common mistakes DIYers make with texture additives.
Quick Answer
- Mix texture additive into coating per label ratio; stir thoroughly to avoid clumps.
- Match grit mesh size to coating thickness: thin coats need fine 100-mesh, thick epoxies use coarse 40-grit.
- Test a small patch first; film thickness varies with roller or brush stroke.
- Apply with consistent wet edge; sand between coats with 220-grit to smooth raised particles.
- Wait full cure for one week before heavy traffic or grip testing.
Prep Your Surface and Check Conditions Before Mixing Anything
Clean the surface like your reputation depends on it, because the texture won’t hide a thing. I’ve learned that the hard way, trust me.
Degreaser, a stiff scrub, a thorough rinse, and a full dry are non-negotiable. Any grease, dust, or flaking paint turns a gritty finish into a patchy mess that peels within a week.
Check the weather before you mix anything. You want temperatures between 50 and 90°F and humidity under 85%, or the coating won’t cure right no matter how good your batch is.
Wait for a dry, mild day. Paint outside that window takes too long to dry, and the topcoat can blush or fail to bond. Humidity slows curing on exterior surfaces, so postpone the job if a storm is brewing.
Use painter’s tape to protect trim and edges, and lay down a drop cloth to catch drips. Sand any rough spots with 120-grit paper, then wipe down with a tack cloth.
Prime bare patches first so the finish grabs evenly, and keep a wet edge when you roll on the color. Lap marks show up fast if you let sections dry before the next pass.
Skipping prep means buying another gallon of coating and redoing the whole floor. Do it right once, using a low-VOC primer and a satin or matte topcoat, and the finish will last.
Drying time is not cure time, so give it the full week before heavy foot traffic or furniture.
Pick the Right Grit Size for Your Coating Type
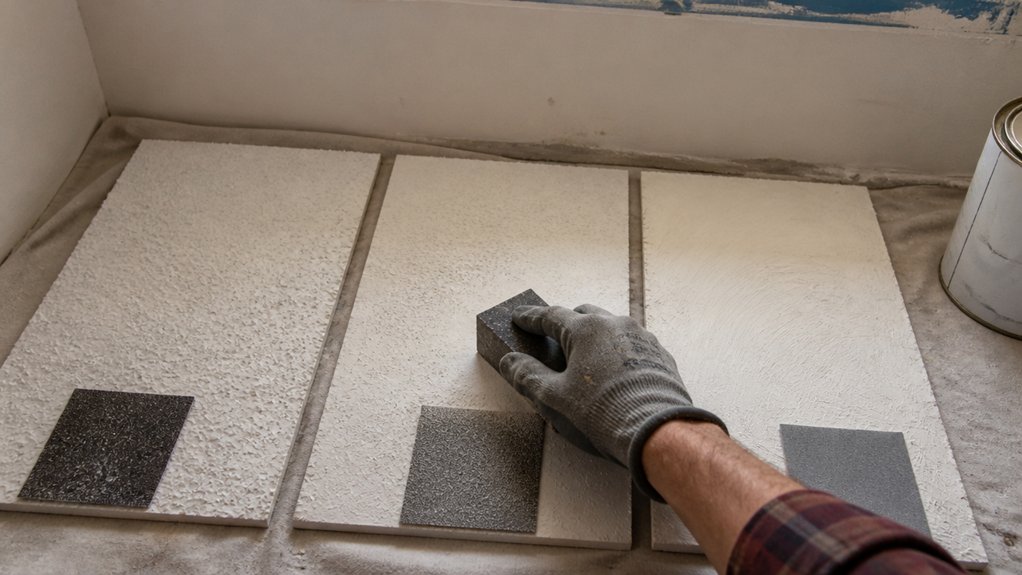
Matching grit size to your coating thickness is the key to a strong, lasting finish, and getting it wrong is a common mistake. I learned this the hard way when I poured 40-mesh into a thin topcoat and watched it sink like a stone, leaving a useless, gritty mess.
Thinner films, like a 3 to 5 mil finish, need fine 100-mesh particles so they stay embedded in the coating and give you a subtle texture. Clear spherical particles from a 50-mesh additive offer comfortable grip without clouding the color. Thick epoxy systems, which run 10 mils or more, can hold chunky 40-grit for a heavy grip that stands up to a forklift driving over it.
Before you pour anything, check your coating’s recommended dry film thickness on the label. Use a wet film gauge to confirm you’re applying the right mils, and remember that a primer coat changes how the topcoat sits over the surface.
Ask yourself what you want underfoot: a soft, sandpaper-lite feel that’s easy to clean, or a gravel-road texture that resists slipping in a garage or workshop. If you pick too fine a grit for a thick epoxy, the particles will disappear beneath the surface, and you lose the anti-slip benefit.
For a satin or matte sheen on a thin topcoat, stick with fine grit and a light hand. A gloss finish with coarse grit will scatter light and look odd, so match the texture to the sheen you’re aiming for.
Always mix the grit slowly into the coating while stirring, and keep that wet edge moving to avoid lap marks and brush strokes. You have a short open time, so work in sections and don’t let the material dry out on you.
After it cures completely, check the surface with your hand. If it feels too slick, add another coat with a slightly coarser grit, but only after the first coat has fully cured to its final hardness.
Clear the floor area beforehand and lay down a drop cloth to catch any drips, and use painter’s tape to protect edges you don’t want textured. The drying time might be quick, but cure time is what really matters before you test the grip or put any weight on it.
If you’re working over bare wood or a fresh primer, test the grit on a scrap piece first. That way, you see exactly how the particles sit in the varnish or polyurethane before you commit to the whole floor.
Coating Thickness & Grit Match
The most common mistake with texture additives is grabbing a big, aggressive grit for a thin topcoat. You end up with a smooth finish because the particles sink like stones in a pond.
Match the particle size to your coating thickness. Thinner coatings need smaller mesh, while thicker coatings can handle larger particles.
For example, a 100-mesh additive works well in a thin sealer, but a heavy epoxy can take a 40-mesh grit. If you use the wrong size, the texture disappears completely.
| Coating Thickness | Recommended Grit |
|---|---|
| Ultra-Thin (<1 mil) | 200 mesh |
| Thin (1-3 mils) | 100 mesh |
| Medium (4-6 mils) | 50-60 mesh |
| Thick (7-10 mils) | 40 mesh |
| Very Thick (10+ mils) | 30 mesh |
Before you mix, think about the wet edge and drying time. A thin primer or topcoat dries fast, so larger grit won’t stay suspended.
For a satin or matte finish over a sealer, stick with 100 mesh or finer. On a thick varnish or polyurethane coat, go with 40 mesh for a visible grip.
Check your sanding grit and prep work first, since a smooth base hides texture. Use painter’s tape and a drop cloth to keep the area clean while you test.
The rule is simple: grit must match thickness. Measure your coating in mils, pick the mesh from the table, and you’ll get the texture you paid for.
For heavy-duty applications, consider that zirconia belts are specifically listed for hardened metal and stainless steel, offering a fast-cutting option when your textured surface needs aggressive reshaping or deburring.
Mesh Size Selection Guide
Pick your mesh size based on the coating you plan to apply, not on what sounds tough.
I learned this the hard way after coating a floor that ended up feeling like sandpaper when I just wanted a subtle grip.
Match the particle size to your topcoat thickness, because thin films will swallow fine grit while thick epoxy needs coarse mesh to bite.
For a clear coat under 10 mils, use 100 mesh for a low-profile texture that stays nearly invisible.
That fine grit works well for light foot traffic in a hallway or garage.
If you’re rolling on epoxy at 20 mils or more, switch to 40 mesh for a rugged, industrial feel.
Here’s how the common options break down by use:
- 100 mesh (fine): Low-profile texture, hides in clear coats, minimal particle visibility.
- 40 to 60 mesh (medium): Balanced grip for ramps or wet areas, visible but not aggressive.
- 20 to 30 mesh (coarse): Heavy-duty traction, but only for thick, high-build systems.
Before you blame the grit, check your application conditions like temperature, mixing ratio, and how much additive you loaded.
A cold garage or a bad stir will cause more problems than the mesh size ever will.
Use a drop cloth and painter’s tape to keep the mess contained, and keep a wet edge while rolling to avoid lap marks.
Remember that drying time is not the same as cure time, so wait the full cure before walking on the floor.
If you’re working with a satin or matte topcoat, the texture will read differently than under a high gloss finish.
A gloss sheen amplifies every bump, so go finer if you want a smooth look with a slight grip.
For a varnish or polyurethane job on stairs, medium mesh gives reliable traction without catching on bare feet.
Always test a small patch first, because your actual film thickness can vary with the roller or brush stroke.
Stick to this simple rule: thin coat, fine mesh; thick coat, coarse mesh.
That matching keeps your finish looking clean and performing exactly as intended.
For thicker coatings, rubber texture rollers apply patterns with negative imprinting, but avoid quick-drying compounds that can gum up the sleeves.
Texture Intensity vs. Durability
Texture intensity and durability usually pull against each other, and I found that out the hard way after watching a rough garage floor wear smooth in under two years. That is the durability tradeoff in action.
Bigger grit, like 40 mesh, gives you serious bite, but those heavy particles pop out under foot traffic, so the surface loses its teeth fast. The wear resistance just isn’t there.
Fine 100 mesh lasts longer, but it feels like sandpaper on velvet. You get almost no texture intensity, just a smooth finish that barely grabs your shoes.
When I’m finishing a floor, I think of it like choosing between a topcoat and a primer. The grit size is your bite, and the binder is what holds it together.
If you want real grip on a shop floor, you go with coarser sanding grit and accept that you’ll recoat sooner. Use a clear polyurethane or varnish with more solids to help those heavier particles stay put.
For a garage where you park cars and walk daily, finer grit with a satin sheen gives you a longer-lasting surface that still feels textured enough. It’s a compromise between bite and life.
The trick is matching the grit to the job, not to what looks tough. A matte finish with 60 mesh might feel great on day one, but by month six you’ll see the wear pattern.
Drying time versus cure time matters too. Even with fine grit, if you don’t let the coating cure fully before traffic hits it, those particles shift and sink.
I always tell beginners to test a small patch first. Paint a scrap board, walk on it for a week, and see what holds up.
You’ll learn more from that test than from any chart. Drop cloths and painter’s tape are for the edges, but the real decision is between texture you can feel and a surface that lasts.
For ceiling repairs, however, matching the aggregate size to the existing texture is just as critical, since a mismatch can make the patch stand out.
Measure the Correct Mixing Ratio for Your Desired Texture
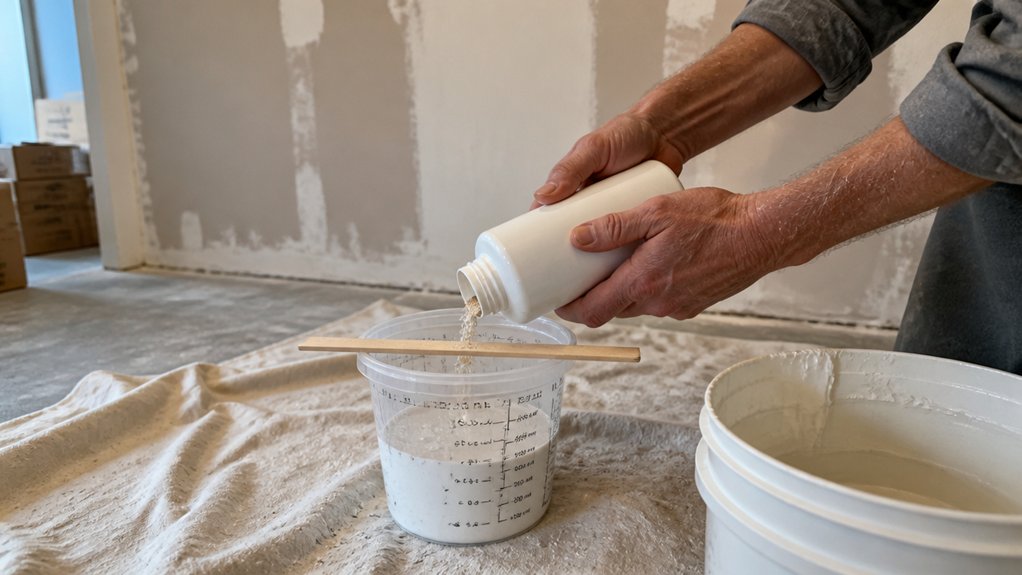
For a basic anti-skid surface, mix 1.5 ounces of additive into each gallon of coating. This gives you a light, subtle grip that still lets a paintbrush glide smoothly without leaving obvious brush strokes.
If you want a heavy sand finish texture, the ratio jumps to 4 ounces of additive per quart of paint, not per gallon. That is a much thicker mix, so use a stiff brush or a roller with a higher nap to push the material around before the wet edge starts to dry.
Always stir the additive slowly into the paint to avoid trapping air bubbles, which can leave pinholes in your topcoat. Apply a primer first on slick or glossy surfaces, because the grip additive only works if the coating actually bonds to the substrate.
For a satin or matte sheen, the ratios stay the same, but the final feel changes slightly because lower gloss hides the texture better. Test the mix on a scrap board with the same paint and sheen you plan to use, then let it dry fully to confirm the texture is right before committing to the whole floor.
Keep your drying time in mind, not just cure time. The additive sets as the solvent evaporates, so work in sections you can finish before the paint skins over, or you will get lap marks.
Protect the surrounding area with drop cloths and painter’s tape, especially if you are working near trim or walls. Clean your tools with the thinner recommended on the paint can, because dried additive will ruin a brush fast.
If you are using a water-based polyurethane as the topcoat, check the label for VOC limits, since some high-solids formulas thicken too fast for the additive to settle evenly. Mix only what you need for the job, because the additive changes the viscosity and the mixed paint won’t store well.
The difference between 1.5 ounces per gallon and 4 ounces per quart is huge, so measure carefully with a small scale or graduated cup. A gravel driveway feel comes from too much aggregate, not just a heavier hand, so start low and add more only if the test board feels too slick.
Stir the container every few minutes while you work, because the sand will settle to the bottom. Finish each coat in one continuous pass to keep the texture uniform, and sand lightly between coats only if the manufacturer allows it for recoat. Using a helix mixer attachment on your drill will help keep the additive suspended without whipping in excess air bubbles that cause pinholes.
For most DIY jobs, the 1.5 ounce per gallon mix works for steps, ramps, or edges where you just need a bit of traction. Save the 4 ounce per quart mix for outdoor walkways or garage floors where you genuinely want that rough, heavy bite.
Standard Mixing Ratios
Every job starts with the same question: how much additive do you actually dump in? Get this wrong, and you’ll waste material or end up with a surface slicker than a buttered bowling lane.
I stick with the manufacturer’s load rates, which give the weight of additive per gallon, and I always mix in dedicated buckets so nothing gets contaminated with old stain or varnish.
For light foot traffic, I use 1.5 ounces of anti-skid per gallon of paint, which gives a subtle texture without making the topcoat look grainy.
For ramps or wet areas, I bump that to 3 ounces per gallon, and I check the sheen after drying because a satin finish will show the grit more than a matte one.
For industrial zones, I go heavy at 4 ounces per quart, but that’s overkill for a patio, and it can leave brush strokes if you don’t keep a wet edge.
I stir slowly, sprinkle the powder in gradually, and let the mix sit for 30 minutes so the grit hydrates evenly and won’t clump under your roller.
Since mixing containers need to be stable and easy to clean, a rust-resistant metal grid fits snugly in the bucket to scrape your roller without contaminating the batch.
I also sand between coats with 120 grit if I need a smoother feel, and I wait for full cure time, not just drying time, before foot traffic.
Trust the ratio over your gut, and wipe your tools on a drop cloth, not in the bucket, to keep the mix clean.
Measure twice, pour once, and use painter’s tape to protect edges if you’re working near trim that shouldn’t get the gritty coat.
Sand Finish Textures
Sand finish textures start with the mixing ratio, because it controls both slip resistance and how the surface feels. I use 4 ounces of additive per quart of coating, which gives a gritty bite without making the floor rough enough to scrape your knees.
That ratio is my sweet spot for a noticeable texture. You want particles that hold up to foot traffic, so choose aluminum oxide or quartz over something that crumbles like stale crackers.
Grit durability matters most here. Thicker epoxy carries a coarser mesh well, but thin polyurethane will swallow the particles completely, so test a patch on scrap first.
Resin compatibility is just as important as the grit itself. Stir the mixture slowly, let it sit for thirty minutes, then stir again to break up any clumps before you roll it on.
Skipping the rest step leads to uneven spots where the grit settles. A medium mesh at that 4:1 ratio gives you a consistent finish that still lets a topcoat sheen show through.
Keep a wet edge while you work, and check the drying time, not just the cure time, before you walk on it. With the right prep, a drop cloth down, and painter’s tape along the edges, you’ll get a surface that’s tough and pleasant to touch.
For maximum safety in high-traffic areas, verify that your final finish meets ADA wet COF standards of 0.54 or higher.
Mix Additives In Without Clumps and Prevent Settling
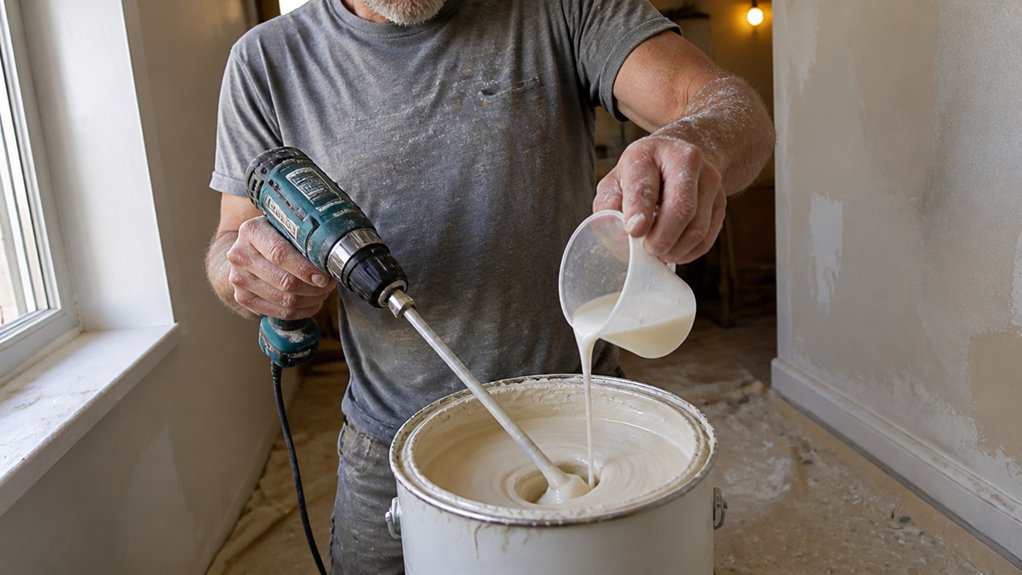
Clumping ruins an even finish, but you can stop it by changing how the powder meets the liquid. I sift the additive into the mix while stirring constantly, never dumping it all at once.
That slow, steady pour is your first defense against lumps, and it only costs a little patience. For a solid, consistent mix that won’t settle, use a simple three-step system.
First, pre-wet the powder in a small cup with a bit of your coating, stirring it into a slurry before adding it to the main batch. Second, wait 30 minutes after mixing, then stir again, because hydration breaks up hidden clumps that appear later.
Third, keep stirring during application to keep the suspension stable, since gravity pulls pigments down no matter what. This routine works with any coating, whether you’re using a high-VOC primer or a low-odor water-based topcoat.
You’ll also want to check the drying time versus cure time, because a mix that looks smooth can still settle before the finish hardens. A quick re-stir before you brush or roll keeps the sheen even, whether you’re aiming for gloss, satin, or matte.
Think of it like keeping a wet edge when you paint a wall: constant motion prevents lap marks and brush strokes from showing. The extra elbow grease pays off with a smooth, gritty-free finish instead of a lumpy mess.
Use a drop cloth and painter’s tape to protect your work area, and don’t forget to sand between coats with fine grit, like 220, to knock down any raised particles. That’s the whole game, and it keeps your varnish or polyurethane looking professional. For thicker additives, a helix drill attachment pulls material from the bottom of the bucket to prevent settling during the mix.
Roll It, Broadcast It, or Trowel It: Pick a Method
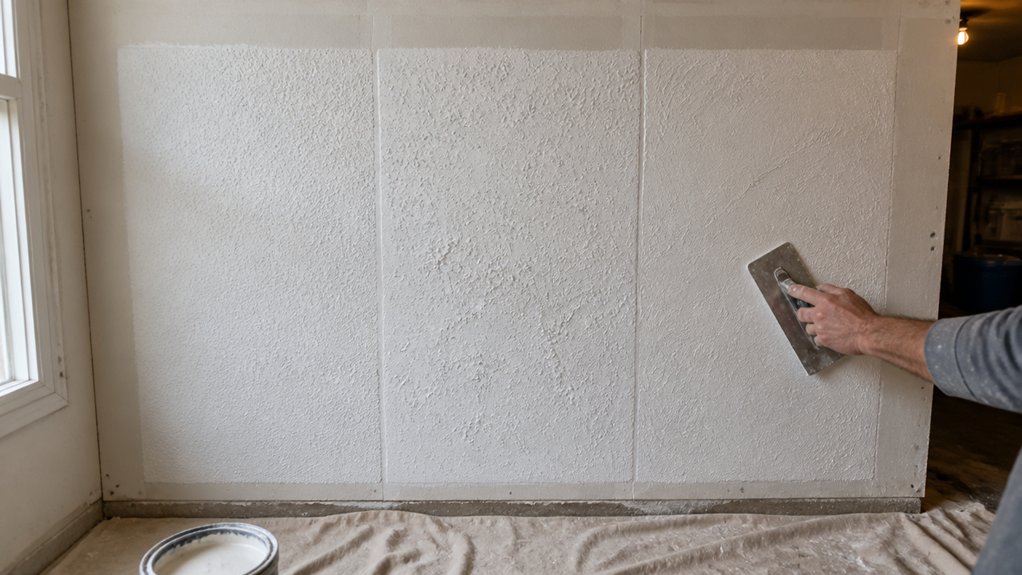
Rolling is the fastest method, and it works fine for thin coats or quick fixes where a little texture is enough. I learned the hard way that rolling fine mesh into a smooth garage floor leaves a surface slick as butter and useless for grip.
For ramps, docks, or any wet zone, broadcast is the way to go. You scatter aggregate into the wet epoxy coat, then follow with a second coat to lock those grit particles in place.
Trowel techniques shine when you need real permanence, like on industrial slabs with thick epoxy systems. Pressing quartz into epoxy mortar with a trowel beds the grit deep, so it holds up where foot traffic and heavy loads bite hardest.
If you are on a budget, mix the aggregate into the epoxy and roll it on. That gives you mild slip resistance without the extra labor of broadcasting or troweling.
| Method | Best For |
|---|---|
| Roll | Quick fixes, thin coats, subtle texture |
| Broadcast | Ramps, docks, wet zones needing real bite |
| Trowel | Industrial slabs, thick epoxy systems |
| Mix & Roll | Budget jobs, mild slip resistance |
My rule is simple: roll for speed, broadcast for traction, trowel for permanence. Before you pick, think about your primer, your topcoat, and the cure time you can allow, because a full epoxy cure takes days, not hours.
Also lay down a drop cloth and use painter’s tape to protect edges before you start. That way you avoid lap marks and brush strokes that show up in the final sheen.
Match your finish to the job, whether you need a matte, satin, or gloss look, and keep your wet edge moving to avoid streaks. Pick what your feet and your liability demand, and you will not end up redoing it. For elevated access during prep or inspection, consider a 12.5 ft telescoping ladder to reach high edges safely before you begin coating.
Verify Cure Time and Test for Traction Safety
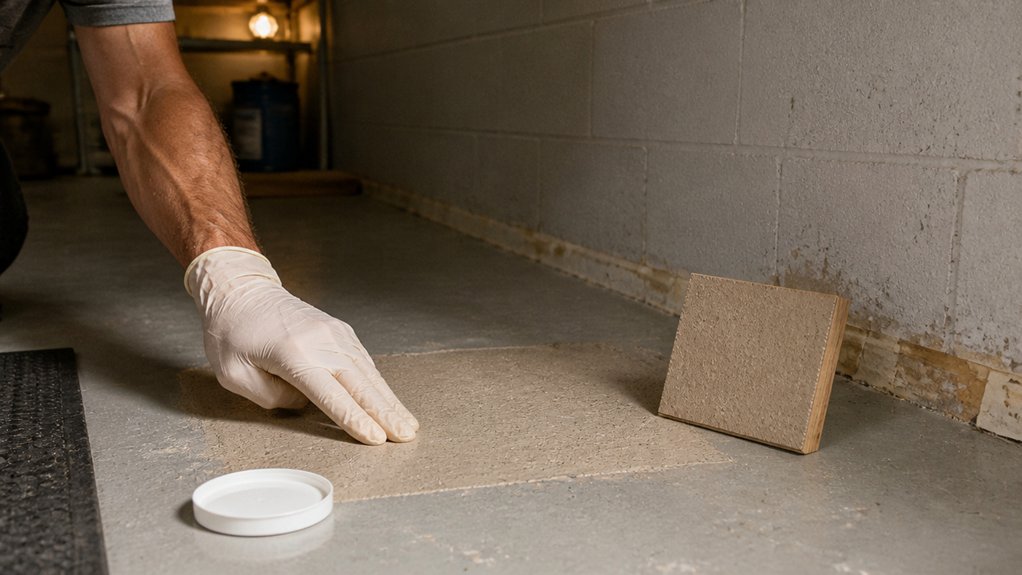
The clock on the wall matters more than the paint can at this stage. Rushing a topcoat before it cures is like trusting a wet floor sign: it is hope, not safety.
Full cure time varies by product, usually 24 to 72 hours depending on the coating. Check the manufacturer’s spec on the can and write it on the lid so you do not lose track.
Drying time and cure time are not the same thing. A polyurethane or varnish may feel dry to the touch in hours but still be soft underneath.
Once the floor is fully cured, test it for traction. I use the sneaker slide: push a shoe across the surface. If it grips, you are good. If it glides, you have a problem.
Here is my quick checklist:
- Check the manufacturer’s cure time and write it on the can lid.
- Do a water spot test: beads mean the sealer is working, soaking means it is weak.
- Test with both dry and wet shoes.
A failed traction test costs more to fix than the time you spend waiting. Give the floor its full cure and you protect both the finish and the people walking on it.
Post-Cure Care: How to Keep Your Non-Slip Surface Effective

The cure is finished and your sneaker test passed, so the job looks done. But that fresh surface is only as good as your next steps.
Walking on the floor too soon can crush the abrasive peaks flat, turning a slip-resistant finish into a slick hazard. I learned that the hard way on a garage job, and it cost me a full recoating weekend.
Walking on it too soon flattens the grit, and that slick mistake cost me a full recoating weekend.
For seasonal upkeep, use a soft broom, not a metal scraper, which will tear up the texture like a rough sanding pad. Dirt settles into the low spots, so a mild soap wash every few months keeps the abrasive grit exposed and working.
You are not buffing the surface; you are preserving its bite, like keeping a sharp edge on a chisel. Think of it as routine maintenance for your topcoat layers, where a gentle touch beats aggressive scrubbing every time.
Protect the high points, flush the grooves clean, and the floor stays grippy for years without needing a fresh coat. It takes a little time and a basic squirt bottle of soap, but the payoff is a safe surface and no callbacks.
Frequently Asked Questions
Can I Add Texture Additive to Existing Paint?
Yes, you can add texture additive to existing paint, and it works well for refreshing worn surfaces or creating slip resistance. First, confirm the additive is compatible with your paint’s resin type, whether latex, oil, or acrylic, since mismatched products can cause clumping or poor adhesion.
Then, clean the paint can’s rim and stir the paint thoroughly before sprinkling in the additive while mixing slowly. For a fine sand-like grip, use about one cup of additive per gallon, but for a heavier texture, you can go up to two cups. Test on cardboard first, and apply with a thick nap roller, like a 3/4 inch, to avoid streaks.
Let the first coat dry at least four hours before adding a second, and always stir occasionally while working to keep the texture evenly suspended. This method also works on stains and clear sealers, though you may need a finer silica grade for translucent finishes.
What Happens if I Apply in High Humidity?
Applying in high humidity will likely cause the finish to blush, peel, or dry unevenly, so you should not coat when relative humidity exceeds 85%. The moisture in the air gets trapped under the film, leading to a milky haze and a weak bond that fails within weeks.
For a quick test, use a hygrometer and wait until the afternoon’s driest window, which often drops humidity by 10 to 15 points. If you must proceed, thin your varnish by 10% with mineral spirits and apply thinner coats, but expect drying time to jump from 4 hours to overnight.
Always sand back any blushed area with 220-grit paper and recoat only when the dew point is at least 5°F below the surface temperature. For exterior work, check the weather forecast for a 24-hour dry spell, as trapped moisture will ruin adhesion and promote mold growth.
Will the Additive Change the Color of My Coating?
Yes, most additives will cause only a minimal color shift in your coating, so your paint or varnish should keep its original hue. Polypropylene, for instance, stays perfectly clear in topcoats and won’t tint the finish.
Watch out for gloss impact, though. Aluminum oxide dries clear but mattes the surface slightly, so it’s smart to test a patch before committing to a full project. I’d suggest spraying a small sample board with one coat and letting it dry for 24 hours to judge any sheen change.
For practical use, a single additive like flattener at 5% can shift gloss noticeably without altering color. Search “sheen adjustment” to find more tips on balancing clarity and finish texture.
How Do I Clean Tools After Applying Additives?
To clean tools after applying additives, wipe off the excess coating while it is still wet, then rinse and comb the bristles to remove every trapped particle. Start by wiping the brush on a scrap board, then rinse it in the appropriate solvent, such as mineral spirits for oil-based additives or water for acrylics.
After rinsing, use a brush comb to pull through the bristles, working from the ferrule to the tips, and watch the gritty residue fall away. For a stubborn buildup, soak the brush in solvent for ten minutes, then repeat the combing step before washing with soapy water.
Always dispose of used solvent in a sealed metal container, never down the drain, and let any sludge dry before trash pickup. This routine also works for paint rollers, so keep a spare comb handy for those stiff nap fibers.
Can I Recoat Over a Textured Surface Later?
Yes, you can absolutely recoat over a textured surface later, provided you prep it correctly. Start by cleaning the surface with a degreaser, then lightly sand it with 220-grit paper to create tooth for the new coating.
After sanding, wipe away all dust with a tack cloth. Use a high-quality primer if you’re changing sheen or going from oil to water-based paint, as this seals the old texture and prevents bleed-through.
For the topcoat, roll on thin, even coats, typically two to three, waiting the manufacturer’s recommended recoat time, often 2 to 4 hours. Avoid heavy loading your roller, which can flatten the texture and leave marks.
If you’re unsure about adhesion, test a small patch first. This same method works for refinishing stucco or popcorn ceilings, just use a thicker nap roller for deeper profiles.
Rounding Up
To apply texture additives, you measure, mix, and roll them onto the surface with a pro’s touch, then maintain that traction over time. Check your floor’s slickness today with a wet shoe, and note any thin spots that need a fresh coat. Reapply the additive whenever wear shows, and test it yearly to confirm the grip still holds. Keep the surface clean between coats, since dirt undermines the texture’s bite. If you want next steps, read about curing times for textured coatings.