What Are Tile Paints? Types, Uses and How to Choose
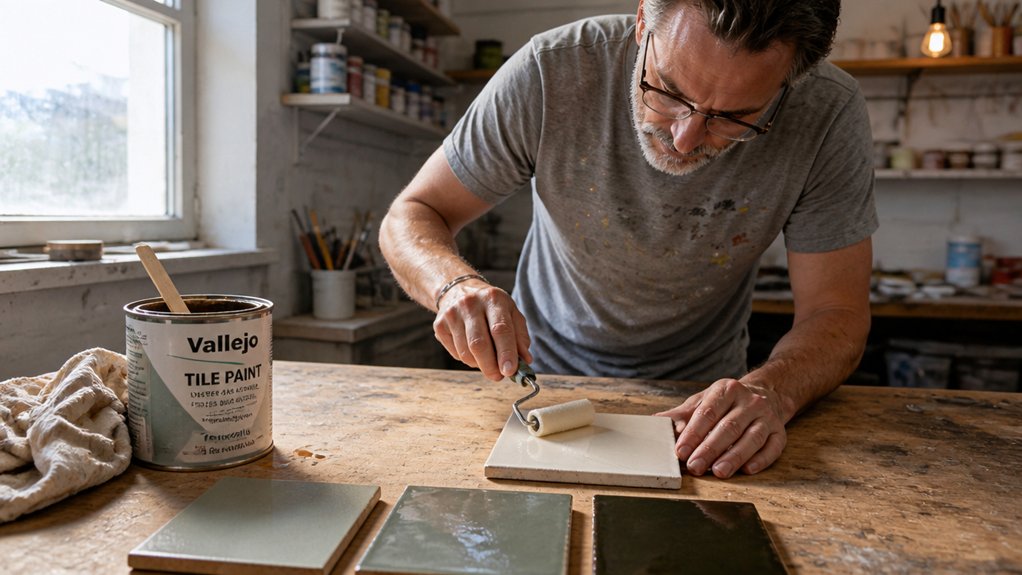
Want a fresh tile look without a tear-out? Tile paints are heavy-duty coatings that bond to slick surfaces, and this guide covers types, uses, and how to choose.
Epoxy is tough for floors, polyurethane flexes on walls or showers, and acrylic is cheapest but needs primer and touch-ups.
Prep is non-negotiable: degrease, sand, and prime before applying coats.
Check humidity and food-safety labels, and use spray epoxy for quick fixes.
Keep reading to match paint to surface, prep, and cure time.
Quick Answer
- Tile paints include epoxy, polyurethane, acrylic resin, and spray can formulations.
- Epoxy offers superior floor durability, resisting impact, heavy traffic, and moisture.
- Acrylic resin suits walls and splashbacks but needs priming and varnishing.
- Polyurethane provides flexible, crack-resistant finishes ideal for vertical surfaces.
- Choose paint based on surface type, application temperature, and required safety certifications.
What Are the 5 Main Types of Tile Paint?
Tile paint comes in five main types: one part epoxy, two component epoxy, polyurethane, acrylic resin, and spray can epoxy. Match the type to the tile, the traffic, and your skill level before you buy.
One part epoxy is the forgiving choice for a first tile project, because it brushes out easily and gives you time to keep a wet edge. Two component epoxy is tougher and more fussy, so mix only what you can use before it starts to set.
Polyurethane works well on tile floors because it stays flexible under foot traffic, and it can take a satin, gloss, or matte sheen. Acrylic resin tile paint is cheap and easy to find, but it needs a good primer and careful prep to hold up.
Spray can epoxy is handy for small touch ups and spots where a brush cannot reach, but it lays down thin coats and can leave lap marks if you spray too fast. If you use a brush on tile, keep brush strokes tight and work quickly to avoid lap marks.
Before any topcoat, clean the tile, scuff it with 120 grit sandpaper, and tape off edges with painter’s tape over a drop cloth. This prep helps the first coat bond and prevents peeling at the edges.
Let each coat dry fully, and remember that drying time and cure time are different, so do not scrub the tile too soon. Acrylics often dry in a few hours, while two component epoxies may need a full day before you can handle them.
Color matching is tricky because tile paint formulas come in limited shades, so test a sample on a spare tile before you commit. Open windows and use a fan to manage VOC fumes, and wear a respirator if the room is small.
Choose two component epoxy for busy tile that takes daily wear, and use spray can epoxy for small patches. Do not treat tile paint like stain or varnish, because tile needs a hard topcoat that bonds to the glaze. Full hardness typically requires a seven-day curing period before the surface can withstand heavy use.
Floor, Wall, Shower, or Countertop: Which Tile Paint Formula Fits?
Choose the formula for the surface before you fall in love with a color. I picked a pretty color for a bathroom wall and used the wrong formula, and the finish cracked like an eggshell.
Floors need polyurethane because it stands up to scuffs and cleaning chemicals. Sand to a dull surface with 120 grit, wipe the dust, lay a drop cloth, and tape the edges with painter’s tape before the topcoat.
On dry wall areas, acrylic resin works, but its gloss will fade over time. Keep a wet edge while you roll to avoid lap marks and heavy brush strokes.
Showers need epoxy that resists water, and you should check the room temperature before you start. Cold rooms can slow cure time, so give the epoxy extra drying time and keep the space warm.
Countertops also need epoxy, then a varnish that is safe for food contact. Use low VOC products in small rooms and let each coat cure fully before use.
For a splashback, acrylic plus varnish adds protection without a high gloss finish. In wet areas, choose satin or matte sheen because it hides water spots better.
Use a primer when the tile glaze is slick or the old coating is unknown. Test a small tile first and follow the label for recoat windows.
Satin and semi-gloss finishes shed water more effectively than flat options, making them a smarter choice for high-steam zones.
| Surface | Best Formula |
|---|---|
| Floor | Polyurethane |
| Wall | Acrylic resin |
| Shower | Epoxy |
| Countertop | Epoxy + varnish |
| Splashback | Acrylic + varnish |
Match the formula to foot traffic and dampness. Write the product name and cure time on a note for touch ups later.
4-Step Prep Routine for Tile Paint That Lasts
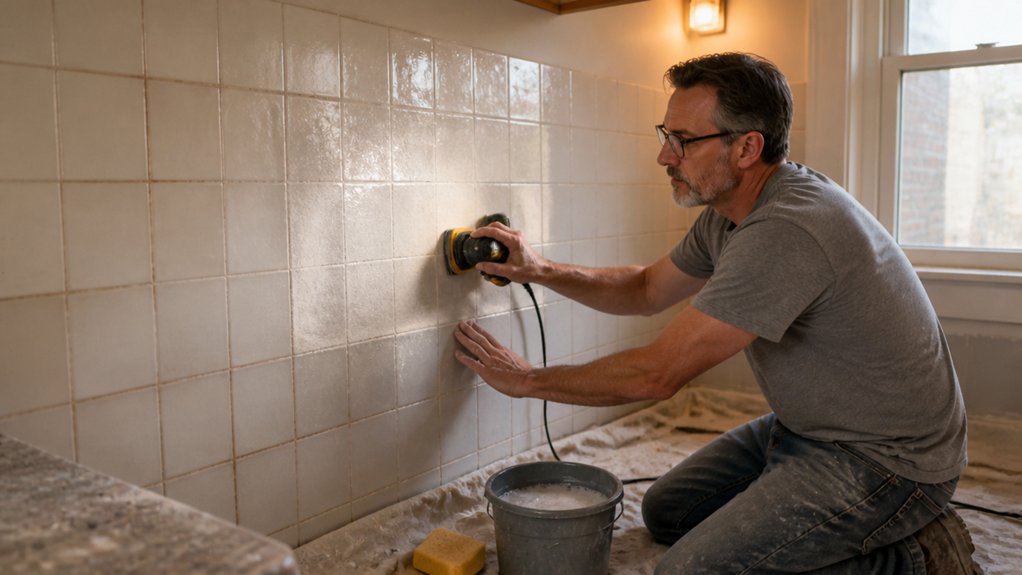
Most tile painting jobs fail at prep. I once skipped sanding and watched epoxy tile paint peel off in sheets within a month.
Use these four steps in order. Scrub the tile with a degreaser, then rinse well because grime blocks adhesion.
Scrub with a degreaser, rinse well—grime blocks adhesion, so prep decides if the paint sticks.
Sand the gloss or satin sheen lightly with 220 grit sandpaper so the primer has a surface it can grip. Wipe away dust with a damp cloth and let the tile dry fully.
Apply a bonding primer and follow the drying time on the label before you start the topcoat. Check the cure time too, because some primers need longer before recoating.
Lay a drop cloth and use painter’s tape to protect edges and nearby surfaces before sanding or priming. A spray degreaser and a scouring pad can cut prep effort in half. Cotton canvas drop cloths absorb paint drips and splatters but are not waterproof, so check coverage needs before choosing a size.
Keep a wet edge when you apply the topcoat so you avoid lap marks and visible brush strokes, and pick a matte or satin sheen if you want to hide small flaws. Choose paint with low VOC if fumes matter in your space, and follow the label for recoat time.
Epoxy vs. Polyurethane vs. Acrylic: Which Tile Paint Finish Wins?
Epoxy wins on durability for tile floors, and it gives a hard gloss finish that stands up to impact and heavy foot traffic. Use a stain blocking primer made for tile, lay down a drop cloth, and tape edges with painter’s tape before you mix the two parts.
Epoxy needs a warm room, ideally above 50°F, because cold slows the cure and can leave a sticky topcoat. Plan for at least 24 hours before you walk on it, and check the label for full cure time before you move heavy items back.
Polyurethane flexes with small tile movement, so it resists cracking and flaking better than a rigid coating on walls and backsplashes. It applies easily with a brush or roller, keeps a wet edge while you work, and dries faster than epoxy.
Its sheen is usually satin or matte, and that softer look hides brush strokes and lap marks on vertical surfaces. Sand glossy tile with 120 grit or a similar sanding grit, wipe off dust, then apply the first coat and let it dry before the next.
Acrylic is the cheapest choice, but it needs more prep and a topcoat to handle wear. You will sand, prime, and varnish or use a clear acrylic sealer, and you should expect more touch ups in busy areas. For long-lasting wear on high-traffic floors, some two-part water-based epoxy systems rated for up to 20 years in residential settings can outperform standard acrylic options.
Check the VOC level and drying time on the can, because some acrylics need longer before recoating. Use acrylic for small touch ups and low traffic spots, use polyurethane for walls and backsplashes, and use epoxy for floors.
Moisture and Food Safety: Two Tests for Every Tile Paint Choice
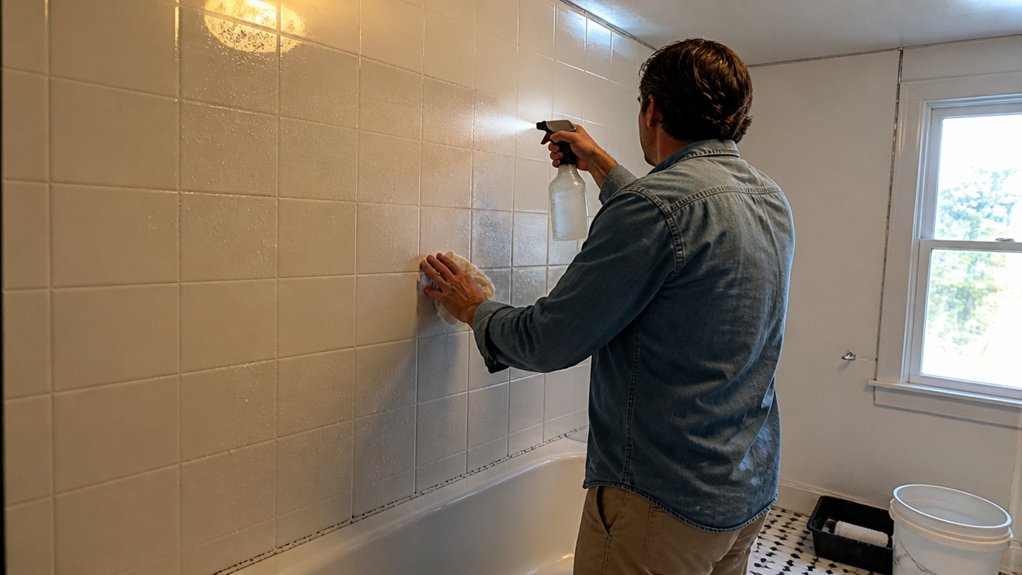
Durability matters for floors and walls, and moisture control decides whether a tile paint survives a damp shower or a kitchen prep area. I run two checks on every paint choice: humidity testing and food safety.
For a shower, choose a waterproof topcoat over a suitable primer; a water resistant product may be enough for drywall with only occasional splashes. Check the label for a satin, gloss, or matte sheen, the VOC level, and the drying time, then keep the cure time in mind before you scrub or clean the surface.
For kitchen paint, look for a food safe certification and confirm the cured surface stays nontoxic after scrubbing. A varnish or polyurethane sealer can protect the finish, so add that material and labor cost to your plan.
Ask for humidity test data and find out how many hours of submersion the coating survived. Before you start, set a drop cloth and use painter’s tape at the edges, then scuff sand with the sanding grit the label lists.
Keep a wet edge and plan your brush strokes to avoid lap marks, especially on a visible wall. In a wet room, use a waterproof coating, avoid cheap acrylic, and do not eat off bare painted tile, so your drywall and your stomach will thank you. Ensure application temperatures stay between 50°F and 90°F to prevent incomplete drying that causes adhesion failure and cracking.
Frequently Asked Questions
Can I Paint Tile Without Sanding It First?
You can paint tile without sanding it first, but I would not skip a light scuff if you want the coating to last through daily cleaning. Dedicated tile paints claim direct adhesion, yet a quick pass with 120-grit sandpaper noticeably improves grip and damp resistance.
Sand just enough to dull the glaze, then wipe away dust before painting. Allow 24 hours between coats and apply two thin finish coats rather than one heavy layer.
This extra prep is cheap insurance for lasting results, and it is standard practice for tile refinishing projects.
How Long Does Tile Paint Take to Dry?
Tile paint typically takes 2 to 4 hours to touch dry and about 24 hours to fully cure, though humidity and paint type can stretch those times. For a practical recoat, plan on 6 to 8 hours and confirm the window on your tin before adding a second coat.
If you are working in a steamy bathroom, run an extractor fan and test a small hidden tile after 4 hours. If it still feels tacky, wait another 2 hours before recoating. This check gives a more reliable tile paint drying time than guesswork.
Apply two thin coats rather than one thick coat, since thick films skin over and stay soft underneath. Check tin for exact recoat and cure windows.
Can Painted Tile Be Cleaned With Bleach?
Yes, painted tile can be cleaned with bleach, but use a diluted solution and test a hidden spot first. Undiluted bleach can dull or damage painted finishes, especially acrylic paint, so mix about 1/4 cup of household bleach per gallon of water and let the test patch dry for 24 hours.
For epoxy or polyurethane coatings, a mild bleach solution usually works fine when you wipe it on, dwell briefly, and rinse thoroughly. Keep ventilation strong and avoid soaking grout or edges where moisture can creep under the paint.
Treat this as a targeted cleaning method, not a routine tile cleaner, and follow the coating manufacturer’s guidance.
Will Tile Paint Yellow Over Time in Sunlight?
Yes, tile paint can yellow over time in sunlight, especially lower-grade acrylic formulas. For sunny spots I look for a UV-stable epoxy or polyurethane coating, and I check the label for exterior or UV-resistant claims.
Cheaper acrylics may fade or yellow faster, so use them only in shaded rooms or under a clear topcoat rated for UV exposure. As a practical test, apply two thin coats and let the first coat dry four to six hours before recoating, following the can.
On a test tile, cure the coating for seven days before judging color, then compare it in direct sun against a white reference. Ask suppliers for a non-yellowing tile paint with UV inhibitors.
Can I Paint Over Already Painted Tile?
Yes, you can paint over already painted tile, but only if you treat the old coating as a foundation that must be dulled and cleaned. I sand with 120-grit paper to knock down gloss, then scrub with a degreaser and rinse until the water sheets evenly.
Without that prep, expect adhesion failure and peeling at the edges. For chipping prevention, prime with a primer first, because old paint is slippery as an ice rink.
Let the primer dry per the label, usually four hours, before your first finish coat. Use two thin topcoats and keep the room ventilated.
If you’re searching for painting tile advice, test a small hidden spot first.
Rounding Up
Tile paints are a great roommate, not a lifelong partner: they handle the dirty work for a few years but not forever. For floors, pick epoxy hands down today because it is the tough one.
Compare acrylic for a quick fix today and write down that you will be redoing it sooner. Check your prep today and do not skip sanding, since prep matters more than the paint.
Write down today whether paint is buying time cheaply, then save your real cash for tile you love. Next topic: tile preparation.