How to Apply Galvanizing Primers: Step-by-Step Guide
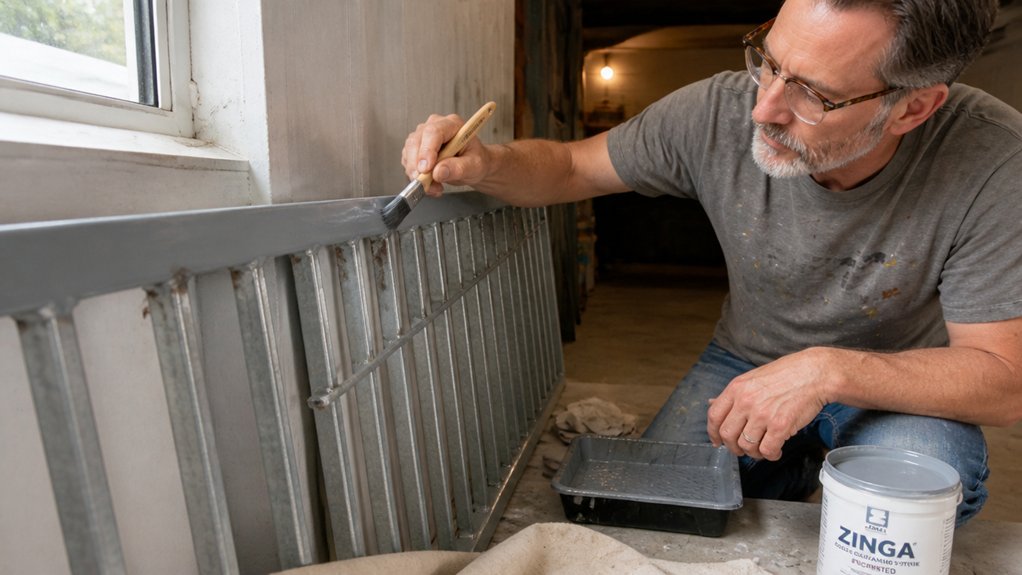
Skipping the primer on galvanized steel is a fast track to peeling paint and rust stains within weeks. Before you pick up a brush, test the metal’s age with an ASTM B 201 swab kit to spot chromate coatings that need cleaning or weathering.
Prep is half the battle, so wipe new metal with mild detergent or use ammonia on older, dirtier surfaces. You’ll want a water-based acrylic primer, not alkyd, since alkyd turns to soap on zinc and destroys adhesion.
Apply the primer thin at about 2.5 mils, then let it cure fully before your finish coats. Keep reading for the complete prep, application, and drying time breakdown that will make your galvanized project last for years.
Quick Answer
- Test steel age with an ASTM B 201 swab; pink means chromates need removal first.
- Clean weathered zinc with ammonia-water or alkaline cleaner, then rinse hot to avoid residue.
- Never use alkyd primer; it reacts with zinc, causing peeling within weeks.
- Apply a thin, even acrylic bonding primer coat at 2.5-3 mils; avoid heavy layers.
- Sand with 100-grit between coats; topcoat after drying, same day for acrylics.
Why Galvanized Steel Needs a Primer Before Painting
Galvanized steel’s zinc coating looks clean, but it’s often hiding oils, chromates, or zinc oxide. Those contaminants stop paint from sticking, so your topcoat will peel within weeks if you skip the prep.
A bonding primer is the fix because it grips that slick zinc surface both mechanically and chemically. Think of it as the middleman that gives your paint a rough, reliable foothold.
The real payoff is rust prevention. Primer seals the zinc’s micro-pores, keeping moisture away from the steel underneath, and it also evens out the surface so your topcoat lays down without brush strokes or lap marks.
Use a primer made for galvanized metal, and let it dry completely before you paint. Check the label for drying time versus cure time, because a fast-dry primer might still need a full day to bond properly.
When you’re ready to topcoat, pick a satin or gloss finish for better durability, and apply it with a wet edge to avoid streaks. Low-VOC paints work fine here, but they still need that primer underneath.
Skip the primer, and you’re just painting a lie. Prime it, and your finish will last years instead of weeks. For maximum protection, choose a primer with a zinc content of 96% or higher to ensure true sacrificial barrier performance against corrosion.
Choosing a Primer: Epoxy or Acrylic Galvanized Steel
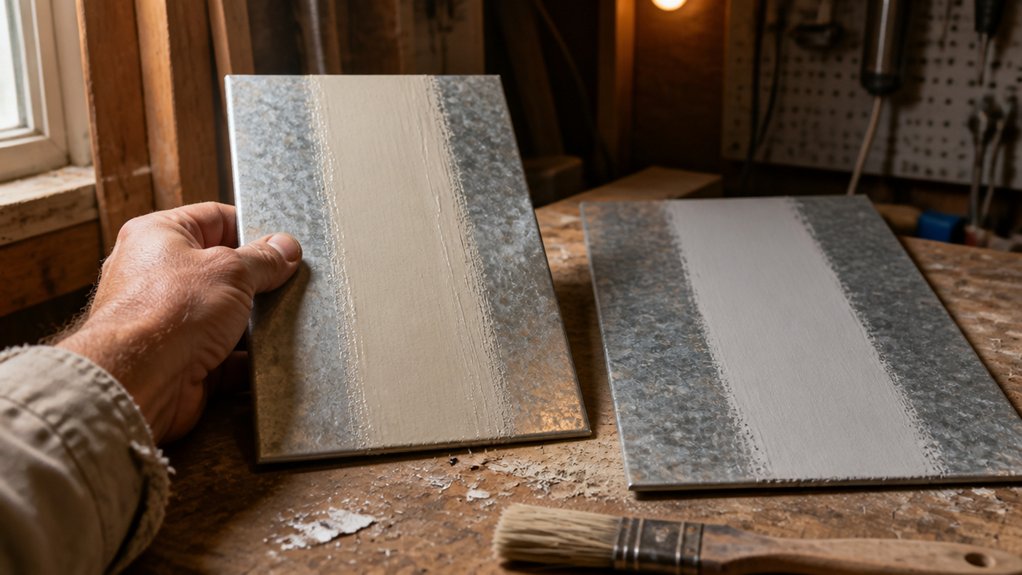
For most DIY jobs on galvanized steel, acrylic primer is the better choice. It gives you plenty of working time and cleans up with water, so you are not fighting the clock or the fumes.
Epoxy primer is tougher and sticks like crazy, but it comes with serious drawbacks. The mixed primer has a short pot life, meaning it hardens in the bucket before you finish brushing it on. You also need to follow strict mixing ratios, and the solvent fumes are strong enough to need a respirator and good airflow.
Acrylic primer is forgiving and water-based, and it bonds well to weathered zinc without all the fuss. You can brush it on a fence or gutter and have hours before it skins over. Drying time is faster too, since acrylic is ready for a topcoat in a couple of hours, while epoxy often needs overnight before you can recoat.
That overnight wait matters when you are working a weekend project. With acrylic, you can prime in the morning, let it dry, and lay down a satin or gloss topcoat by afternoon. Epoxy will cost you a full day or force you to leave wet edges on your next session.
Epoxy still has its place for heavy duty work like a bridge or a marine structure. If you are coating something that takes serious abuse, epoxy’s brutal adhesion and chemical resistance win out. But for a residential fence, gutter, or downspout, acrylic gives you a clean bond without the toxic fumes or strict mixing.
One tip: sand the galvanized surface lightly with 120 grit to knock down the shine, and wipe it with a clean rag. That helps both primers grip the zinc properly. Then apply your primer with a brush or roller, keeping a wet edge to avoid lap marks, and follow with a compatible topcoat for the best finish. For bare steel or aluminum exposed during prep, a phosphoric acid blend ensures proper etching and corrosion resistance before you topcoat.
How to Test Galvanized Steel Age Before Prepping
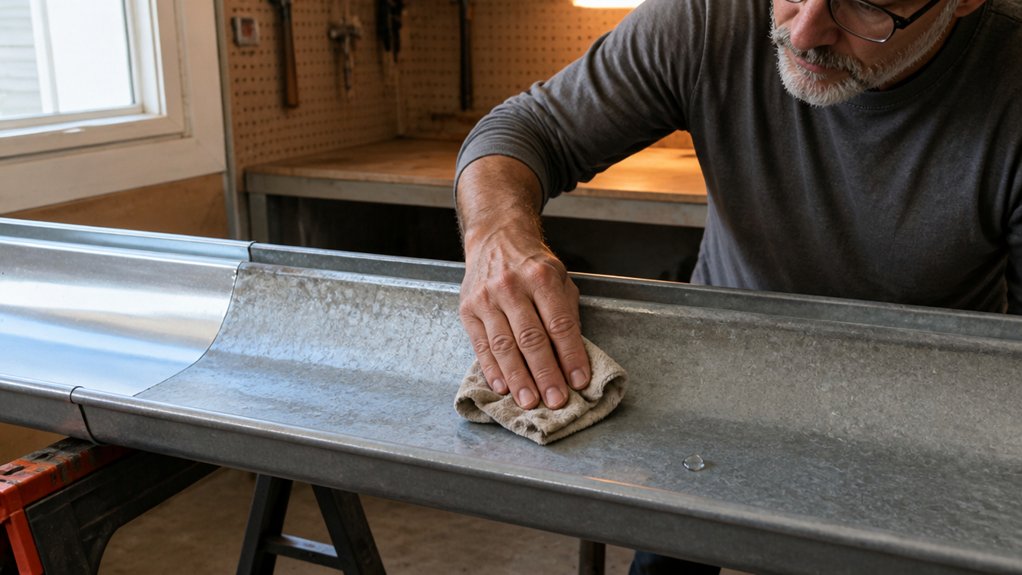
Before you grab any cleaner or sander, you need to know which of the three galvanized life stages you’re dealing with: new under six months, partially weathered from six to twenty-four months, or fully weathered beyond two years. Guessing wrong wastes time and risks the zinc layer that protects the steel underneath.
Start with a chromate test using a simple ASTM B 201 swab kit, which costs around $15. If the swab turns pink, you’ve got fresh chromates on the surface, so that zinc needs more weathering or a chemical removal before you can prime or paint.
If the swab stays clear, you’re in good shape to prep. For partially weathered steel, look for dull gray patches and powdery white rust, but don’t rely on your eyes alone.
The test is your final verdict, because guessing means you’ll likely redo the prep work. After you confirm the stage, choose your sanding grit and primer accordingly, like a 120 grit for light scuffing on weathered metal.
Use a drop cloth to catch dust and keep your work area clean, and pick a low-VOC primer if you’re indoors. For new steel that still has chromates, skip sanding and use a chemical etch or let it weather outside for a few months before you apply any topcoat.
Remember that drying time and cure time are different, so read the label on your primer and paint before you add a second coat. Brush strokes and lap marks show up easily on bare metal, so keep a wet edge and work in smooth, steady passes.
Test first, sand later. Your zinc and your paint will hold up much better, and you’ll avoid the headache of peeling finishes and rust spots down the road.
Matching the substrate chemistry to the right zinc phosphate formula ensures proper adhesion and prevents rust from gaining a foothold.
How to Clean Galvanized Metal Without Stripping the Zinc
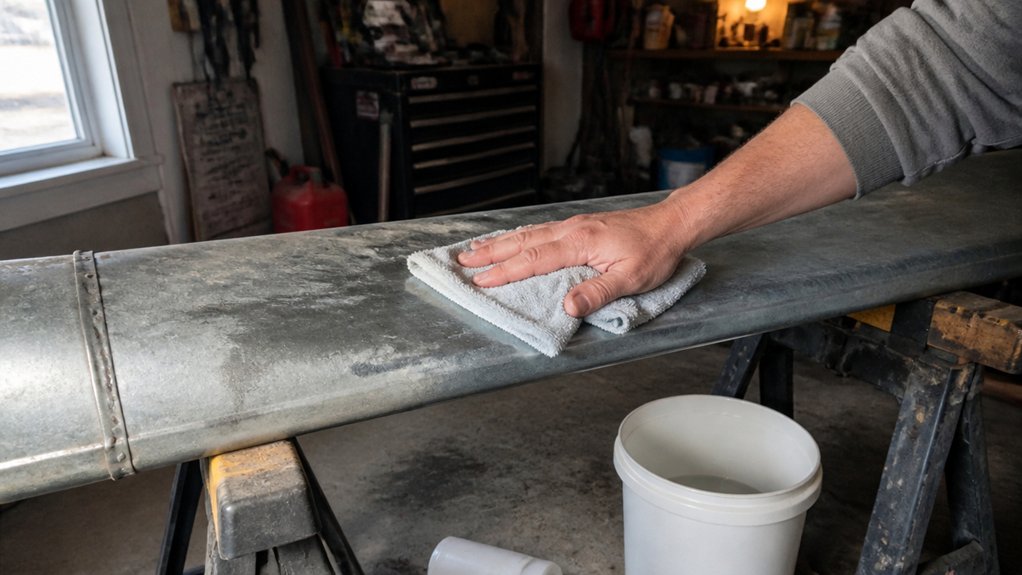
Check the age of your galvanized steel first, because that decides everything. Newly galvanized metal is basically clean, so a quick wipe with a damp cloth and a mild detergent is all you need.
Partially weathered metal, from about six months to two years old, needs a stronger touch. Mix one part ammonia with two parts water, scrub it with a nylon brush, and rinse with hot water until every trace is gone.
That hot rinse is not optional. If you skip it, the ammonia residue will ruin your primer’s adhesion, leaving you with peeling paint and a wasted weekend.
Use a drop cloth under the work area to catch drips, and wear painter’s tape along any edges you want to protect. For the scrubbing, stick with a nylon brush, never steel wool, since steel particles can embed in the zinc and cause rust spots.
Once the metal is dry and clean, you can move straight to priming. Choose a primer made for galvanized surfaces, like an etch primer, and apply a thin, even coat with a brush or roller.
Let the primer dry completely, usually a couple of hours, before you add your topcoat. Use a satin or gloss exterior paint for better durability, and keep a wet edge while painting to avoid lap marks and brush strokes.
VOC levels matter, so pick low-VOC products if you’re working indoors; primer formulas with sub-1% VOCs and basically odorless properties are ideal for safe indoor application.
And remember, drying time is not the same as cure time, so wait a full week before heavy use or cleaning.
Age-Based Cleaning Methods
The galvanized steel’s age tells you exactly how to clean it without harming the zinc. That dull gray patina is a protective layer, so your weathering timeline decides the method.
For steel under six months old, skip heavy cleaning. You only need a light wipe to remove dust or surface dirt.
Between six and 24 months, the surface oxide film and grime need more work. Use an alkaline cleaner with a pH between 11 and 12, never above 13, heated to 140°F to 185°F, and scrub with nylon brushes.
Once the steel has weathered past two years, keep it gentle. A warm water power wash under 1450 psi will handle the dirt without stripping the zinc.
Match your approach to the age, and you protect the galvanized coating. Think of it like sanding a fresh coat of primer versus a cured topcoat, the timing changes your pressure and grit.
A quick rinse with a hose or a soft brush works fine on new panels. For older surfaces, avoid any acid-based cleaners, as they eat into the zinc and leave rust spots later.
If you’re repainting the steel, remember to clean first, then apply an etching primer before your satin or gloss topcoat. Let the primer dry fully, and respect the difference between dry time and cure time, as a rushed recoat leads to lap marks.
Use painter’s tape to mask edges and a drop cloth to catch drips. Keep your wet edge moving for a smooth finish, and check your brush strokes before the coat sets.
For maximum protection on clean ferrous metals, choose a compound with 93% pure zinc to ensure sacrificial corrosion resistance.
Post-Cleaning Rinse Protocol
Rinsing is where most people wreck their galvanized steel without realizing it. Keep the rinse water cool, below 140°F, or you’ll soften the zinc and wash it away.
Use clean water for the final rinse, and tap water is fine, but hard water leaves spots that trap residue. After that, let the surface air-dry completely, about 30 minutes, before you touch it.
That drying time is essential for neutralizing leftover alkaline cleaner, which will otherwise eat your primer bond later. Don’t rush with a rag, since you’ll grind grit right back into the metal.
If you must speed things up, use a clean, lint-free cloth and blot, never wipe, but air-drying is still your best bet. Once dry, check the surface for any powdery white residue, which means the zinc is reacting to leftover chemicals.
If you see that, rinse again with cooler water and dry fully before priming. A clean, dry surface is what lets your primer and topcoat lay down without fisheyes or peeling.
Pick a primer made for galvanized metal, like an etching primer, and keep your topcoat sheen in mind, satin or matte hides minor surface flaws better than gloss. And remember, drying time is not cure time, so wait the full cure before you sand or recoat.
This rinse step is the difference between a finish that lasts years and one that flakes off in months. Take the extra 30 minutes, and your paint job will thank you. For heavy corrosion, a rust converter primer bonds directly to the metal and chemically transforms iron oxide into an inert, paintable barrier.
When to Sweep Blast for a 2-3 Mil Surface Profile
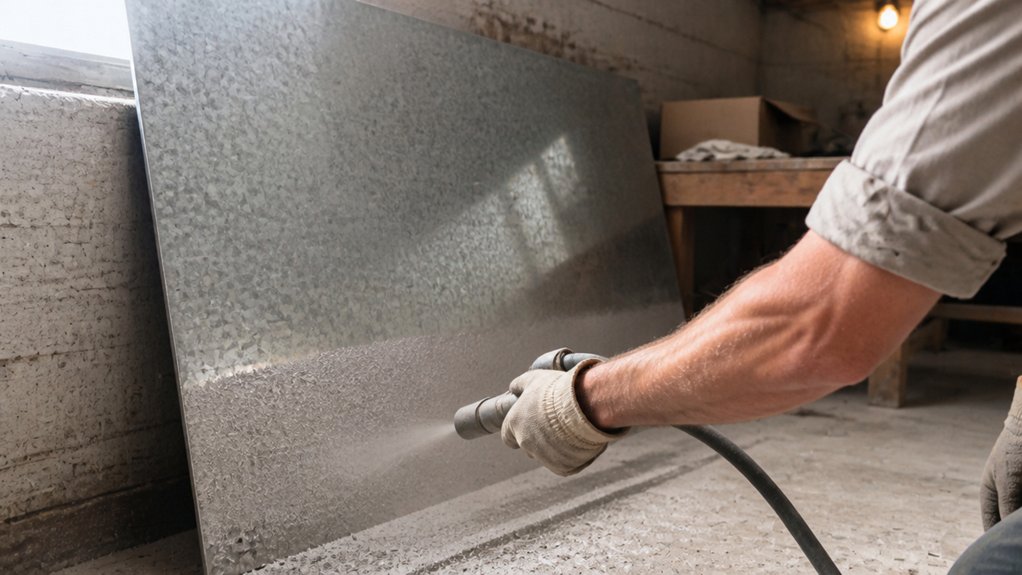
Sweep blasting is the right move when you need a 2 to 3 mil profile on two specific surfaces.
First, hit partially weathered galvanized steel that’s 6 to 24 months old, where a stubborn oxide film has formed, and second, use it when you need to guarantee primer adhesion on any surface that a simple wash won’t clean properly.
Don’t guess on timing; check the slickness of the surface first.
If water beads up and rolls off like it’s afraid of wetting the metal, you’re ready to blast.
For measuring the profile depth, grab a comparator disc or a profilometer, since both are cheap insurance against over-blasting.
Over-blasting strips the zinc coating and opens the door to rust, so keep the media soft, like walnut shell or corn cob, and stay under 50% humidity.
When you’re unsure, sweep blast anyway, because a 2 to 3 mil profile gives your primer teeth to grip onto.
The primer needs that roughness to bond properly, and if your topcoat is a high-gloss urethane, you’ll appreciate the extra bite on a slick surface.
Watch your drying time versus cure time after blasting, since a damp surface will ruin your wet edge and leave brush strokes in the finish.
If you see oxide or feel any doubt about adhesion, don’t skip this step; just lay down a drop cloth, tape off the edges, and get to work.
Since this surface prep targets ferrous metals, remember that the chemistry of rust converters won’t react on aluminum or stainless steel, so confirm your substrate before applying any coating.
How to Apply Primer on New vs. Weathered Galvanized Steel
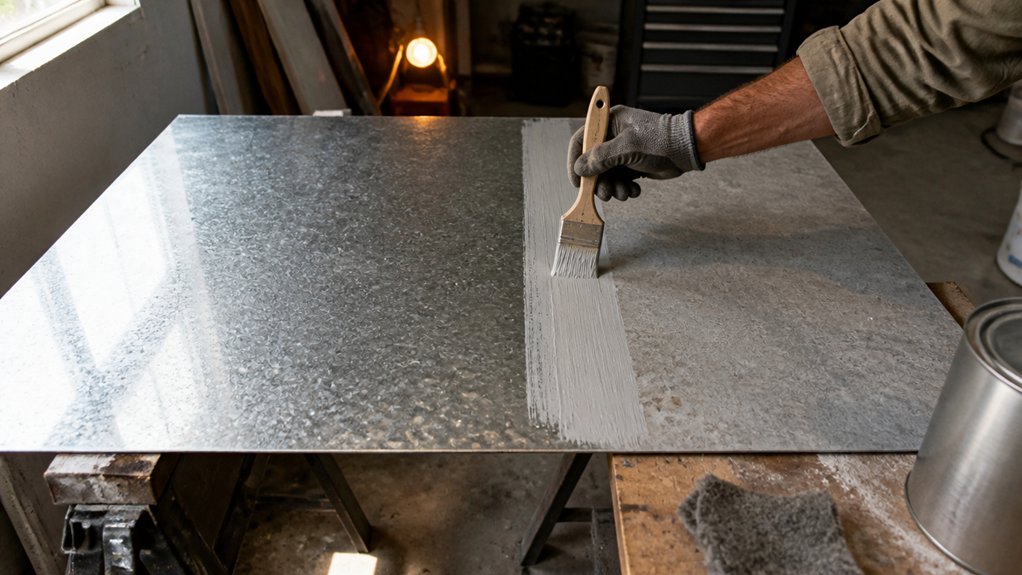
New galvanized steel and weathered galvanized steel need different prep before primer, and treating them the same cost me a redo I won’t repeat. New steel is mostly clean, so a quick solvent wipe handles the light oils left from handling.
Weathered steel is crusty and oxidized, and it needs a sweep blast to etch the surface. Keep that blast pressure under 40 psi, because too much pressure eats the zinc and leaves you rusting from day one.
Your primer choice depends on that zinc layer. Acrylic and epoxy bonding primers work, while alkyds will saponify and basically turn to soap on the surface. Apply one coat at 2.5 to 3 mils thick within hours of blasting, since zinc oxides reform fast and you don’t want to dawdle. High-solids alkyd formulations like the METALIZE Industrial aerosol meet MIL-SPEC standards for direct-to-metal use, but they aren’t right for fresh galvanizing.
Watch your drying time versus cure time before you sand or topcoat, and keep a drop cloth and painter’s tape handy to protect nearby surfaces. Prep right and prime right, and you’ll skip the painful redo I went through.
Common Primer Mistakes That Ruin Paint Adhesion
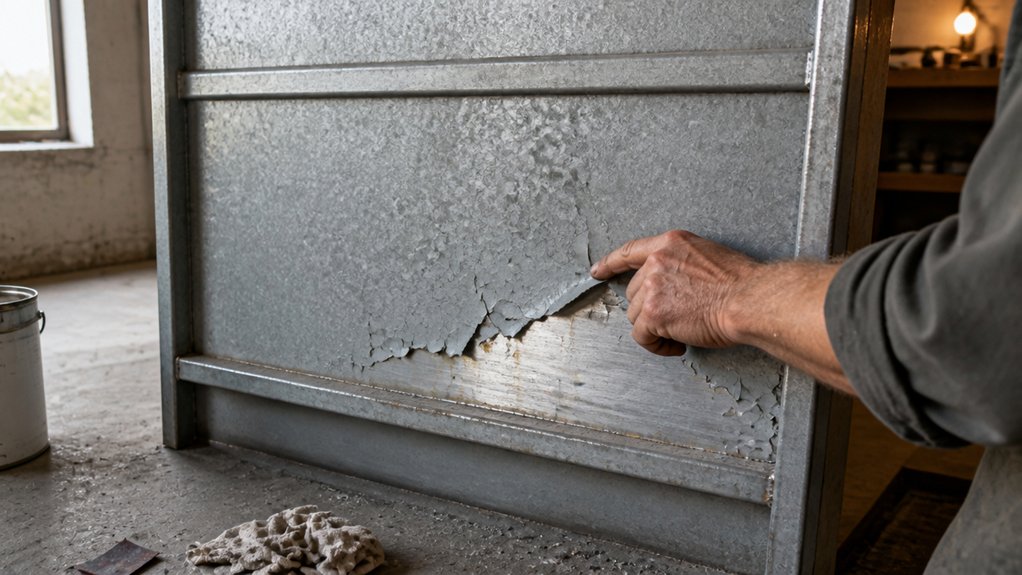
Any primer will not stick to galvanized steel, and three common mistakes explain why. The worst is grabbing an alkyd or oil-based primer.
The zinc on the metal reacts with the fatty acids in that primer and saponifies, which means the coating turns to soap. You will see peeling in weeks, not years, and no topcoat can fix that.
Instead, reach for a water-based acrylic primer made for galvanized surfaces. Those products resist the alkaline reaction and give your topcoat a real bite to hold onto.
A second mistake is over-blasting the steel with too much abrasive. If you strip the zinc coating itself, you lose the corrosion protection and create a slick surface that paint cannot grip.
Stop sanding or blasting once the surface is dull and lightly roughened. You want a profile that helps the primer key in, not a bare, shiny patch.
Before you do any prep work, run the chromate test on the metal. This simple check tells you if the surface is passivated and ready for primer, or if it will reject the coating no matter what you use.
Skip that test and you might waste a full afternoon of sanding, cleaning, and brushing. The test takes five minutes and involves a small drop of a copper sulfate solution, so it is cheap insurance.
When you do start painting, keep the primer coat thin and even. A heavy coat on galvanized steel will trap solvent and fail to cure, leaving a soft film that lifts under your topcoat.
Let the primer dry fully according to the label, and measure drying time versus cure time. The surface may feel dry in an hour, but the chemical bond can take days to develop.
Use a brush with synthetic bristles and keep a wet edge as you work, so you avoid lap marks in the primer. And always check the VOC label on your primer, because low-VOC water-based formulas are the smart, safe choice for this job.
Finally, plan your topcoat the same way you planned your prep. A 100-grit sanding between coats helps adhesion, and a satin or matte finish will hide small flaws better than a high gloss.
Keep a drop cloth and painter’s tape handy before you start, and you will walk away with a coating that stays put. That is the whole secret: the right primer, the right prep, and patience. For tough surfaces like galvanized metal, water-based formulas with low odor and low VOC offer superior flow and leveling that eliminates brush marks for a flat white finish.
Alkyd Primers Fail Fast
Alkyd primer is the usual reason a paint job on galvanized steel peels within weeks. The zinc in the metal reacts with the oil-based fatty acids in the primer, creating a soap-like layer that lifts the coating right off the surface.
That reaction starts fast, even in dry weather, so you often see flaking within thirty days. You might save a few bucks on the primer itself, but redoing the labor costs $2 to $4 per square foot, and that’s pure waste.
Alkyds bond chemically to rust, not to zinc, so the adhesion is doomed from the moment you roll it on. Instead, pick a water-based acrylic or an epoxy primer, which stick to galvanized steel just fine at a similar price. Water-based acrylic primers offer low-VOC formulas that reduce fume exposure while maintaining strong adhesion on slick metal surfaces.
Before you buy, check the can label for the word “alkyd” and walk away if you see it. For a clean job, use a satin or gloss topcoat over the right primer, and keep a wet edge to avoid brush strokes and lap marks.
You don’t need special tools, just a drop cloth and painter’s tape to protect the surrounding areas. Remember that drying time is not the same as cure time, so let the primer fully cure before you add the topcoat.
If you’re sanding between coats, use 220 grit, and watch the VOC level on the label if you’re working indoors. The cheap alkyd route will leave you scraping soap off your wallet, so spend the small extra effort on a compatible system and the paint will stay put.
Over-Blasting Strips Zinc
If you hit galvanized steel with a blaster and heavy pressure, you’re not just scuffing the surface. You’re stripping away the zinc layer, which is the whole point of the coating.
That leaves bare steel wide open, and it will rust faster than you can mix your next batch of primer.
Over-blasting doesn’t clean the metal, it destroys the protection you were trying to prep.
You also carve a profile that’s too rough, with deep pits that trap moisture and lift your paint later.
Sweep blasting with a fine grit and low pressure is the right way to go if you want the zinc to stay put.
| Blasting Mistake | Result |
|---|---|
| High pressure, long duration | Zinc gone, rust blooms |
| Coarse media over 500 microns | Deep pits, weak bond for primer |
| Hot, humid conditions | Flash rust before you can lay down a coat |
| Ignoring sweep blast specs | Patchy coating, peeling topcoat |
Check your grit size and keep the nozzle moving so you don’t dwell in one spot.
If you see the metal turn bright and shiny, you’ve already gone too far and you’ll need a fresh zinc-rich primer.
Paint likes a clean, slightly textured surface, not a gouged one, so treat that galvanized layer like the thin protection it is.
Skipping the Chromate Test
A clean-looking galvanized surface can still reject primer, and that is where most adhesion problems begin. I have learned this the hard way on more jobs than I care to count.
Skipping the chromate test is like skipping the prep work before a topcoat. You might get lucky, but the bond will not hold up over time.
The mistake comes from treating all galvanized steel the same, but age changes everything. New steel under six months old almost always has chromates that need to be removed.
Partially weathered steel between six and twenty-four months is the trickiest zone, so do not guess. Use the ASTM B 201 swab test, which costs under twenty dollars and takes just a few minutes.
A pink or red result tells you chromates are present, and that is your signal to weather the surface or clean it aggressively. A simple wipe-down with a rag will not cut it.
For new steel, plan on a thorough treatment before you even think about primer. For the middle-aged steel, the test takes the guesswork out of the job.
I always keep a small spray bottle of the test solution in my kit, right next to the drop cloth and painter’s tape. It saves me from the frustration of watching fresh primer peel off in sheets.
The test itself is straightforward, you swab a small area and watch for the color change. If you see pink or red, you know you need to wash the surface with a detergent solution and maybe let it weather outside.
You can also use a light sanding with 80 grit to break the chromate layer, but be careful not to cut through the zinc coating. After that, wipe down with a clean cloth and a solvent like mineral spirits.
Do not use a primer until the test comes back clear, or you will be back to bare steel sooner than you think. The drying time of the primer does not matter if it cannot stick to the surface.
I have seen painters skip this step and blame the primer, the paint, or the weather. But the real culprit is usually the invisible chromate film, and the test is the only way to expose it.
Keep your wet edge tight when you apply the primer, and work in small sections to avoid lap marks. A satin or matte primer will show every brush stroke, so go with a gloss primer if you want a smoother final look.
The whole point is to give your topcoat a fighting chance, whether you are using a high-solids polyurethane or a standard acrylic enamel. Run the test before you paint, and you will save yourself the headache of a failed finish.
The cure time of the primer is important too, so read the label and give it the full period before you sand or recoat. Rushing that step is just another way to peel paint off with your thumb a month later.
Frequently Asked Questions
Can I Paint Over Galvanized Steel Without Priming?
Yes, you can paint over galvanized steel without priming, but it is a risky shortcut that often ends in peeling. The zinc layer on galvanized metal is slick and passivated, which prevents paint from forming a mechanical bond. Without a proper etch or primer, your topcoat will likely lift within months, especially outdoors.
Skipping the primer is a false economy, as the prep work will have to be redone. Instead, use a self-etching or galvanized metal primer, which contains acid to bite into the zinc. If you truly skip priming, at least scuff the surface with 120 grit sandpaper and wipe it down with a solvent.
Even then, expect poor adhesion and early failure. A primer also seals the zinc, stopping oxidation from causing white rust under your paint. For a lasting job, apply two coats of acrylic latex topcoat over that primer, and give it 24 hours dry time between coats.
How Long Does Galvanized Steel Need to Weather Before Painting?
Galvanized steel typically needs to weather for at least two years before painting to achieve ideal adhesion. That prolonged exposure lets the zinc develop a stable, chalky patina that coatings can grip properly.
If you can’t wait that long, you must prep the surface thoroughly instead. Use a fine abrasive, around 120 grit, to scuff the entire zinc layer, then wipe it down with a solvent to remove all oily residues.
A self-etching primer is your best friend here, as it bonds chemically to the fresh galvanized surface. This shortcut works, but it demands extra labor and care compared to letting nature do the work.
What Happens if I Use an Alkyd Primer on Galvanized Steel?
Using an alkyd primer on galvanized steel sets off a chemical reaction that causes alkyd adhesion failure and peeling. The zinc coating reacts with the alkyd’s fatty acids, creating a soapy film that the paint cannot bond to, so you’ll see white rust within days.
White rust is your first warning sign, and delamination follows in as little as two to three weeks. Instead, use a water-based acrylic primer specifically labeled for galvanized metal, or etch the surface first with a diluted vinegar rinse.
For a reliable bond today, wipe the steel with a solvent wash, then apply a zinc-rich epoxy primer, which is the compatible synonym for this substrate. Let that dry for at least 24 hours before topcoating, and you’ll avoid the blistering and cost of a redo.
Can I Use a Wire Brush to Clean Galvanized Steel?
Yes, you can use a wire brush on galvanized steel, but only if you choose a stainless steel or brass brush and use very light pressure. A regular carbon steel brush is too aggressive and will strip the protective zinc layer, leaving the metal prone to rust and poor paint adhesion.
Instead of heavy scrubbing, focus on surface etching with a fine abrasive pad, like a 220 grit sanding sponge, which creates the tooth you need without cutting through the coating. For example, if you’re repainting a galvanized railing, skip the wire brush entirely and use a degreaser followed by a light scuff with the pad.
This approach preserves the zinc and ensures your primer bonds properly. Remember, gentle prep beats brute force here, and a phosphoric acid wash is a great alternative for tough spots.
How Do I Know if My Galvanized Steel Has Chromates?
You can’t tell if your galvanized steel has chromates just by looking, but a simple chromate detection kit gives you a clear answer in minutes. For a shop-level check, use a passivation test with copper sulfate: a pink or copper stain means chromates are present, while no color change means the surface is clean.
If you’re unsure, always test before priming, because chromates ruin adhesion and cause paint to peel in sheets. I’d also wipe the metal with a solvent like acetone first, then wait 10 minutes for it to flash off before testing. For a quick field tip, sand a small corner with 120-grit paper and re-test; if the stain disappears, the chromate layer is only on the surface. Search for “chromate conversion coating test” to find the exact kits you need.
Rounding Up
Applying galvanizing primers starts by testing the surface age, which decides your prep and primer match.
Prep is the real battle. Do the age test first, then match your primer to that result.
Skip sandblasting unless you need a profile, and always use a TSP wipe for grease and dirt.
Check your surface with the age test today, compare your primer options, and test a small patch before full application.
I have botched this myself, trust me. Perfect prep is a pain, but it is cheaper than repainting.
Your paint will stick, your wallet stays happy, and your galvanized steel keeps looking sharp.
Read next about choosing the right primer for weathered galvanized surfaces.