How to Apply Gel Paint Strippers: Step-by-Step Guide
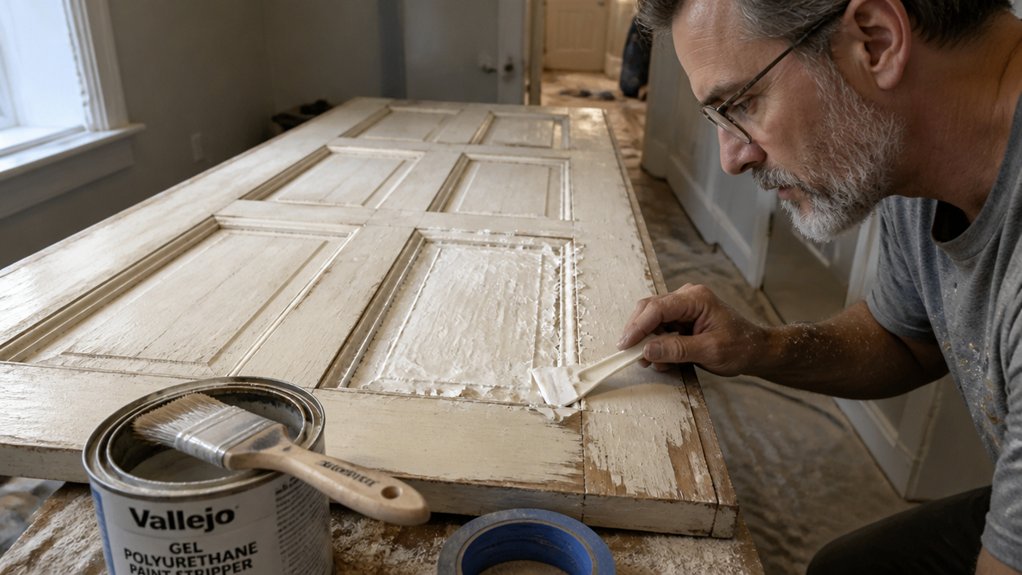
Applying gel paint strippers is the closest thing to patience in a can, but only if you lay it on thick like frosting and let it work. Most DIYers rush the coat or scrape too early, which turns a simple job into a sticky mess.
You will need to check moisture levels first, aim for a wet 1/8 to 1/4 inch layer, and wait the full 30 to 60 minutes before scraping.
The real trick is understanding dwell time, because that is where stripping succeeds or fails. This guide covers surface prep, the right tools, and the cleanup steps to get bare wood without the drama.
Stick with this process, and you will save hours of sanding and frustration.
Ready to tackle that old door or trim? Let’s walk through the method step by step.
Quick Answer
- Test wood and moisture first; damp surfaces halt stripping to prevent peeling.
- Mask hardware and lay drop cloths; prep ensures controlled, safe stripper application.
- Apply gel thick at 1/8–1/4 inch, one-directional, keeping a wet, glistening layer.
- Wait 30 minutes before testing; extend dwell time if finish doesn’t peel cleanly.
- Scrape with plastic, low angle, then wipe mineral spirits and dry before priming.
Get the Wood Ready and Gear Up Safely
Prep is the real ballgame in any gel stripper job. Test your wood species first by hitting an inconspicrable corner to see if the gel stains or lifts the grain.
Prep is the real ballgame. Test gel on an inconspicuous corner first to avoid staining or lifting grain.
Not all woods react the same, so that quick check saves you from a blotchy mess. Do a surface dampness check next.
If the wood feels damp, stop and walk away.
Pushing water into the pores now leads to peeling later. A $30 moisture meter gives you a clear reading and spares you a headache that outlives your patience.
Clean the surface with a sponge and water, then let it dry bone-hard. Mask off anything you care about, including hardware and trim you don’t want stripper on.
Thirty minutes of defense here beats three hours of cleanup afterward. I learned that lesson the hard way, so trust the routine.
Lay down a drop cloth to catch drips and overspray before you start. Use painter’s tape to protect edges, and keep your sanding grit handy for smoothing after the gel does its work.
Plan for drying time versus cure time on any topcoat you apply later. Keep your wet edge consistent when brushing on stain or varnish to avoid lap marks.
A satin or matte sheen hides minor flaws better than gloss, so pick your finish with that in mind. Low VOC products cut the fumes, but they still need proper ventilation.
For thick, multi-layer coatings, consider a water-based gel like Smart Strip Advanced that can lift up to 15 layers without caustic chemicals.
Apply Gel Paint Stripper at the Right Thickness
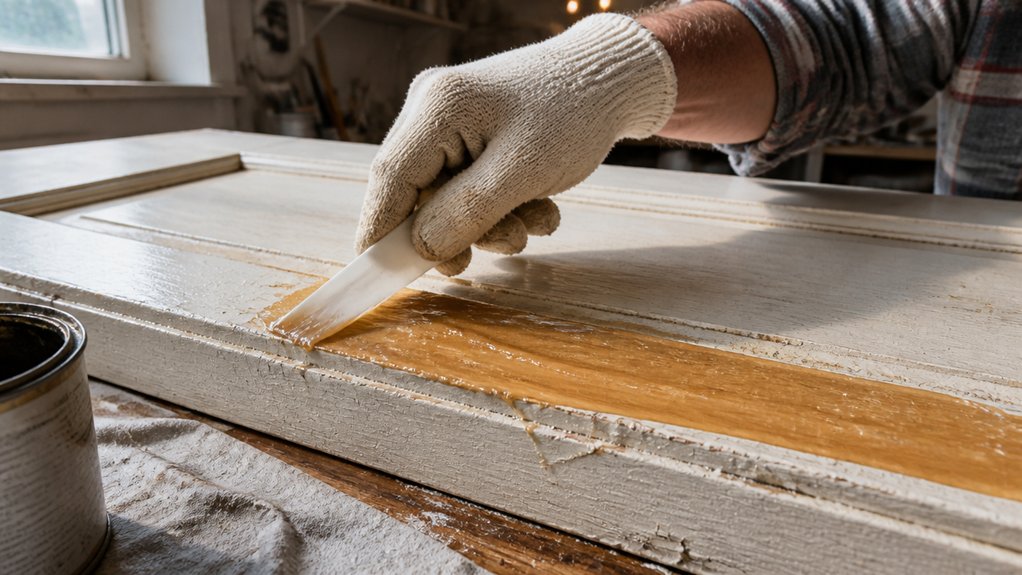
Apply the gel stripper thick, about 1/8 to 1/4 inch, like you are frosting a cake. A thin coat dries into a useless crust, so do not skimp to save product.
Your main goal is keeping the gel wet while it works. On porous wood, add an extra heavy pass because bare grain drinks the stripper quickly.
Use a brush and push in one direction only. Scrubbing back and forth whips air into the gel, which speeds up evaporation and ruins the wet edge.
If the coat looks patchy, re-coat before the surface skims over. You want a wet, glistening layer that is dissolving old paint, not a dusty smear.
Stay generous and keep the surface glossy until you scrape. A saturated coat also lowers the chance of brush strokes, lap marks, and uneven paint removal.
For best results, match the stripper to your finish type, and check the label for drying time versus cure time. Work in a ventilated area, and keep a drop cloth and painter’s tape handy to protect surrounding trim.
For extended working time on vertical surfaces, choose a formula that clings without dripping, such as a gel designed to stay active for up to 24 hours.
How Long Should Gel Paint Stripper Sit?
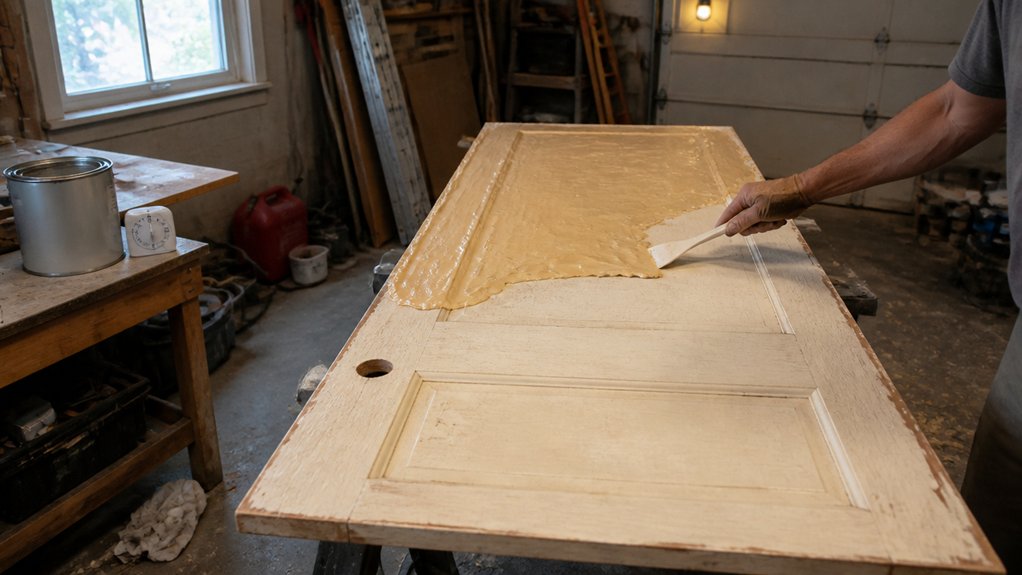
Most people rush this step, and I get it. Waiting feels like watching paint dry, except the paint is supposed to come off.
So how long should gel stripper sit? Plan for 30 minutes to 24 hours, but don’t treat that as a nap break.
Check the surface after 30 minutes with a quick test scrape. If the finish peels in layers, you’re ready to go.
If it doesn’t peel, wait longer and keep the gel wet. Heat, thin coats, or a drafty garage will dry the stripper out.
A crust forms when the gel hardens, and that locks the old paint underneath. If you see that, mist on more stripper or lay plastic sheeting over the area to trap moisture.
For most furniture or trim work, expect a dwell time of 1 to 3 hours. Start testing early and add time in small steps.
Use painter’s tape to protect adjacent surfaces, and keep a drop cloth under your work to catch drips. A satin or gloss topcoat will look uneven if you leave any residue behind, so scrape with a plastic putty knife and wipe with mineral spirits.
Sand the bare wood with 120 grit before priming, then apply your primer and topcoat. Drying time matters more than cure time here, but don’t paint over a damp surface.
The simple rule is to check often and never let the gel dry out. If you catch it early, you’ll save yourself a second pass and a lot of sanding.
Some formulas, like Citristrip, can stay wet and working for up to 24 hours, which is helpful for thick or stubborn layers.
Scrape Off Gel Paint Stripper Without Damaging Wood
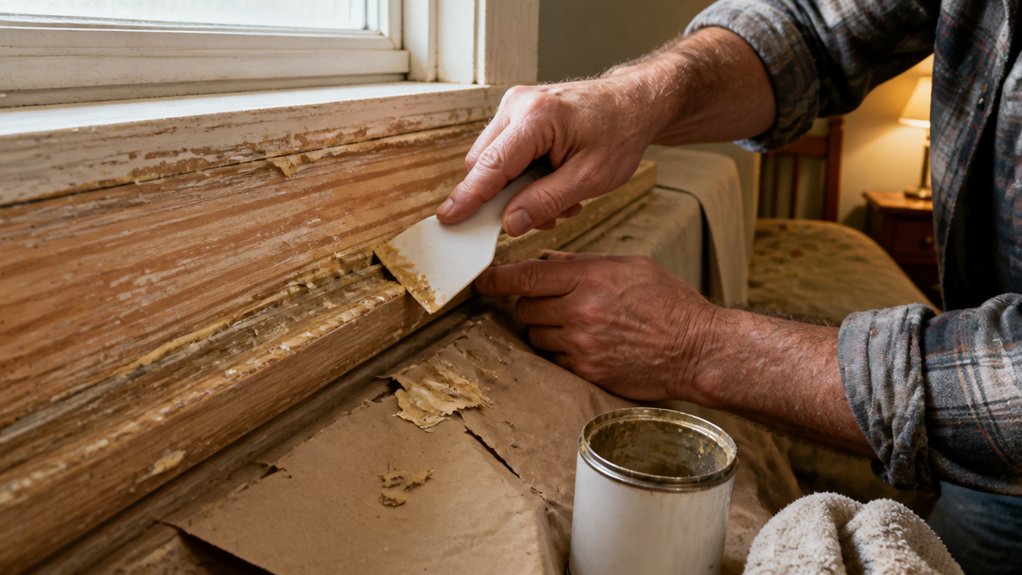
Scraping gel stripper off wood is a delicate job, and rushing it usually ends in gouges that take forever to sand out. Your main goal is protecting the wood, not speed, so treat the surface like it’s fragile.
Scraping gel stripper is delicate work; protect the wood, don’t rush, or you’ll face endless sanding.
Use a plastic scraper only, since metal edges will dig in and cut the grain. Hold the scraper at a low angle, almost flat against the wood, and let the tool do the work.
Work with the grain every time, using short, patient strokes that lift the softened paint cleanly. Press lightly and wait for the gel to release the paint; if it resists, it needs more dwell time, not more force.
A good rule is to test a small corner first, and if the paint still clings, reapply stripper and cover it with a drop cloth to slow evaporation. Once the gel has done its job, the paint should come off like thick paste, leaving the bare wood ready for sanding with 120 grit.
After scraping, wipe the surface with a clean rag and mineral spirits to remove any residue, then let it dry fully before priming. This prep matters because leftover stripper can ruin your primer and topcoat, causing blotchy sheen or adhesion problems. Plastic blades trade longevity for a lower chance of scratching polished surfaces like wood, making them the safer choice during this step.
Slow, careful scraping saves you a full weekend of sanding and keeps the wood smooth for staining or varnish. Remember that drying time is not the same as cure time, so give the wood a day before you apply any finish.
Clean Up Residue and Dispose of Waste Safely
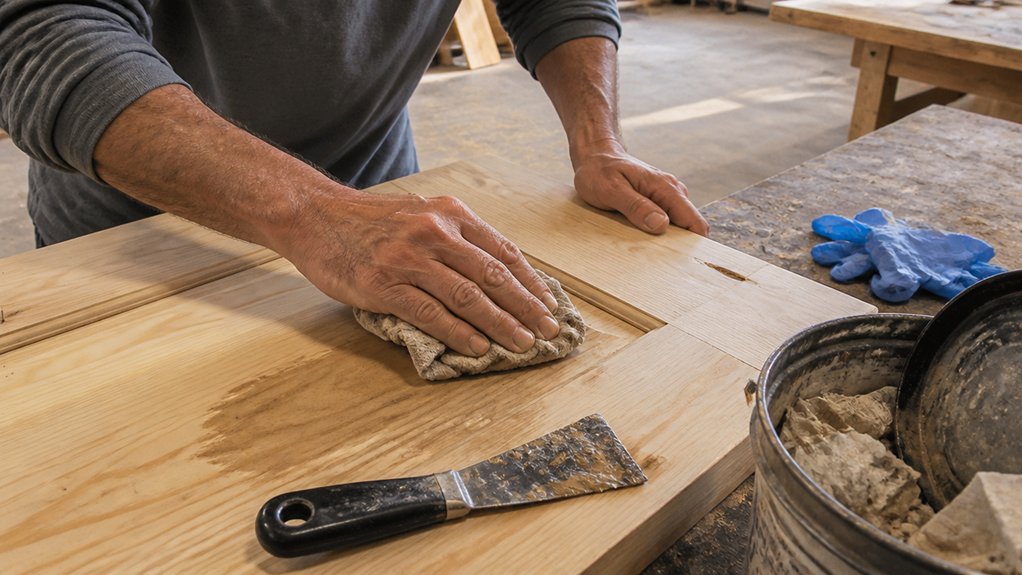
The gel stripper does the heavy lifting, but the job is only finished once the wood is clean and the waste is contained. I scrub with a wet-scrub pad and clean water, then rinse thoroughly, because leftover residue will ruin your final coat of varnish or polyurethane later.
For stubborn film, I switch to odorless mineral spirits on an abrasive pad, and I keep the room ventilated to avoid VOC buildup. A final full water soak neutralizes the stripper so it cannot eat into your new primer or topcoat, no matter the sheen you choose. Odorless mineral spirits are a versatile solvent for cleaning brushes and thinning oil-based paints, stains, and varnishes.
Collect all the sludge and soaked finish into plastic bags and seal them tight, never pour it down the sink. Check your local curbside disposal rules before tossing anything, since many towns require hardened waste in sealed containers.
Scrub residue with a wet-scrub pad and rinse twice to remove every trace. Neutralize with a water soak until the pad is fully saturated, then wipe off any remaining film with mineral spirits in a breezy area. Bag the waste in sealed plastic bags, and put those in the curbside bin only if your town allows it.
Frequently Asked Questions
Can I Use Gel Stripper on Vertical Surfaces Without Dripping?
Yes, you can use gel stripper on vertical surfaces without dripping, thanks to its thick, gel-like viscosity that clings tightly to wood, metal, or masonry.
Unlike liquid strippers that run and pool at the bottom, a gel stays put even on door frames or chair legs, which makes it a reliable choice for awkward angles. Before you commit, always do a vertical adhesion test on a small hidden patch, then apply a single, thin coat with a brush or roller.
For best results, aim for a coat about 1/8 inch thick and wait 15 to 20 minutes for the active working time, checking with a plastic scraper every 5 minutes. If the surface is large, work in sections to avoid the gel drying out, and use a finish scraper or stiff nylon brush for tight carvings.
This stripper also handles multiple layers of old paint well, so you can skip the heavy sanding between passes. Just remember to keep the gel wet while it works, and mist with a spray bottle if it starts to skin over.
What Causes Gel Stripper to Bubble or Foam During Application?
Gel stripper bubbles or foams when a thick coating traps heat and accelerates the chemical reaction, which releases gas as it breaks down the finish. This is a normal response, especially on vertical surfaces or in warm rooms, not a product failure.
Overworking the material with a brush or trowel forces air into the mix, so apply one even, generous layer and then walk away. Let it sit undisturbed for 15 to 20 minutes; you will see the finish wrinkle and lift without any extra stirring.
If you need to speed things up, use a plastic scraper to test a corner rather than adding more stripper, since extra coats cause the same foaming. For stubborn varnish, a second application over the first is better than heavy initial coverage, and you can lightly mist with water to control evaporation. This technique also works with caustic paste removers, though their bubbling is usually more aggressive.
Will Gel Stripper Damage Metal Hardware or Hinges Nearby?
Yes, gel stripper corrosion can damage metal hardware and hinges if they are left unprotected. These chemicals are strong enough to dissolve paint, so they will also attack the finish and even the metal itself over time.
Use painter’s tape and a layer of petroleum jelly to shield every hinge, screw, and plate before you apply the stripper. The jelly creates a barrier that the gel cannot penetrate, while the tape keeps it from seeping into gaps.
Work in small sections and wipe away any stripper that drips onto hardware within five minutes. For extra safety, remove hinges entirely when possible, and store them in a sealed bag until cleanup is done.
This method is the same one I use for brass and steel fixtures, and it prevents etching or pitting. Always test on an inconspicuous spot first, and have a vinegar rinse ready to neutralize any accidental contact.
How Do I Neutralize the Surface After Using a Gel Stripper?
To neutralize the surface after using a gel stripper, you must wipe the area with mineral spirits to dissolve the leftover residue, then follow with a clean water and sponge rinse. This two step process is critical because any residual stripper will bleed through and ruin your new paint or varnish, so never skip the safety rinse.
After the water wash, let the surface dry completely for at least 24 hours in a warm, dry room, or use a fan to speed it up. I always check for a dry, dull look before sanding with 120 grit to ensure no chemical remains.
For stubborn spots, repeat the mineral spirits wipe and let it flash off for 15 minutes, then dry again. This neutralizing step also prevents adhesion failures when you apply your primer or topcoat, and it works the same for paint strippers on trim or furniture.
Can I Reuse the Removed Paint and Residue for Anything?
No, you cannot reuse the removed paint and residue for anything practical. The paint is contaminated with chemical stripper, which ruins its film-forming properties and makes it unsafe for future coats. Paint recycling facilities will also reject it, so don’t bother hauling it there.
Instead, treat it as hazardous waste and dispose of it properly. Let the sludge dry completely in a lined cardboard box, then double bag it and toss it with your regular trash if local rules allow. For a concrete tip, check your municipality’s household hazardous waste drop-off schedule; many accept these materials free of charge. Related terms like “paint waste disposal” will help you find the right guidelines. Bagging and binning is your only reliable move, trust that.
Rounding Up
Applying gel paint strippers means laying on a thick coat, waiting patiently, and using a plastic scraper that won’t bite the wood.
Write down the stripping time from the label and set a timer before you walk away. Test a small corner first to gauge how the paint responds to the gel.
Check your scraper’s edge for burrs, and keep it flat against the grain to avoid gouging. Trust the goo to lift the paint, then scrape smart, even when your arms feel like noodles.
Avoid calling a leftover goopy mess “patina,” and clean each pass with a rag. A related topic to read next is how to neutralize leftover residue before refinishing.