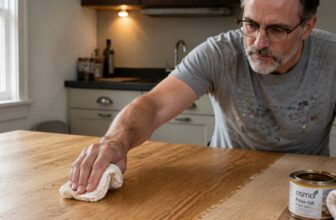
How to Apply Garden Furniture Oils: Step-by-Step Guide
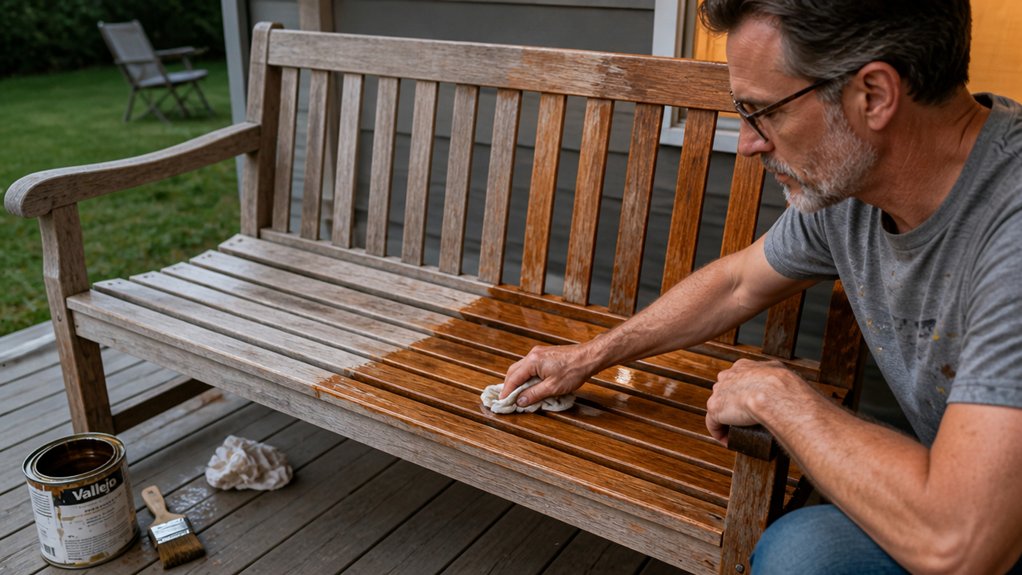
Applying garden furniture oils is the fastest way to bring tired, weathered wood back to life. If your table or bench is looking grey and dry, the fix starts with proper surface prep, not just a fresh coat of oil.
This step by step guide walks you through scrubbing out tannins, sanding smooth, and brushing on thin coats that actually soak in. You will also learn the right drying time between coats so the finish cures hard instead of turning sticky.
Read on for the full recoat schedule and a few renovation tricks that save you time and frustration.
Quick Answer
- Scrub tannin streaks with prep solution and stiff brush, rinsing clean afterward.
- Sand with P80-100 grit, round edges, then wipe dust and let dry fully.
- Apply thin oil coats with a brush, maintaining a wet edge to prevent lap marks.
- Wipe off excess oil after 10-20 minutes; wait full tack-free drying between coats.
- For renovation, lightly sand with 220 grit, apply one coat, and varnish after 48 hours.
Get Your Garden Furniture Ready for Oil
Get your garden furniture oil-ready before you open the can, or you’ll waste both time and finish. If the table has sat through months of weather, tannins have likely bled to the surface as ugly brown streaks.
Scrub those streaks with a dedicated prep solution to pull the oils out, otherwise the new oil won’t stick. Use a stiff brush and work in the grain direction, then rinse with clean water.
Next, check for cracks, because any gap bigger than a hairline traps dampness and will ruin the finish later. Pack wood filler into each gap, let it cure fully, then sand everything with P80-100 grit.
That grit opens the grain so oil can penetrate deep, and it also smooths out the filler for a uniform surface. Don’t skip the edges, round them off with sandpaper to stop splintering and to help the oil seal the end grain.
Give the whole piece a final clean with a tack cloth or a damp rag, then let it dry completely, which can take a full day in shade. Skipping this prep is like baking without preheating, you’ll regret the blotchy, peeling result.
For the best finish, apply a penetrating oil like teak or danish oil with a brush, keeping a wet edge to avoid lap marks. Two thin coats beat one thick coat, and wait the full drying time between them, not just the touch-dry time.
If you want extra protection, add a satin or matte varnish over the cured oil, but only after the oil has dried for at least 48 hours. Use painter’s tape on any legs or metal parts, and lay a drop cloth to catch drips.
Check the VOC level on the can, and work outside or in a ventilated shed to keep fumes low. With proper prep, the oil soaks deep, and your furniture stays smooth through the whole season.
Remember that manufacturers typically recommend waiting 8-12 hours between coats to ensure proper curing and avoid a tacky surface.
Apply the First Coat Without Sticky Patches
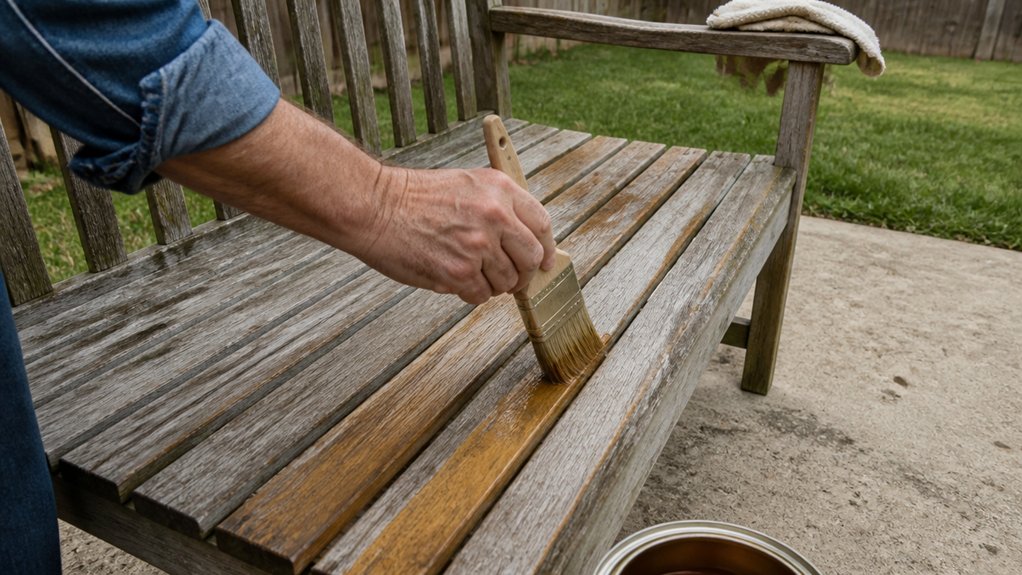
The first coat is where most people go wrong. They apply too much oil and leave the excess on the surface, which dries unevenly into sticky, shiny blotches. Work in thin coats and brush the oil in thoroughly. Being generous is fine, but only while you are spreading it, not when you leave it sitting.
Pay special attention to the end grain. Those cut ends soak up oil quickly, so seal them first before moving to the flat surfaces. Let the oil soak in for ten to twenty minutes. Then take a dry, lint-free cloth and wipe every square inch of the wood. You are removing the leftover oil, not polishing the surface. This wipe-down step is critical because boiled linseed oil dries overnight, but leaving excess on the surface can still cause tacky patches.
A second thin coat later will give you a much better finish than one heavy, gloppy coat now. Think of it like priming a wall: a light, even layer sets the base, while a thick one leaves runs and lap marks. This same logic applies to varnish or polyurethane, where drying time matters more than you think. Stick to the wipe-down step, and you will avoid the sticky patches that ruin a project.
Recoat Times, Drying, and One-Coat Renovation
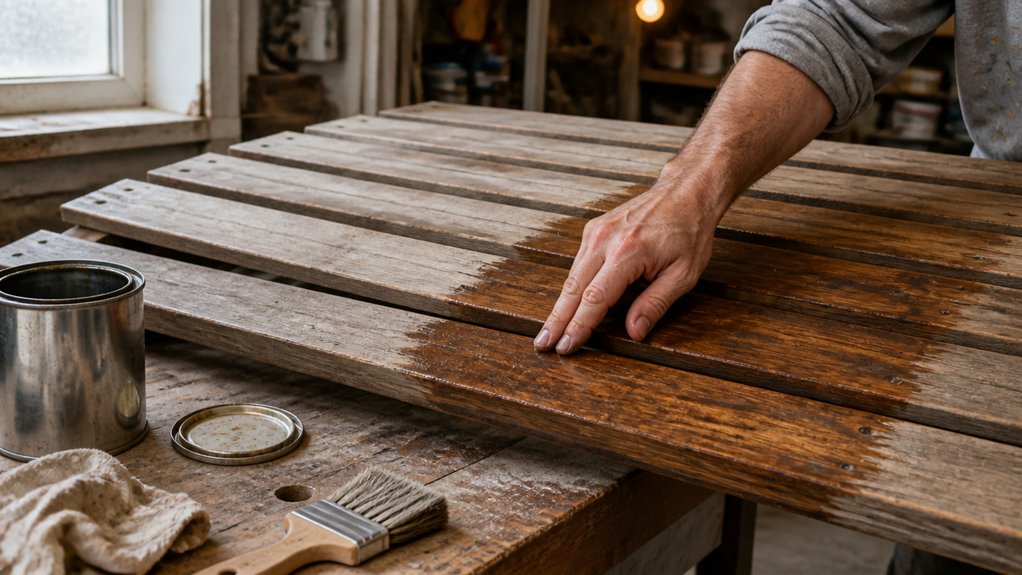
After you wipe off the excess oil and let it sit for ten to twenty minutes, the clock starts on your next move. Drying time means the surface is tack-free, not just dry to the touch.
For water-based oils, plan on a recoat interval of about two hours. Solvent-based natural oils need a full 12 to 24 hours before you can add another coat.
Rushing this step traps solvents underneath, leaving a sticky mess that will ruin your finish. If you are renovating furniture that already has an oil finish, skip the extra coats.
One clean coat usually does the job, so the strict recoat intervals don’t apply. Lightly sand with 220 grit, wipe off the dust with a tack cloth, apply the oil, and walk away.
For new bare timber, expect to apply up to three coats. The oil hardens over four weeks, so do not set a wet plant pot or any damp object on it until then.
Trust the timer, not your impatience. A slow cure also means you can sand lightly between coats without worrying about lap marks or brush strokes.
For a faster initial cure on interior projects, some one-coat coverage options touch-dry in just one hour.
Frequently Asked Questions
Can I Oil Garden Furniture in Direct Sunlight?
No, you should not oil garden furniture in direct sunlight, as it causes the finish to fail prematurely. The sun’s heat thins the oil, so it penetrates too deeply and leaves a dry, patchy film instead of a protective coat.
Instead, work in the shade or on a cloudy day, ideally when the wood surface is below 70°F. Timing is everything: apply oil in the morning or late afternoon, and avoid midday heat to prevent bubbling and uneven absorption.
For best results, sand with 120 grit first, then apply two thin coats, waiting 24 hours between them. If you must move furniture mid-job, let the first coat dry for at least 4 hours in a shaded spot. This also reduces UV damage risk to both the wood and your finish.
What Is the Best Way to Store Leftover Oil?
The best way to store leftover oil is to seal it in an airtight container and keep it in a cool, dark place, away from sunlight or frost. I recommend using a glass jar with a tight lid, since metal can introduce rust and plastic may leach over time.
For most oil-based products, a stable storage temperature between 10 and 15°C is ideal, like a basement shelf. Write the date on the container so you don’t lose track, then stir it well before each reuse because pigments and binders settle.
Properly stored, your leftover finish can stay fresh for months, but avoid mixing old oil with fresh stock to prevent premature curing. If you see a thick skin or a sour smell, discard it and clean your brush with mineral spirits right away.
How Do I Clean Oil-Soaked Rags Safely?
To clean oil-soaked rags safely, you must dry them flat and then store them in a sealed metal container before disposal. Never pile them up, as that traps heat and invites spontaneous combustion.
I spread my rags out individually on a non-flammable surface, like concrete, and let them dry for at least 24 hours. Once they are stiff and crusty, I soak them in a bucket of water to neutralize any lingering oil.
After that, I place the wet rags into a dedicated metal can with a tight lid. This stops oxygen from reaching the linseed oil or varnish residue, which is the real fire hazard.
For a quick check, feel the rag: if it’s warm to the touch, it’s still reacting, so keep it outdoors and flat until cool. Also, search for “oil finish rag disposal” to see local municipal rules, as some areas allow curbside pickup once sealed.
Can I Apply Oil Over Old Paint or Varnish?
Yes, you can apply oil over old paint or varnish, but only if the existing finish is completely clean, dull, and fully cured, otherwise penetration is blocked. For most cases, you cannot simply oil over glossy paint or varnish, since the oil will sit on the surface and peel, so you must sand to a matte sheen first with 220 grit paper.
After sanding, wipe the surface with a tack cloth to remove all dust, then test a small hidden area with your oil and let it dry overnight. If the oil beads up or stays tacky, you need to strip back to bare wood; if it soaks in evenly, proceed with two thin coats, waiting 24 hours between each.
This method works best on old varnish that is still sound, but for layered paint or chipped finishes, full stripping is your only reliable route, since oil over a compromised coating will never bond. For a long-lasting result, always prioritize bare wood over any existing coating, and remember that a thorough sanding beats a quick oil touch-up every time.
How Long Should I Wait Before Sitting on the Furniture?
You should wait at least 4 weeks before sitting on newly finished furniture, as the coating needs that full period to reach its final hardness. During the first week, the finish is still releasing solvents, so even light pressure can leave permanent imprints or dents in the surface.
After the initial seven days, the film will feel dry to the touch, but it remains soft underneath. Cooler, damp weather slows this curing process considerably, so add several extra days if your shop or home sits below 65°F. Protect the piece from rain and heavy use during this window, and avoid placing books, lamps, or plant pots on it.
For a quick test, press your thumbnail into an inconspicuous spot; if it leaves a mark, wait another week. Use a 220 grit sandpaper to lightly scuff the surface before applying any additional coat of polyurethane, which helps with adhesion. This waiting period applies equally to water-based and oil-based varnishes, so patience is your best finishing tool.
Rounding Up
Apply garden furniture oils by coating every surface, then walk away and let the oil cure fully before touching anything.
Resist the urge to poke the glossy finish, because fingerprints will force you to redo the work. Check the furniture tomorrow instead of today, and trust the process even when the shine looks tempting.
Write down the oil brand and the date you applied it, so you can compare how long the protection lasts. Test the cured surface with a few drops of water to see if it beads up and repels rain.
Ask yourself if the wobbly bench needs tightening before the next coat, since oil alone won’t fix loose joints. The twenty bucks of oil is cheaper than replacement, so that cost is worth respecting.
Read next about cleaning and prepping teak before sealing.