
How to Apply General Use Spray Paints: Step-by-Step Guide
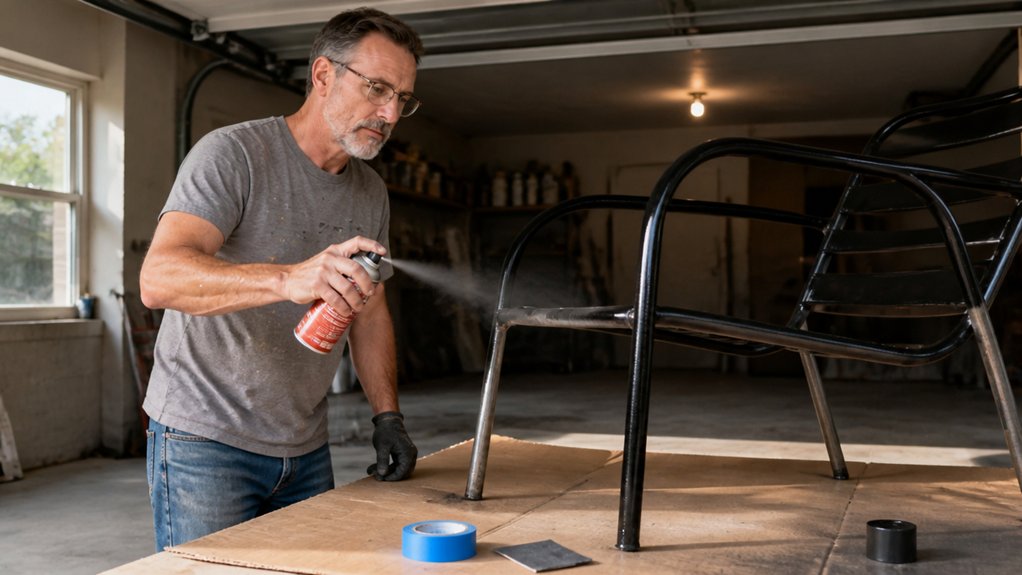
Applying general use spray paints sounds simple until your finish drips, sags, or peels. The secret is surface prep, primer, and patience, not luck.
Clean the surface, sand any glossy sheen flat, and prime bare metal before you spray. Shake the can for two minutes, keep it 10 to 16 inches away, and sweep past the edges for even coats.
Two light coats with proper drying time beat one heavy coat every time. If drips happen, sand them flat and respray.
This guide walks you through the full step by step process, including cure time and common mistakes. Stick around to get a smooth, durable finish on your first try.
Quick Answer
- Prep surfaces with cleaner, grain filler, sanding, and primer for proper adhesion.
- Shake spray can 1-2 minutes; re-shake 15 seconds between coats for even color.
- Hold nozzle 10-16 inches away; sweep passes off-edge, overlapping slightly.
- Apply two light coats; sand between coats with 320 or 400 grit.
- Recoat within 1 hour or wait 48 hours; fix drips by sanding and respraying.
Prep Your Surface and Workspace
Paint over a greasy fingerprint and you might watch the finish peel off like a sunburned sticker. That failure is the surface telling you it wasn’t ready. Strip away dirt, grease, and loose paint with a cleaner-degreaser before you spray anything.
The surface peeling off is just it telling you it wasn’t ready—strip the grease before you spray.
Rinse it fresh, let it dry completely, and you already solved most adhesion problems. On bare wood, I apply a grain filler to smooth the porous fibers and give you a flawless base. Sand glossy spots lightly with 220-grit to create tooth, a rough profile that boosts paint adhesion. Don’t skip primer on bare metal or wood; it’s your insurance policy against rust bleed and stain show-through.
Check your workspace before you open the can. Keep wind out, dust down, and humidity under 65 percent, otherwise you’re just painting a mess onto a mess. A drop cloth catches overspray, and painter’s tape protects edges you don’t want coated.
When you do spray, keep a wet edge so lap marks don’t show up later. Remember that drying time and cure time are different; you can touch the surface after a few hours, but the topcoat needs days to fully harden. For a smooth final layer, pick a sheen that matches the room, like satin for walls or gloss for trim, and always work in even passes.
If you’re finishing wood with varnish or polyurethane, stir gently to avoid bubbles, and sand between coats with fine grit to knock down dust nibs. Low-VOC paints are worth the extra cost if you’re indoors, since they cut fumes without sacrificing durability. Keep your brush strokes going in one direction, and reload often to avoid dragging a dry brush. Any-angle spray tips help avoid wrist contortions during overhead applications while maintaining an even coat.
That’s the whole trick: prep the surface, control the environment, and let each coat do its job. You’ll get a finish that sticks and looks clean, without the peeling drama.
Shake and Load Your Spray Can
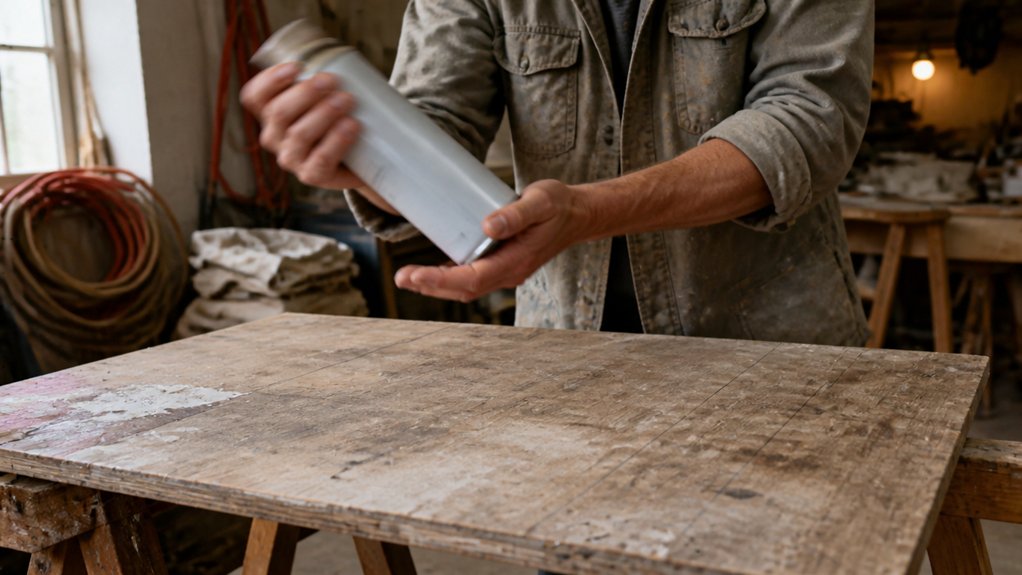
Your prep work is done and the surface is clean and primed, so now it’s time to wake up that can of paint. Grab the can and give it a solid shake for a full one to two minutes, not a casual ten-second jiggle.
You’ll hear the mixing ball rattle inside, and that’s your cue that the pigment is actually blending. If it stays silent, don’t whack it like a ketchup bottle; call the manufacturer instead.
Listen for the rattle before you even point the nozzle at your drop cloth or painter’s tape edge. Once you hear it, shake for one full minute, then you’re ready to start. For longer sessions, consider a full-hand trigger handle to reduce finger fatigue and keep your grip steady.
Give the can a quick 15-second re-shake between coats to keep the color even and avoid lap marks. Stop immediately if the spray sputters, because that means you let it sit too long between passes.
Skipping this step is why half your projects end up streaky, especially on a fence where the sheen catches the light wrong. I’ve learned that the hard way on a satin finish I still pretend looks fine.
Load the can up and you’re ready to lay down a wet edge without brush strokes or uneven gloss. Just remember, drying time matters less than keeping the spray moving, so stay steady and keep the can level.
Master the Spray Paint Technique
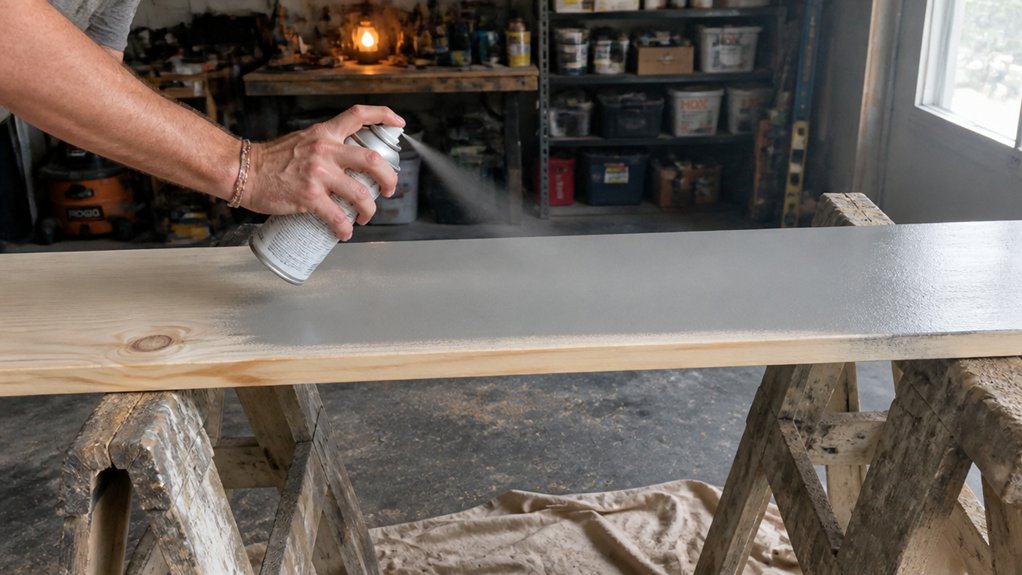
Getting a smooth, factory-like finish comes down to your wrist, not the can. Keep the nozzle 10 to 16 inches from the surface, and hold that distance steady.
Too close and you flood the paint, causing runs. Too far and you get a dusty, grainy texture like sandpaper.
Start each pass off the edge of the workpiece, press the trigger, sweep across, then release past the other side. Overlap each stroke slightly, like shingling a roof, so the wet edge stays even and you avoid lap marks.
If you see runs, you’re too close, so pull back. Patchy coverage means you skipped the overlap, so widen your strokes.
Blush or a dull haze appears when you move too fast, so slow down. Keep the can moving at all times, and never pause mid-stroke.
Two light passes always beat one heavy, drenched coat. That approach also helps you control sheen, whether you’re spraying a satin topcoat or a gloss polyurethane. Water-based acrylics with low-VOC fumes allow you to stay in the room during application without harsh odors.
Work in a well-ventilated area and watch the VOC levels in your paint. A drop cloth and painter’s tape will protect everything else in the room.
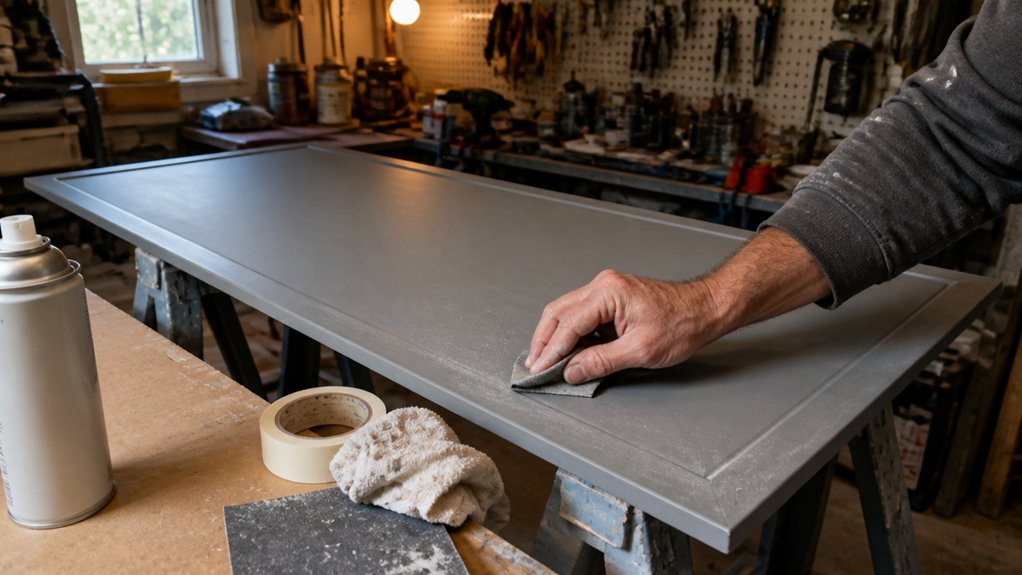
Let the first coat dry before you add the second, and remember that drying time is not the same as cure time. Sand between coats with fine grit, like 320 or 400, to knock down any nibs before you lay down the next layer.
Dry, Recoat, and Fix Spray Paint Mistakes
Once the last coat is down, you have about 20 minutes to touch up, but a full hour before it’s safe to handle. Wait 24 hours for true cure time, so don’t rush that fresh finish into service. Spray within an ideal temperature range of 55°F to 75°F to ensure the coating sets properly.
That tacky surface you’re tempted to poke? Leave it alone. Dry adhesion needs that full day to lock in properly.
Recoat within that first hour, or wait a full 48 hours. Anything in between is a peeling disaster waiting to happen.
Fix drips by sanding them flat with fine grit, wiping off the dust, and respraying a light coat. For runs, let the paint cure completely, then sand and recoat with no shortcuts.
A cloudy haze means high humidity was in the air. Let it dry, then respray on a drier day to avoid the same problem.
If the paint is still tacky after 24 hours, strip it down and start over with a fresh primer and topcoat. I’ve been there, and it’s usually the paint’s fault, not yours.
Patience now saves you from sanding regrets later. Keep a wet edge, use a drop cloth, and respect the drying time before you bring in the painter’s tape or polyurethane.
Frequently Asked Questions
Can I Spray Paint Indoors if I Open Windows?
Spray painting indoors, even with windows open, is not safe, as window airflow alone cannot provide the ventilation needed to clear solvent fumes and fine airborne particles. I’d never attempt it, because the overspray and vapors linger in the room and settle onto every surface, creating a sticky film that’s tough to remove.
Take the project outside or into an open garage with the door raised, and position a fan behind you to push mist away from your breathing zone. If you must work inside, use a water-based acrylic enamel and keep coats light, waiting at least 30 minutes between passes to let each layer dry.
That extra drying time matters: heavy wet coats trap solvents and cause blushing or fisheyes. For a quicker, safer alternative, look into a portable spray booth or a respirator with organic vapor cartridges, which filters what the windows never will.
How Long Should I Wait Between Primer and Paint?
You should wait about 20 minutes after the primer is dry to the touch before applying your first coat of paint. That tack free stage means the solvents have flashed off, but the film is still open enough for good mechanical bonding.
Keep your spray passes light and even, holding the gun about 8 inches from the surface to avoid flooding it. Watch the wet edge closely; if the paint looks thick or glossy while applying, you are laying it on too heavy and runs will form.
For the best intercoat adhesion, recoat within one hour or wait a full 48 hours for the paint to cure completely. If you miss that window, lightly sand with 320 grit and wipe down with a tack cloth before the next coat. This same rule applies to automotive and lacquer based finishes.
What Causes Spray Paint to Look Dull After Drying?
Spray paint looks dull after drying primarily because the coating went on too dry, often from overspraying in hot, windy, or low-humidity conditions, or from holding the can too far away. This leaves a rough, thirsty surface that scatters light instead of reflecting it, so the finish loses its natural sheen.
A quick fix is to let the paint cure fully for at least 24 hours, then lightly sand with 400 to 600 grit paper to knock down the dry overspray. Clean off the dust, then recoat with a wetter, heavier pass, keeping the nozzle about 8 inches from the surface for a smooth film.
For a permanent shine, apply one or two clear gloss coats as your dull finish fix, waiting 30 minutes between coats. This adds depth and protection. Always test on scrap first, and avoid spraying below 60°F or above 85°F. Proper recoat timing is your best ally against that flat, lifeless look.
Can I Use Spray Paint on Plastic Surfaces?
Yes, you can use spray paint on plastic surfaces, but only if you prepare the material correctly. Plastic adhesion is genuinely tricky because the surface is slick and resists coating, so skipping prep guarantees early peeling.
Clean the part with warm soapy water, then scuff it using 220 grit sandpaper to create a mechanical tooth for the paint. Wipe away dust with a tack cloth, then apply a plastic-specific primer in light, even coats before your top color.
Wait 15 minutes between primer coats and let it cure fully for a few hours. For the final finish, spray two thin coats of acrylic enamel rather than one heavy pass, which avoids runs and improves durability.
If you need a tougher result, consider a urethane topcoat or a clear sealer after curing, though enamel works for most indoor items. Always test on a hidden area first, and remember dry time doubles in humid weather, so plan accordingly.
Why Does My Spray Paint Can Stop Spraying Mid-Use?
Your spray paint can stops spraying mid-use because the nozzle is clogged or the propellant has been depleted. First, remove the nozzle and soak it in lacquer thinner or acetone for a few minutes, then blow through the hole with compressed air to clear dried paint.
Shake the can vigorously for a full 60 seconds, even if you did before, and test on scrap cardboard. If only a sputter comes out, invert the can and press the tip until no paint sprays, which clears the dip tube.
If the can remains silent after cleaning, the propellant is gone, so stop wasting time. For future jobs, store cans upside down after use, and always wipe the nozzle tip with solvent before capping to prevent clogging. A related trick is to use a straw nozzle for precise work, which often blocks less than the standard cap.
Rounding Up
To apply general use spray paints, you prep, shake, and spray in thin, even passes over the surface.
Then you leave it untouched until fully dry, no matter how tempting it is to check.
Write down the square footage your project covers before starting, so one can handles the area without waste.
Test your spray on scrap material first, matching the same distance and speed you will use on the real piece.
Compare your dry time against the can’s label, then add extra hours beyond that for safety.
A single can covers roughly 25 square feet, which measured about the size of a small bathroom wall.
Patience is the real cost, so set a timer and walk away.
Read next about applying clear coats over spray paint.


