How to Apply Isopropyl Alcohols: Step-by-Step Guide

You grab a 70% isopropyl alcohol solution, not the stronger stuff, because the extra water slows evaporation and gives it time to kill germs. Saturate a lint free wipe, then move it in one direction across your surface, keeping it visibly wet for a full 30 seconds before letting it air dry.
No rinsing, no reapplication, just a steady hand and a capped bottle away from flames. Test on a hidden spot first to protect your finish, and you are set for a clean base before primer or paint.
This method matters for surface prep, but the full guide covers drying time, cure time, and how to avoid common mistakes. Stick with this step, and the rest of your coating process will go smoother.
Quick Answer
- Saturate a lint-free wipe with 70% IPA, wiping in one direction to avoid dragging grime.
- Keep surfaces visibly wet for at least 30 seconds, reapplying if drying occurs sooner.
- Spray IPA onto the wipe, not directly on electronics, to prevent oversaturation damage.
- Test on a hidden spot first, as IPA can swell rubber or soften glued lenses.
- Let surfaces air dry fully; do not rinse, and store away from heat and sunlight.
Why 70% IPA Beats Higher Concentrations
You’d think the strongest alcohol would kill germs best, but 70% IPA actually wins. Higher concentration evaporates too fast, leaving the surface dry before the alcohol can do its work.
It’s like wiping a stain with a fast-drying solvent: you get one quick pass and the shine is gone before the varnish even softens. The water in 70% IPA slows the evaporation, which gives the liquid more time to sit on the surface and penetrate the microbe.
That longer wet contact time is what breaks down the cell walls properly. Think of it like keeping a wet edge while brushing on a topcoat, you need the film to stay workable to get full coverage.
That longer wet contact time is what breaks down cell walls properly, like keeping a wet edge for full coverage.
Pure alcohol dries so quickly it leaves survivors, almost like skipping a sanding grit and wondering why the finish looks rough. With 70%, the water helps denature proteins, which is the actual mechanism that wrecks the germs.
You do not need to reapply or scrub twice. Just wipe once, let it stay damp for a few seconds like you would with a stain before wiping off the excess, and it finishes the job.
I learned this scrubbing a counter with 91% and watching it vanish in seconds. Now I mix my own from concentrate, just like thinning shellac, and I keep a dropper bottle of 70% near my drop cloths and painter’s tape. This is why 70% is recommended for cleaning cuts and preparing skin.
Supplies and Gear for Mixing 70% IPA Safely

You cannot grab any random plastic cup and pour 99% IPA into it. That will melt the container and ruin your mix, so start with the right gear.
You need nitrile gloves and safety goggles, about $10 total, because IPA fumes and splashes are nasty on skin and eyes. Use a glass bottle or an HDPE plastic jug, since both resist the solvent without breaking down. Nitrile gloves are a smart pick here because they are powder-free, latex-free, and hold up against solvents without tearing easily.
These two items are non-negotiable, and they put you ahead of most garage tinkerers. Treat the mixing like you would handle a strong stripper or a fresh can of lacquer thinner.
Wear your gloves and goggles before you even open the bottle, just like you would suit up before brushing on a high-VOC topcoat. Pour the 99% IPA and distilled water into the glass or HDPE container, never near a flame or spark.
Work in a ventilated area, ideally near an open window or a fan, because the fumes will hit you fast. Mix slowly and stir with a clean wooden stick, not a metal rod that could react, and keep the lid off for a few seconds.
After mixing, cap the container tightly and wipe any drips off the outside with a rag. Label it clearly with the date and percentage, because mistaking this for water is a bad idea, especially if you store it near your paint shelf.
Set the bottle on a stable surface, away from the edge of your workbench, and out of reach of kids or pets. The whole process takes less than five minutes, and you will have a safe, usable cleaning solution for your spray gun or brush.
One final habit: always check the cap seal before you shake or pour, and never store it in direct sunlight or next to a heater. That keeps the IPA stable and your shop safe, just like you would store varnish or polyurethane in a cool, dark cabinet.
Essential Safety Gear
Nitrile gloves, a box of 100 for about $10, handle isopropyl alcohol splashes without letting your skin dry out like a raisin. I grab a fresh pair each session, since reusing them defeats the whole point.
They fit snug, cost little, and keep my hands from turning into cracked leather, which matters when you’re mixing flammable stuff. Safety gear isn’t optional here.
Safety goggles at around $8 are non-negotiable, because an IPA splash in the eye stings hard and you don’t want to learn that the hard way. A lab coat or apron, roughly $20, shields your clothes from stains and chemical wear, just like a drop cloth protects a floor from paint splatter.
If you have a fume hood, use it every time; ventilation is your best friend, similar to keeping a wet edge when brushing varnish so you avoid lap marks. A fire extinguisher, about $25, stays within arm’s reach since IPA’s flash point is low, much like how you’d keep a rag bin sealed after oil-based polyurethane.
Gear up, stay ventilated, and you’ll mix 70% IPA without drama. My own eyebrow learned that lesson, so trust the process.
For finishing work, the same mindset applies: primer seals the surface, topcoat sets the sheen from matte to gloss, and you always check drying time versus cure time before sanding with the right grit. Keep your workspace tidy, use painter’s tape for clean edges, and low-VOC products cut the fumes without sacrificing durability.
Work in short sessions, keep your brush strokes even, and let each coat cure fully. That’s how you get a smooth finish and avoid the mess. To further protect your lungs from solvent fumes during any mixing or finishing work, use an organic vapor cartridge respirator like those approved for paint solvents.
Mixing Container Choices
Use a dedicated glass or high-density polyethylene (HDPE) bottle for your IPA mix. A 500 mL HDPE container costs about $5, and it won’t shatter or leach chemicals like a random soda bottle will.
Glass resists IPA’s solvent action, but it’s heavy and breaks if you drop it on a concrete floor. HDPE is lighter, tougher, and I’ve ruined too many batches using old drink bottles that dissolved or cracked under the alcohol.
Check the side for measurement marks before you buy. If you eyeball 70 mL of IPA and 30 mL of water, you’ll likely end up with a weak 40% solution that leaves streaks and fails to sanitize your brush handles or spray tips.
A marked bottle costs a few cents more and keeps your mix accurate, so you get a proper wet edge when wiping down a surface before a topcoat.
Get an HDPE bottle with clear graduations and write “70% IPA ONLY” on the side with a permanent marker. Keep it near your drop cloth and painter’s tape, away from your stain and varnish cans, so you never grab the wrong thing mid-project.
Mixing IPA in the kitchen is a bad habit, and it’s just as risky as thinning polyurethane in a yogurt cup. For accurate small batches, use a cup with printed ratio guides so you aren’t guessing at volumes, then label it, and move on to sanding that next coat with 220 grit.
How to Prepare 70% IPA From 99–100% Alcohol

70% isopropyl alcohol kills better than 99% because the water slows evaporation, which gives the alcohol more time to break down germs on a surface. Straight 99% dries too fast to do the job properly, so adding water is not a compromise, it is the correct step.
Grab a clean measuring cup or a graduated cylinder and pour 70 mL of your 99% IPA into it. Add 30 mL of distilled water, or cool tap water works fine in a pinch, then swirl the mixture gently to combine. Do not shake it like a paint can; you want a smooth blend without introducing bubbles.
The dilution math stays the same every time: 70 parts alcohol to 30 parts water. For a bigger batch, just scale it, for example 700 mL of alcohol with 300 mL of water. Taking a 70/30 approach mirrors the ratio found in commercial solvent blends designed for maximum surface contact time.
Store the mix in a tightly sealed amber or glass bottle, away from sunlight and heat, and it will stay effective for months. Keep it out of reach of kids and pets, and label the bottle clearly so you do not mistake it for a finishing solvent.
In my workshop, I keep this diluted IPA in a squirt bottle next to my sanding station for cleaning dust off bare wood before a final coat. It dries fast enough to avoid raising the grain, but the added water gives it enough contact time to lift grease and finger smudges before you lay down a primer or topcoat.
For brushing on polyurethane or varnish, a quick wipe with 70% IPA removes the last bit of sanding dust without leaving a residue that would mess up your wet edge. It is also handy for cleaning brushes right after a job, before the finish hardens, especially when you are using water based products with low VOC levels.
Avoid using it on fresh lacquer or shellac, since the water can cloud the sheen or leave a matte patch. Stick to wiping down between coats of cured finishes, and you will see fewer lap marks and brush strokes in the final gloss.
Disinfect Surfaces With 70% IPA: Wipe, Wait, Dry

Wipe, wait, dry is the whole ritual, and it works better than you’d think. Saturate a lint-free wipe with 70% IPA, then wipe in one direction so you don’t drag grime back over clean spots.
Keep the surface visibly wet for at least 30 seconds. If it dries sooner, reapply, because the water in the mix slows evaporation and gives the alcohol time to work.
Let it air dry fully, and don’t rinse. Skip the pre-clean and you’re just pushing dirt around, since IPA isn’t a cleaner the way a degreaser is. Dense weaves trap liquid better than loose fibers, ensuring the IPA stays on the surface long enough to disinfect.
Watch for streaks on dark plastics, where residue shows up like a bad brush stroke on a satin topcoat. That’s when you treat it like finishing: prep the surface first, then apply evenly.
Think of it as a wipe-on coat, not a scrub. The wet edge matters here, just like when you’re laying down varnish, because re-wetting a dry patch leaves lap marks.
For a DIYer, the simple rule is wet, wait, walk away. No need for extra passes, no need for buffing, and no need to rush the dry time.
Disinfect Equipment With 70% IPA Without Damage
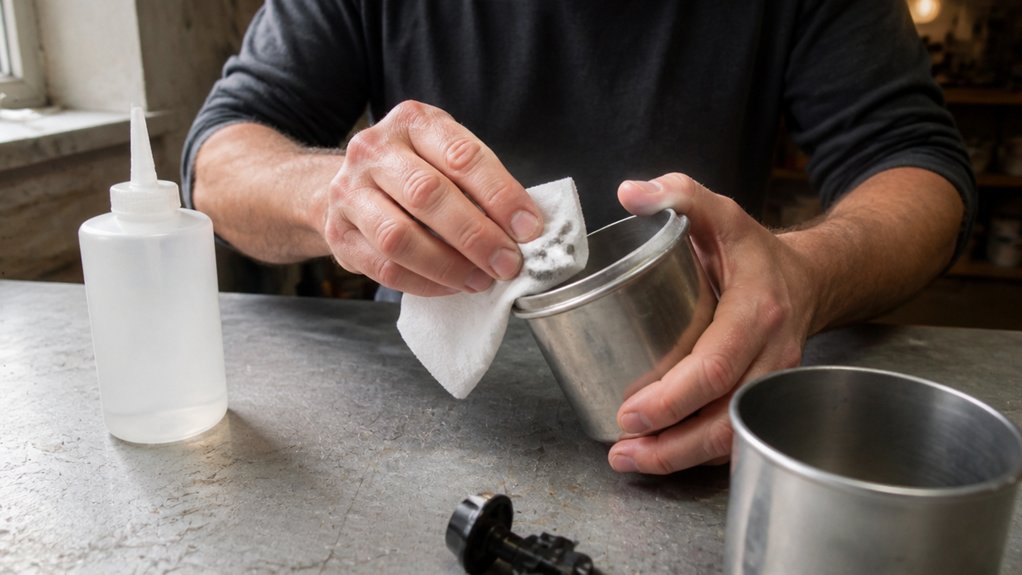
Before you spray 70% IPA on your tools, do a quick material check. This solvent can swell rubber and soften glued lenses, so treat it like a strong solvent, not plain water.
Mix your 70% solution carefully, using distilled water to keep the ratio steady; a higher concentration evaporates too fast and leaves residue. Prep a small hidden spot first, like the underside of a grip, to see how the surface reacts before you commit.
I learned this the hard way with stethoscope earpieces, where the rubber puffed up like a bad primer coat. For wood or finished gear, treat IPA like a harsh stripper: test on an inconspicuous corner, wipe with a soft cloth, and never let it pool.
Think of the surface like a fresh varnish layer, where a wet edge left too long can leave lap marks or dull the sheen. Use a clean, lint-free rag and work in quick, even passes, just like brushing on a satin finish without overworking the area.
If the material is painted or coated, check for gloss or matte finishes, since IPA can cloud a clear coat over time. Let the solution sit for a few seconds, then wipe dry; drying time is fast, but full cure of any residue happens only after the surface airs out.
For rubber or plastic, avoid soaking; a damp wipe is safer than a drench, like using a light sanding grit instead of a heavy cut. Keep a drop cloth or painter’s tape handy if you’re near delicate parts, and always cap the IPA bottle to control fumes and VOC limits to stay compliant with indoor air standards.
If you’re unsure, use a cotton swab on a hidden seam and wait a minute to check for swelling or dulling. That quick test beats replacing a pair of earpieces or ruining a lens, and it costs you almost no time.
After wiping, let the item dry fully before you store it, just like letting a stain cure before adding a topcoat. Use 70% IPA sparingly, and your gear stays clean without damage.
Safe 70% Mixing
70% isopropyl alcohol works best for cleaning your gear because it kills germs without damaging surfaces like a wet edge left to dry unevenly. I’ve spent years prepping wood and finishes, and the same rule applies here: measure carefully or you’ll end up with a mess you have to sand down.
Use a graduated cylinder or syringe to mix 70 mL of 99% IPA with 30 mL of distilled water. Eyeballing it gives you a weaker spray that leaves streaks, just like brushing over a dry spot in varnish.
Label the bottle with the concentration and the date, the way you’d mark a can of stain before you store it. This saves you from guessing later, and it keeps your workflow straight when you’re in the middle of a project.
Mix by gentle inversion, not shaking. Shaking creates bubbles that cling to surfaces, and those bubbles waste alcohol and leave a cloudy film, much like brush strokes in a fresh coat of polyurethane.
Use distilled or deionized water only. Tap water leaves mineral streaks on lenses and metal, similar to the way hard water ruins a drop cloth or dulls a satin finish.
Aim for the 60 to 90% kill range, and 70% sits right in the middle. That’s the sweet spot for disinfection, just like a mid-sheen topcoat gives you durability without glare.
Measure like you’re mixing a primer, label like you’re tracking paint batches, and your gear stays clean and ready. No need for fancy gear, just steady hands and good habits. Water-based formulas cure in 10 to 12 hours, so ensure your mixed IPA sits in a sealed, labeled container away from heat for full stability before use.
Material Safety Checks
Skipping a damage check before cleaning gear is like brushing dust off a surface before you lay down a fresh coat of finish; it never ends well. Before any alcohol touches your tools, give everything a quick visual once-over for cracks in plastic or failing sealants.
This ten second habit is your primer against bigger problems. Next, do a flame source check and move away from pilot lights or heaters before you open the bottle.
IPA has a flash point around 54°F, so treat it like a solvent; no sparks, no exceptions. Set up ventilation with an open window or a fan, because those fumes hit you like a thin coat of lacquer on a hot day.
For delicate items like camera lenses or stethoscopes, use 70% alcohol sparingly on a lint free wipe, never a soak. Rubber and shellac hate prolonged contact, so wipe, wait thirty seconds, and dry immediately.
That short dwell time is similar to watching your varnish set before the wet edge pulls; you know the window. Nine out of ten alcohol mishaps happen because people skip this prep, and that is the same reason you sand with the right grit before a topcoat.
Protecting your gear is no different than building a proper finish; the surface prep determines how the final layer holds up. Avoid methanol-heavy blends here, as their harsh odor and added toxicity make them a poor substitute for IPA on sensitive equipment.
Apply IPA to Minor Cuts and Scrapes Safely

A 70% isopropyl alcohol solution works fine on minor cuts and scrapes, but it is not a magic bullet. I have used it plenty, and here is the deal: it stings like a jerk, yet it does the job without overcomplicating things.
You are not enhancing healing here, that is your body’s job. You are preventing infection, which is half the battle.
For avoiding irritation, stick to 70%, not the 91% stuff. The extra water slows evaporation, giving it more contact time without nuking your skin, much like a slow-drying topcoat lets you keep a wet edge. Proper storage in a sealed container between 15–25°C protects the solution’s potency.
Here is my quick checklist when I am patching up a scrape. Clean the area with plain water first, grit and dirt kill the alcohol’s mojo.
Soak a cotton pad, do not drench the wound, less burn, same effect. Let it air dry completely, rushing means recontamination, just like waiting for the primer to flash before you lay down the finish.
Cover with a sterile bandage, but change it daily. Think of the bandage as a drop cloth, it keeps the mess off and the job clean.
Seventy percent IPA is a solid first responder, not a healer. Use it smart, like you would with a satin varnish over a rough sanding pass, and you will be fine.
Avoid Flammability and Material Damage Rules With 70% IPA
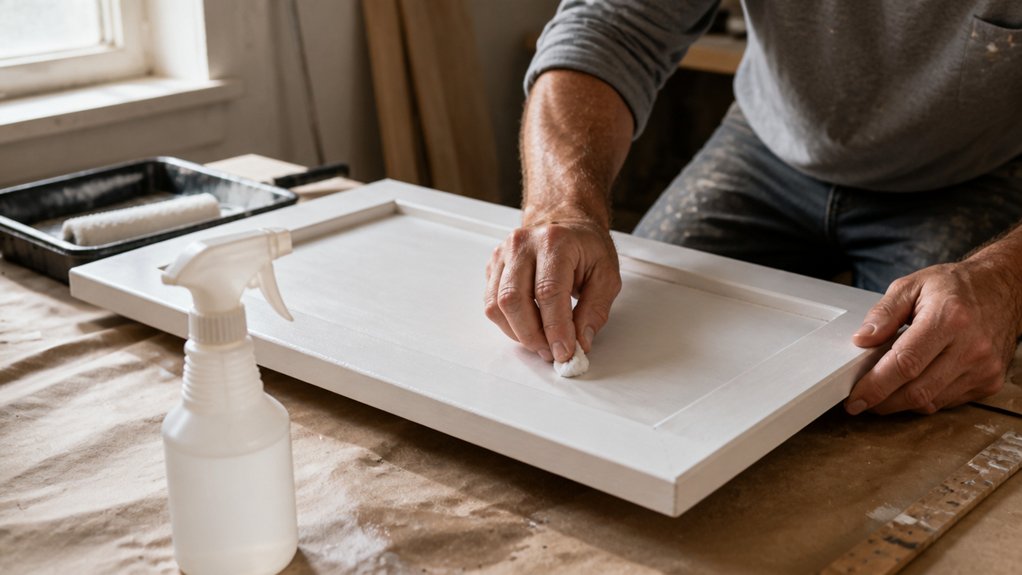
Open flame, 70% IPA, and a careless moment can turn into a flash fire you won’t forget. The flash point sits near 12°C, so I keep it far from sparks, heaters, and pilot lights.
Ventilate the room before you spray anything, and that rule is non-negotiable. It’s the same discipline I use when wiping down a freshly sanded surface with a tack cloth before laying down primer.
That 70% solution will swell rubber and harden gaskets or tubing after repeated use. I ruined a phone case that way, which was a cheap lesson but still a loss.
Think of it like a bad topcoat: it looks fine at first, then the sheen goes patchy and the material fails. Test on a hidden spot first, just as you’d check a stain on scrap wood before committing to the full piece.
Spray 70% IPA onto a lint-free wipe, not directly on electronics. Store the bottle in a cool, dry cabinet, away from any heat source that could raise the vapor level.
For surfaces, it works well, but treat it like a solvent with a short wet edge: move fast, don’t oversaturate, and let the area dry fully. A little caution saves your gear and your eyebrows.
Frequently Asked Questions
Can I Use 70% IPA on Wooden Surfaces?
Yes, you can use 70% IPA on wooden surfaces, but only for light spot cleaning, and never as a general wipe down. The high water content in 70% IPA is the real culprit, as it can raise the wood grain and dull a finish if left to sit even briefly.
For a safer approach, dampen a microfiber cloth with the IPA and wipe the area quickly, then immediately dry it with a second cloth. Avoid soaking the wood, and test on an inconspicuous spot first, especially if your surface has varnish or lacquer.
If you need deeper cleaning, skip the IPA altogether and use a pH-neutral wood cleaner, which won’t risk swelling or stripping wax. For sticky residue, try a 50/50 mix of IPA and distilled water, then buff with a dry rag within 10 seconds. This keeps the solvent effective while minimizing moisture exposure.
How Long Does a Sealed 70% IPA Solution Stay Effective?
A sealed 70% IPA solution stays effective for up to three years, provided the container remains unopened and undamaged. The clock starts ticking from the moment air first hits the liquid, so your storage temperature and lid integrity are the real bosses here.
Keep it in a cool, dark cabinet away from heat sources, and avoid leaving the cap off for long stretches during use. That airtight seal prevents evaporation, which is what kills the concentration; once it dips below 60%, it loses reliable germ-killing power.
For a quick check, if you use it to wipe down a brush or surface and it evaporates in under 30 seconds, you’re in good shape. As a related tip, isopropyl wipes and sprays follow the same rule, so treat them with equal respect. When in doubt, mark the purchase date on the bottle and pitch it after 36 months, even if it looks fine.
Does 70% IPA Expire After Opening?
Yes, 70% IPA does not truly expire after opening, but its effectiveness fades as a disinfectant. Once the seal is broken, each time you open the container, moisture and air accelerate evaporation, dropping the alcohol below the ideal 60-90% range.
After about 30 days of regular use, a half-empty bottle may test closer to 60%, which still works but takes longer to kill bacteria. For a quick check, you can use a hydrometer or simply notice if the liquid feels less sharp on your nose.
A practical tip: store your IPA in a sealed squeeze bottle with a narrow tip, and always recap it immediately after use. This one habit can extend its usable life to nearly three months, whereas an open wide-mouth jar will weaken in weeks.
If you need a reliable surface prep for painting, remember that denatured alcohol is a stronger alternative, but it is not the same as IPA for sanitizing. For most shop tasks, treat opened IPA as a one-month supply, then switch to a fresh batch for critical jobs like wiping down bare wood before a finish.
Can I Use Tap Water Instead of Distilled Water?
No, you shouldn’t use tap water instead of distilled water for any final cleaning or mixing step. The minerals in tap water leave a film that can block adhesion and dull the finish, which is a real problem when you’re prepping surfaces for paint or varnish.
That residue also makes disinfectants less effective, because it physically shields bacteria from the solution. For a quick check, wipe a glass pane with tap water and let it air dry; you’ll see the cloudy spots.
Use distilled water for your last rinse and for thinning water-based finishes, as it evaporates completely without salts. If you’re in a pinch, let boiled tap water cool and decant it carefully, but that only removes some hardness, not all.
Stick with the pure stuff for spot-free results and a proper sanitizing kill. Your final coat will thank you.
Is 70% IPA Safe for Cleaning Eyeglass Lenses?
Yes, 70% IPA is not safe for cleaning eyeglass lenses because it can degrade the protective anti-reflective coating over time. Even though it kills germs, the alcohol strips the thin optical layers, leaving them cloudy, cracked, or peeled after repeated use.
Instead, use a dedicated lens spray or a drop of mild dish soap with warm water. Apply the soap with your fingertips, rinse thoroughly, and dry with a clean microfiber cloth. Avoid any ammonia or alcohol based products, as they will weaken the coating’s adhesion.
For a quick daily wipe, use a pre-moistened lens wipe labeled for eyewear. One concrete tip: let the lens air dry for five seconds after rinsing, then buff gently in circular motions. This method preserves the anti-reflective layer and prevents smearing. A related term is “optical cleaner,” which often includes safer surfactants than alcohol.
Rounding Up
Applying isopropyl alcohols safely means choosing 70% IPA, not 99%, for disinfecting. Your practical steps start with mixing a 70% solution in a spray bottle, then letting it sit for thirty seconds on any surface.
Check your current bottle’s label to confirm the percentage before you spray. Test the 30 second dwell time with a timer on a small area to see the difference it makes. Write down your dilution ratio so you never reach for pure alcohol out of habit.
The article’s only statistic is 70% as the sweet spot, measured as the balance between effectiveness and evaporation. Next, read about cleaning electronics without damaging components.