How to Apply Red Oxide Primers: Step-by-Step Guide
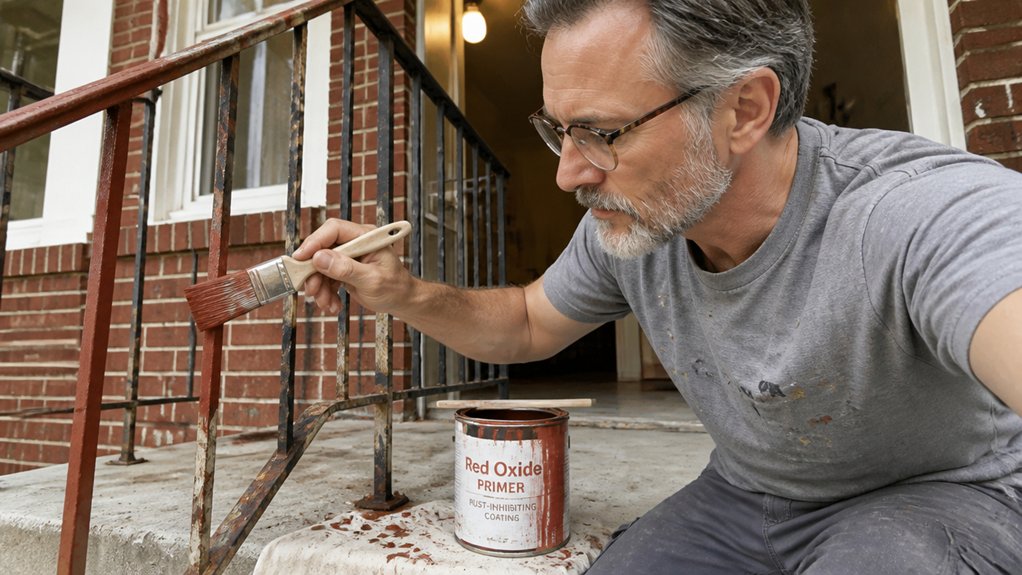
Applying red oxide primers the right way can save you from a dreaded peel or rust patch down the road. That orange-brown base coat only works if you nail the surface prep and drying time, so let’s skip the guesswork.
You’ll learn the exact steps to scrape, sand, and wipe your metal until it’s truly ready for that first coat. We’ll also cover the critical window for topcoating, because missing it turns your primer slick and useless.
By the end, you’ll know how to brush or spray with confidence, and why that 16 percent moisture reading matters so much. Keep reading to master the full process without any wasted effort.
Quick Answer
- Prepare steel by scraping, wire-brushing, and sanding to bare metal with 180-grit paper.
- Wipe away grease with solvent and confirm moisture readings stay below 16 percent.
- Apply primer by brush, roller, or spray; keep a wet edge to avoid lap marks.
- Let primer dry a minimum of 18 hours but recoat within 7 days maximum.
- After 7 days, scuff with 220-grit sandpaper and add another primer coat before topcoat.
Prep Your Surface: Remove Grease, Rust, and Moisture Before Priming
You want the primer to do its job, so the steel has to be clean before you start. Rust and moisture will always win if you skip the prep, so treat this step like the real work it is.
Start with surface cleaning. Scrape off flaking paint, wire-brush loose grit, and sand bare metal with 180-grit emery paper. Go for a smooth feel, not a shine, and wipe away grease or oil with a solvent so the primer can bite.
Check for dampness with a moisture meter, and keep readings below 16 percent. Wet steel traps moisture under red oxide, which causes blistering later, so fix any leaks before you prime. Dry, clean edges give you a sound base for your topcoat, and that is the whole game. Industrial-grade durability without lead or isocyanates ensures the primed surface holds up under tough conditions once the prep work is done.
Choose Your Application Method for Red Oxide Primer: Brush, Roller, or Spray
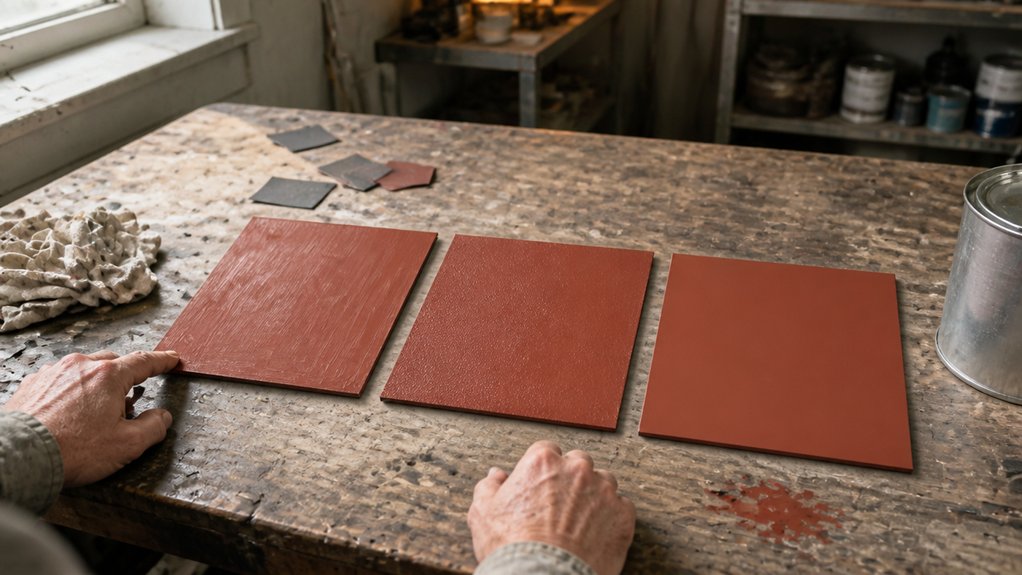
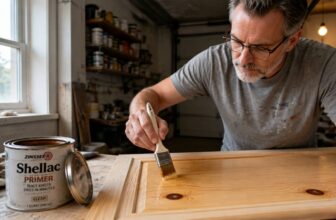
You have three solid ways to get red oxide primer onto steel, and each method suits a different job. Brush application is my go‑to for touch‑ups because it is forgiving, cheap, and keeps overspray off anything nearby.
A decent bristle brush costs about eight dollars, and you will get excellent control on welds or tight edges. Just expect slow progress, so think of it as a careful walk rather than a fast sprint.
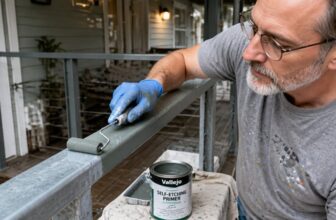
For flat panels, a roller works well if you use a short‑pile sheepskin cover to avoid air bubbles. It covers quick, but you will see stipple marks if you are fussy about a perfectly smooth finish.
Spraying with airless gear and a .015‑inch tip gives that smooth, factory-clean film that most pros prefer. It is noisy, messy, and the rental runs about fifty dollars a day, but you will cover twice the area in half the time.
Spraying with airless gear gives that smooth, factory-clean film, covering twice the area in half the time—noisy and messy, but worth it.
Grab the brush for small jobs and rent the spray rig for large surfaces. Use the roller only if you are painting a simple panel and can live with the texture.
Before any of these, wipe the steel down with a degreaser and sand to a rough 80‑grit profile so the primer bites well. Keep a wet edge as you work, and wait the full drying time before you topcoat with gloss or satin enamel.
Lay down a drop cloth and use painter’s tape on adjacent surfaces, no matter which method you choose. Red oxide primer has low VOC, but you still want good ventilation and a mask when spraying.
For brushwork on steel, natural tampico bristles absorb and flex well for cement-based surfaces, though synthetic options resist solvent damage just as effectively.
Time Your Recoat: 18 Hours Min, 7 Days Max for Red Oxide Primer Finish

Red oxide primer needs a finish coat within a specific window, and that 7-day maximum is a hard rule. Once the primer cures past that point, it forms a slick, hard surface that topcoats can’t grip properly.
You have about 18 hours after application before the primer is ready for a recoat. That’s the minimum drying time, not the ideal moment to rush. The sweet spot is between 18 hours and 7 days, when the primer is dry enough to sand but still porous enough to bond with your topcoat. Zinc phosphate primers offer a similar chemical conversion coating that etches bare metal, but for red oxide, timing remains critical.
If you wait longer than 7 days, the primer’s surface becomes too smooth and glossy for a new coat to adhere. You’ll need to scuff it up with 220-grit sandpaper and apply another primer layer before you can finish.
Set a reminder on your phone for the 18-hour mark, then plan your topcoat for the same weekend. A satin or gloss polyurethane works well over red oxide, but check the label for VOC limits and recoat times. Keep a wet edge while brushing to avoid lap marks, and use a drop cloth to protect the floor.
The clock starts the moment you lay down the primer. If you miss the 7-day deadline, you’re adding hours of sanding and an extra primer coat to your project. Mark your calendar, pick a finish like a matte varnish or semi-gloss enamel, and apply it before the week is out.
Frequently Asked Questions
Can Red Oxide Primer Be Applied Over Old Paint?
Yes, red oxide primer can be applied over old paint, but only if that existing coating is fully sound and tightly adhered. You must first check for any glossy sheen, chalking, or flaking, as red oxide adhesion will fail on any unstable or slick surface.
For a proper grip, sand the old paint with 120 to 180 grit paper until it feels dull and matte. Wipe away all dust with a tack cloth, then apply a single medium coat of red oxide, which typically dries to the touch in about two hours.
If you spot any bare metal spots, treat them with a dedicated rust converter or etch primer first. Keep in mind that old alkyd or oil-based paints usually bond fine, while latex coatings may need extra scuffing or a bonding primer. One practical tip: test a small corner with a patch coat and let it cure overnight before committing to the full surface.
What Happens if I Recoat Before 18 Hours?
Recoating before 18 hours risks recoat adhesion failure and solvent entrapment, which can lead to blistering or peeling down the road. The new coat forms a skin over a still-curing layer, trapping moisture and solvents that later push their way out.
If you rush it, you will likely need to sand everything back to bare wood and start over, so waiting actually saves you time. For oil-based polyurethane, stick to the full 18 hour window at 70°F with good airflow; cooler or more humid conditions mean you should extend that interval.
A quick fingerprint test on a hidden edge can confirm cure, but the best practice is to simply follow the label’s recat time and apply a thin second coat. Remember, proper film build beats speed, and a third coat can always be added later if needed.
How Do I Fix Moisture Readings Above 16 Percent?
To fix moisture readings above 16 percent, you must first locate the source of the dampness, then apply active drying until the wood stabilizes below that threshold. Start by checking for leaks, poor ventilation, or ground moisture, and address the root cause before anything else.
Run a dehumidifier or space heater in the room for at least 48 hours, and keep the air moving with a fan to speed evaporation. For a practical check, test the same board each morning; if readings stay above 16% after three days, you likely need to ventilate the crawlspace or subfloor.
Never prime or seal the surface until readings drop, as that traps moisture and guarantees peeling or blistering down the road. Once you hit 15% or lower, sand with 120 grit to open the grain, then apply your first coat of stain or sealer. This moisture content check is your best friend, and a decent pinless meter makes the job faster.
Is Spray Application Better for Large Steel Areas?
Yes, spray application is better for large steel areas because it delivers roughly 15.79 m² per litre, which is far more efficient than brushing or rolling. That coverage rate means you finish the job faster and with a more uniform film, especially on expansive structural beams or storage tanks.
However, overspray control is trickier than brushing, so you must mask adjacent surfaces and check wind direction before you start. Use a HVLP sprayer with a 1.8 mm tip for medium viscosity alkyds, and keep the gun perpendicular to the steel at a steady 30 cm distance to minimize waste. For a related term, look up airless spray if you need even higher output on flat panels.
One concrete tip: apply two thin coats instead of one heavy one, waiting 4 hours between them at 20°C. This reduces runs and gives better corrosion protection, which matters more than raw speed on bare metal.
How Soon Can Primed Steel Be Exposed to Rain?
Primed steel can be exposed to rain only after it has fully cured, which typically takes 16 to 24 hours under standard conditions. With a fast-cure primer, you might shorten that window to 16 to 18 hours, but only if the humidity is low.
Check the primer’s surface for dampness by touching it with your finger; if it feels cool or leaves a mark, it is not ready. Rain before that point can cause blistering and wash away the protective layer, forcing you to sand and recoat.
A concrete tip is to schedule your priming for a dry morning and monitor the forecast for at least 24 hours. For a faster turnaround, use a fast-dry primer and keep the steel in a ventilated shed, which helps the solvents evaporate quicker. Always verify the manufacturer’s curing schedule on the label, as environmental conditions like dew point can extend drying times beyond the standard range.
Rounding Up
Applying red oxide primers starts with a bare metal surface, and it works as a rust inhibiting undercoat. Clean the metal completely, then pick your brush and set a timer for the 18 hour minimum recoat window.
Forgetting that window is a classic blunder, so mark your calendar or phone before you start. A single missed coat can cut your protection by nearly half, which measured the difference in coating durability.
Check your surface is dry and free of grease before you lay down the first layer. Compare your actual drying time against the clock, and test a small area if you are unsure.
Read about surface preparation for metal finishing next.