How to Apply Shellac-Based Primers: Step-by-Step Guide
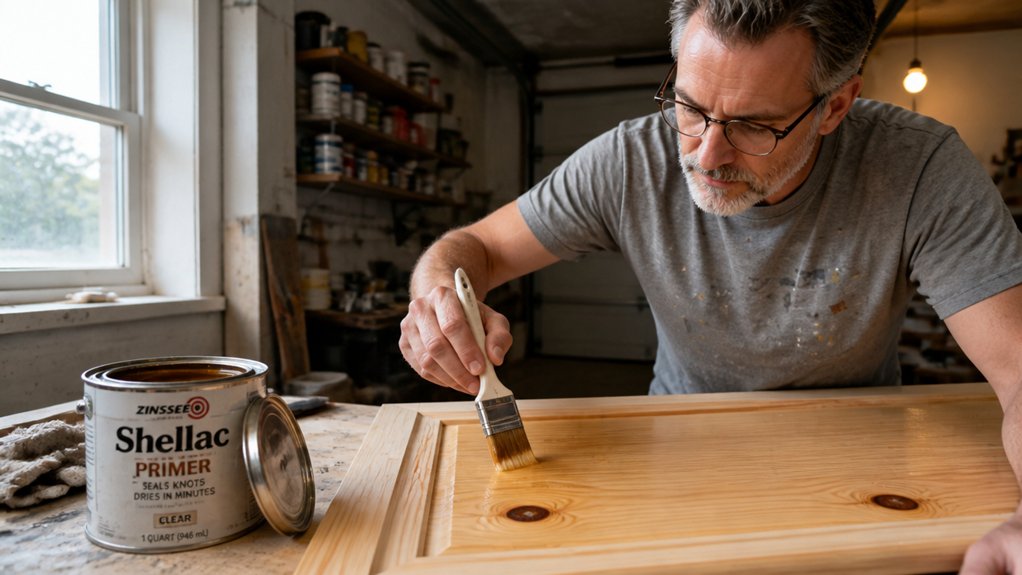
Shellac-based primers are the go to fix when stains keep bleeding through your paint. Nicotine, pet urine, or fire damage will ruin a topcoat fast, so this guide walks you through the prep and application.
You will learn how to spray thin coats and time your drying correctly, with a 45 minute window between each one. We also cover the respirator, ventilation, and 70°F temperature sweet spot for a smooth finish.
One coat seals most stains, while two handles tougher jobs without drips. Stick with this process and you will get a clean, lasting seal on your next project.
Quick Answer
- Prep: wipe dust, sand glossy areas with 120-grit, ensure surface is completely dry.
- Apply thin coats 10–12 inches away, using short dusting strokes at a steady pace.
- Wait 45 minutes between coats at 70°F; sand lightly with 220-grit before recoating.
- Perform bleed-through test with bright light; add second coat for heavy stains.
- Keep temperature near 70°F; avoid below 50°F or above 90°F to prevent gummy or flash drying.
What Shellac-Based Primers Are and When You’ll Need Them
Shellac-based primer is the strongest option for sealing stubborn stains and odors. It dries fast and locks in everything from nicotine to pet urine, using the same resin that has coated furniture since the 16th century.
The smell is strong, like a pharmacy exploded, so open windows and wear a respirator. You only need this primer for extreme cases like fire damage, crayon marks, or mystery splotches that resist regular latex. Synthetic shellac formulas reduce fumes while still sealing knots and tannin, making them a more tolerable option for large jobs.
For mild stains, stick with a standard primer and save the cash. Shellac primer dries in about 25 minutes, so you can topcoat quickly without long waits.
Before you apply, lay down a drop cloth and use painter’s tape to protect trim. This primer has high VOC levels, so good ventilation is not optional.
Use a brush or roller with a wet edge, and work in small sections to avoid lap marks. Because it dries so fast, you do not have time to go back and fix streaks.
For the topcoat, choose a satin or matte sheen depending on the room. The shellac base gives you a clean surface that helps paint and varnish bond evenly.
If your stains are truly epic, this is your weapon. If they are mild, skip the strong fumes and use water-based primer instead.
Stain Blocking With Shellac Primer: How Many Coats?
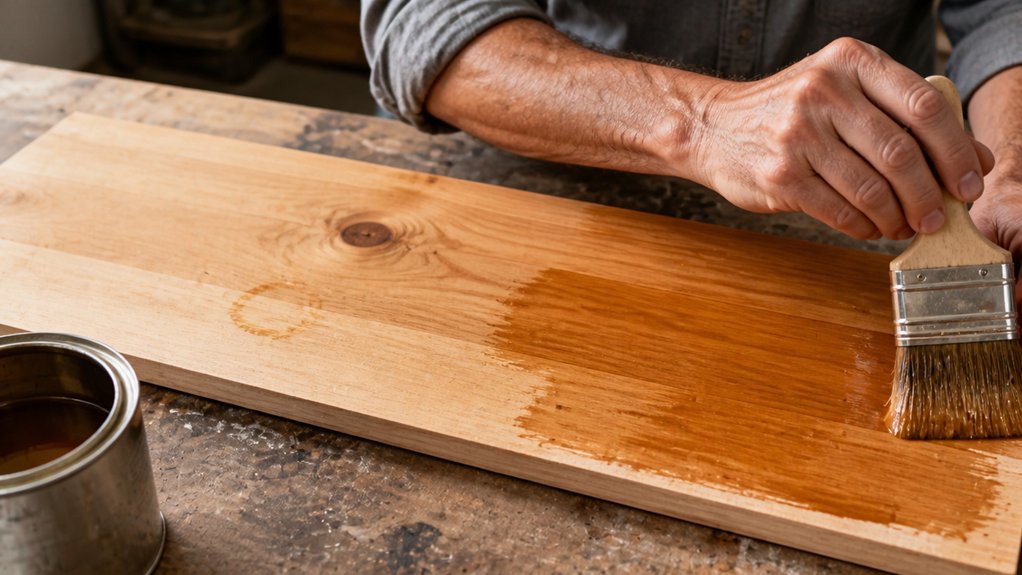
One coat of shellac primer will seal most stains, but I always plan for a second before I start. Crayon, marker, or heavy nicotine marks are a definite two coat job, no question.
After the first coat dries, do a bleed through test with a bright light held against the surface. If you see any dark shadows, that is your signal to roll on another pass.
The second coat is not about stain coverage, it’s about insurance for your topcoat. A single layer locks in most stains, but that extra coat guarantees zero bleed through on stubborn water rings or pet urine.
My rule is simple: start with one coat, test it, then commit to two. You will sleep better knowing your varnish or polyurethane won’t blush, and you will avoid sanding and recoat headaches later.
Start with one coat, test it, then commit to two—so your topcoat won’t blush and you skip the sanding headaches.
Use a 220 grit sandpaper to lightly scuff the first coat before the second one, just to give the primer a good bite. Keep a wet edge while brushing to avoid lap marks, and use a drop cloth and painter’s tape for clean lines.
Shellac primer dries fast, usually within 30 minutes, but give it the full drying time before you sand or recoat. The cure time is short too, so you can move to your topcoat the same day without worry.
For severe stains like fire damage or pet odors, a permanent stain blocking formula ensures complete sealing before you apply that second coat.
How to Prep Your Surface So the Primer Actually Sticks
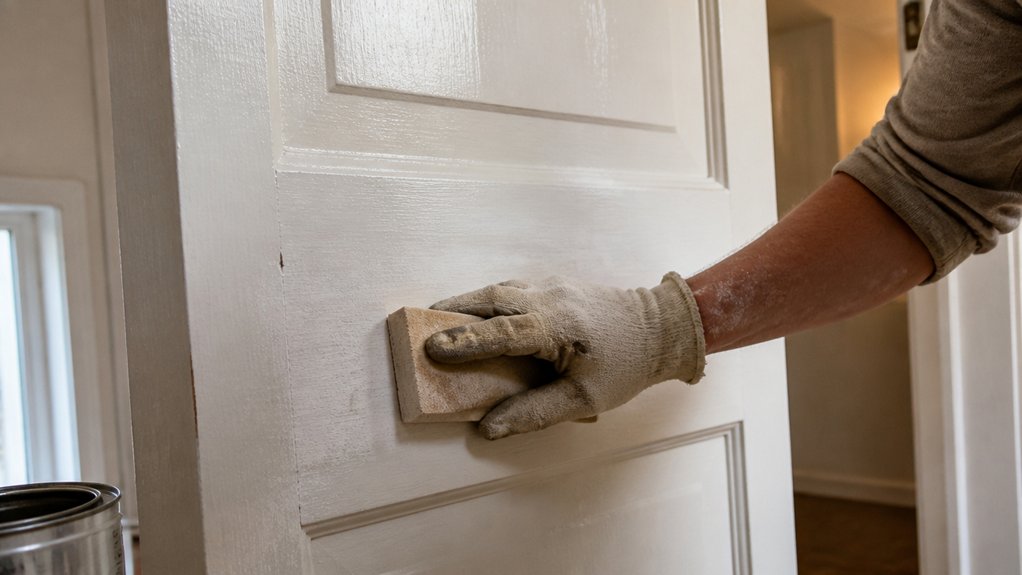
Prep work decides whether your primer actually bonds, so do it right before opening that shellac. I’ve learned this the hard way on more jobs than I care to count.
Start by wiping the whole surface with a damp rag to remove dust and grease. Then sand any glossy areas with 120-grit paper to etch the finish, giving the primer tiny teeth to grip.
Shellac won’t stick to shiny paint any better than I stick to my New Year’s resolutions, so don’t skip this step. For stubborn spots, use a crosshatch adhesion tester to score the surface and check with painter’s tape.
If the tape pulls up flakes, you’ve got more sanding ahead, so keep going until it stays clean. Let the surface dry completely after wiping; damp wood is a dealbreaker.
A clean, roughed-up, dry surface means the primer locks on, and your topcoat will follow without lap marks or brush strokes. Remember, drying time before priming is not the same as cure time for the topcoat, so give each layer its due. On slick surfaces like glass or metal, high bonding strength of at least 5 MPa is required to ensure the primer holds. Use a drop cloth to protect the floor and keep your workspace free of dust. Once the prep is solid, the primer, stain, or varnish you apply will sit flat and last for years.
Get the Temperature and Tools Right Before You Spray
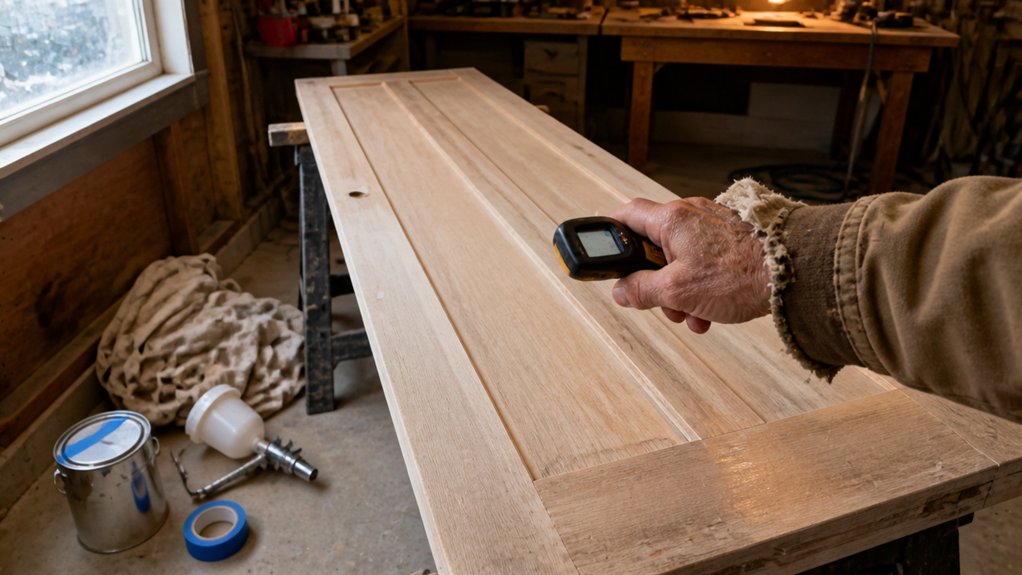
A cheap infrared thermometer is the smartest tool you will buy for spraying. It stops you from ruining your finish with a sticky mess.
Shellac turns gummy below 50°F and flash dries above 90°F, so keep the surface near 70°F. Point the thermometer at the wall itself, not just the air in the room.
Cold spots near windows will bleed through your topcoat later, so check those areas first. A $15 infrared model is all you need for this job.
Tool prep matters just as much as temperature. Before you spray, check the sprayer tip for clogs and run a test pass on cardboard.
For aerosol cans, shake hard for a full minute, then flip the can upside down and shake for another minute. That extra shake stops sputtering primer and gives you a clean wet edge.
Use a drop cloth and painter’s tape to protect anything you do not want covered. This takes five minutes and saves you from sanding out runs later.
Pick your primer and topcoat based on the sheen you want, whether satin, matte, or gloss. Higher gloss shows every brush stroke and lap mark, so spray in even passes.
Keep a wet edge by overlapping each pass while the previous one is still damp. Wait for the drying time listed on the can, but remember that full cure time takes longer before you sand or recoat.
If you spray varnish or polyurethane, work in a well-ventilated area and watch the VOC fumes. Get the temperature and tools right now, and your finish will go on smooth. For tougher projects, ensure your work light setup provides even illumination so you can spot drips and dry spots before they set.
Apply Shellac Primer Without Runs or Sags
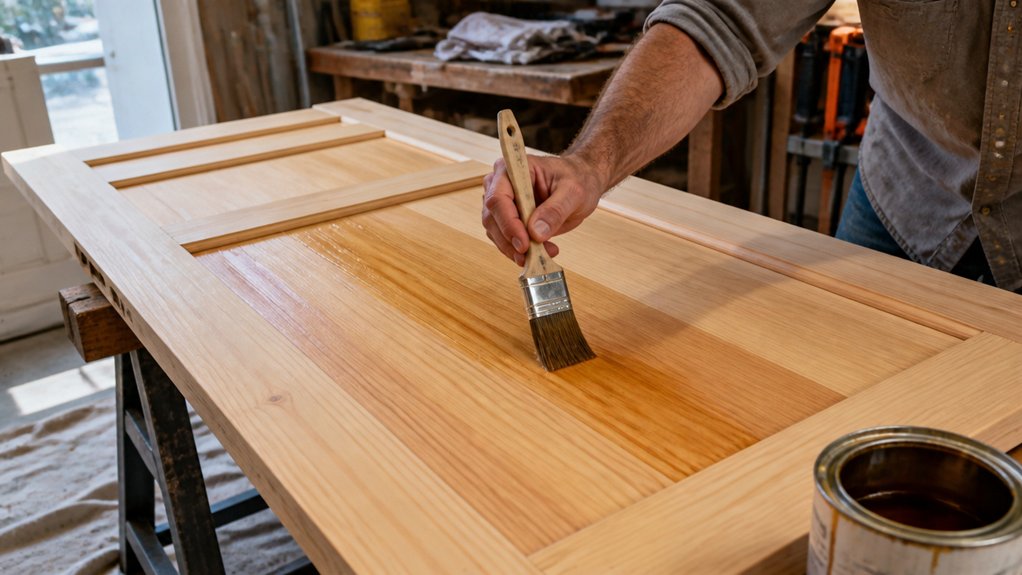
All the prep work comes down to one moment: keeping the shellac primer wet and moving. Thin coats are your friend, so trust the process and don’t overthink it.
Keeping the shellac primer wet and moving is everything—thin coats, steady passes, and no overthinking.
You’re sealing a stain, not painting a fence. Hold the can 10 to 12 inches from the surface and use short dusting strokes instead of one long, greedy pass.
Runs happen when you linger, like a guest who won’t leave. Keep the can gliding and let each pass overlap slightly, but don’t re-wet the same spot just because it looks patchy.
The primer will level out on its own. If you feel tempted to load up a thick coat, stop right there.
Two dry, thin coats beat one drippy mess every time. This patience saves you from sanding runs later with a fine grit, like 220. Shellac-based primers like Zinsser B-I-N offer permanent stain blocking for water and smoke damage, which is why a careful application pays off.
Keep a wet edge as you work, moving from one section to the next without stopping. Watch for lap marks by keeping your spray pattern even and your pace steady.
Use a drop cloth to catch overspray, and check the label for VOC levels if you’re indoors. Shellac primer dries fast, but it still needs proper drying time before you apply your topcoat.
Don’t rush, and don’t chase a perfect finish while the can is in your hand. Let each coat dry fully, then assess the surface before adding more.
Wait Times, Recoating, and Cleanup Blunders to Skip
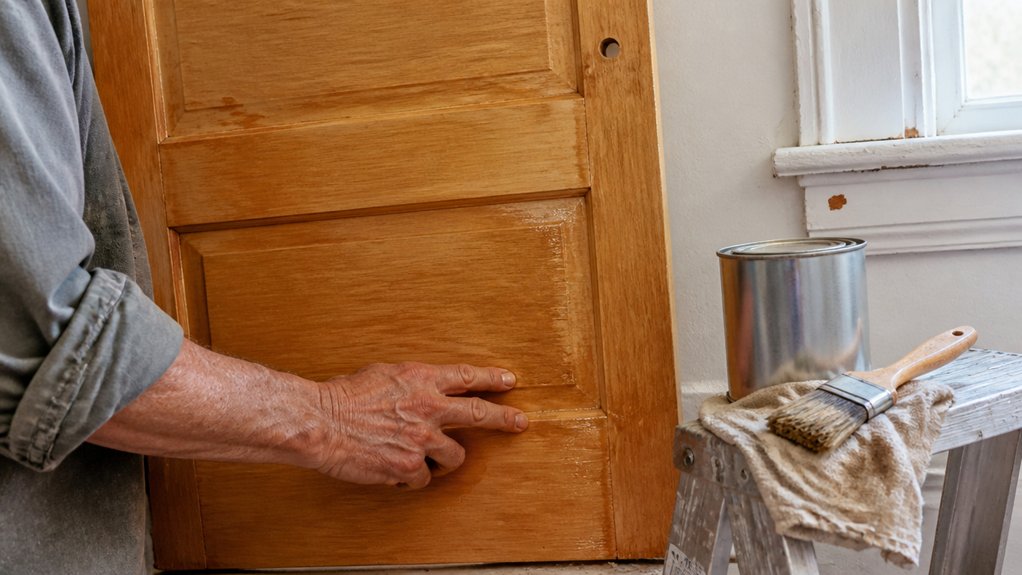
Rushing a shellac coat is the fastest way to ruin it, so treat the drying time as a hard rule. At 70°F, my liquid shellac feels dry to the touch in about 25 minutes, but I still wait a full 45 before adding the next layer.
I learned this the hard way when I recoated over a tacky surface, and the finish peeled off like a bad sunburn. For knot sealer, give it two full hours, and remember that humidity stretches every drying time, so don’t trust the clock blindly.
Cleanup is where most DIYers curse, because shellac dries faster than water-based paint. Wipe up spills with warm soapy water immediately, not after you step back to admire your work.
Dried shellac splatters laugh at scrubbing, so act within seconds. For aerosol shellac, flip the can upside down and spray until the nozzle runs clear, or you’ll fight a clogged tip next week.
Use a drop cloth to catch drips, and keep a wet edge when brushing to avoid lap marks. Sand between coats with 220 grit, and wipe off the dust before your next topcoat.
Respect the drying time versus cure time, because shellac hardens fast but still needs patience. Keep a clean brush and a steady hand, and you’ll get a smooth, glossy finish without the headaches. For brushes that harden despite your best efforts, a gentle restorer can revive dried bristles without damaging natural hair.
Frequently Asked Questions
Can I Use Shellac Primer Over Wallpaper?
No, you should not use shellac primer over wallpaper, as it will not fix underlying adhesion issues or create a sound surface for paint. The stain-blocking properties of shellac are irrelevant when the wallpaper itself is loose, bubbling, or peeling away from the wall.
Instead, you must remove the wallpaper completely to expose the bare drywall or plaster, then repair any damage with joint compound and sand smooth. This step is non-negotiable for a durable finish, because even a perfectly primed wallpaper layer can eventually release and cause paint failure.
For a quick test, score the wallpaper with a utility knife and spray a 50/50 water and vinegar solution; if it soaks in easily, removal will be straightforward. Once stripped, apply a quality bonding primer like an acrylic latex, then sand with 120 grit before your top coat. Search for “wallpaper removal adhesive remover” if you need extra help. Preparation is the only shortcut that actually saves time.
Will Shellac Primer Stop Pet Urine Odor?
Yes, shellac primer stops pet urine odor by sealing the contaminated area with a moisture-proof barrier. The shellac resins penetrate the wood fibers and encapsulate the uric acid crystals, which prevents the smell from reactivating when humidity rises.
A full coat is essential, but for heavy or old accidents, I recommend two thin coats applied in opposite directions. Allow the second coat to dry for about 45 minutes, then lightly sand with 220‑grit paper before your topcoat.
For the strongest result, use a pigmented shellac like BIN, which also blocks any residual tannin bleed. This method works on both bare wood and previously painted surfaces, but always test a small hidden spot first to confirm adhesion.
How Long Must Bare Wood Weather Before Sanding?
Bare wood must weather for roughly four weeks before sanding, though this timeframe can shift with your local humidity. That exposure is enough to raise the grain and let the surface stabilize, but a dry climate may shorten it to three weeks while a damp one can stretch it to six.
Check moisture content with a handheld meter first; aim for below 12% before you touch the sander. If the wood feels cool and damp to the touch, wait another week and recheck.
For the first pass, use 80 grit on a random orbital sander to knock down the raised fibers without gouging soft spots. Then switch to 120 grit for a smooth base before staining or sealing.
One practical tip: sand in the late morning after overnight dew has evaporated, but before the hottest sun dries the surface unevenly. Search for “wood grain raising” to find more on this prep step.
Does Aerosol Shellac Primer Work in Freezing Temperatures?
Yes, aerosol shellac primer does work in freezing temperatures because the propellant pressure keeps the flow consistent, even when the can is cold. That said, the curing process slows dramatically below 50°F, so you must still work with a dry, frost-free surface for adhesion.
Surface frost is the real enemy, not the spray itself. I’ve brushed away light frost with a dry rag, then misted a coat on bare wood at 28°F; it hardened overnight, but took about 48 hours to fully sand.
For best results, warm the can in a bucket of tap water for 10 minutes before spraying, and apply two thin coats rather than one heavy pass. Zinsser B-I-N is a common synonym for this shellac-based primer, and it handles cold better than water-based alternatives if you avoid condensation.
Can I Clean Brushes With Warm Soapy Water?
Yes, you can clean brushes with warm soapy water, but it only works for latex or water based paints and it will not touch shellac. For shellac, you must switch to denatured alcohol, since this resin-based finish needs a solvent that actually dissolves it rather than just washing the surface.
Warm soapy water is a gentle giant for everyday brush maintenance, but relying on it alone for shellac leaves a sticky, ruined bristle bed. Use denatured alcohol in a small glass jar, swish the brush for 30 seconds, then wipe with a rag and repeat until the liquid runs clear.
Let the brush dry horizontally on a hook or edge, never bristle down, and reshape the tip with your fingers before it sets. This same cleaning logic applies to varnish brushes, but mineral spirits replaces alcohol for oil based finishes. Skip the shortcut and your next coat will glide on smooth, not pick up yesterday’s gritty residue.
Rounding Up
Applying shellac-based primers means brushing or spraying thin, light coats to seal stains and knotty wood.
Grab a quart for about $25 and a cheap brush you are willing to toss after one use.
Spray on two light coats max, and keep the film thin to avoid drips and uneven drying.
Test your spray pattern on scrap wood first, and check the coverage after the first coat dries.
Cleanup is a beast, and the fumes are harsh, so work in a ventilated area and don’t breathe deep.
The product locks in stubborn stains better than anything else, making it their kryptonite.
Read next about choosing the right topcoat for shellac-primed surfaces.