How to Apply Trim and Door Paints: Step-by-Step Guide
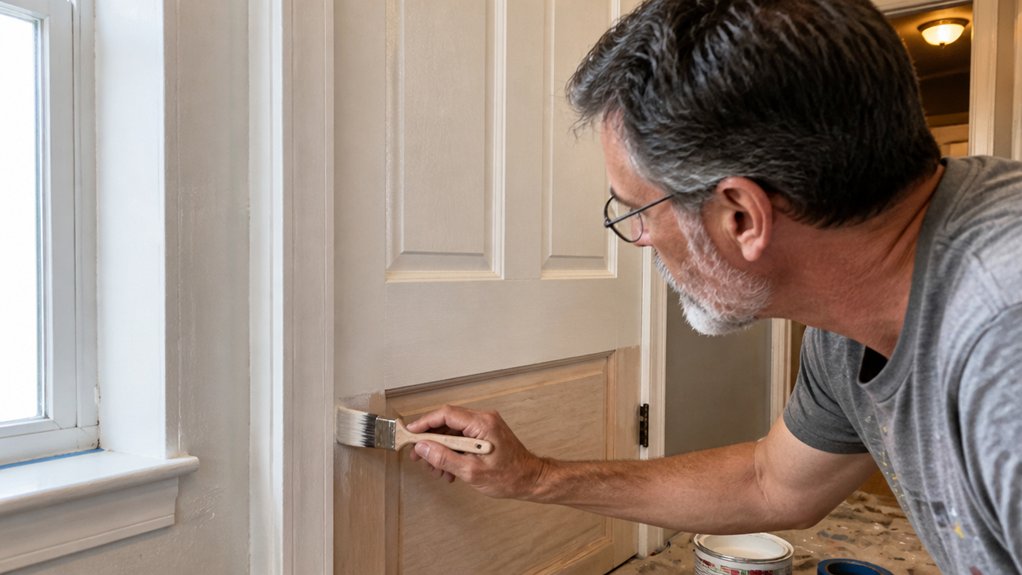
Trim paint that drips or doors that look orange-peeled almost always come down to skimpy prep or the wrong roller.
Start by sanding with 120-grit, caulking gaps, and wiping dust off so your primer actually bonds and your topcoat levels out flat.
Old oil paint needs a bonding primer first, otherwise you’re just sealing in grease and watching the new coat peel.
Paint trim top-down, crown before base, so drips don’t ruin lower work, then lay doors flat and use a foam roller for a smooth, brush-mark-free finish.
Satin or semi-gloss waterborne enamel, about $40 a gallon, resists yellowing and wipes clean, but let it cure a full week before heavy use.
This guide walks you through the exact surface prep, paint order, and drying times so your doors and trim look factory-smooth on the first try.
Quick Answer
- Prep trim by cleaning, sanding, and testing old paint for oil or water base first.
- Prime glossy or oil-based surfaces with bonding primer to ensure topcoat adhesion.
- Paint trim top-to-bottom: crown molding, casings, then baseboards to prevent drips.
- Paint doors flat using a foam roller for smooth, brush-mark-free, thin coats.
- Allow full cure time—up to a week—before heavy use or rehanging doors.
Prep Trim and Doors: Sand, Caulk, and Mask
Prep is the step that earns you the right to paint, so don’t skip it. Clean the trim with degreasing soap, rinse well, and let it dry completely before anything else.
Sand smooth trim with 120-grit paper, and hit rough spots with 80-grit first. Wipe all dust off with a tack cloth so the primer and topcoat have a clean surface to bite into.
Test the old paint with denatured alcohol on a cotton ball. If the paint lifts, it’s water-based; if not, it’s oil-based, and that tells you which primer to use.
For homes built before 1978, stop and hire a certified lead inspector before you sand or scrape. Lead dust is not something to risk, and a pro will tell you if you need special containment steps.
Use painter’s tape to mask off edges you don’t want painted, and lay down a drop cloth to catch drips. A little time here saves you from brush strokes and lap marks later.
After sanding, sweep or vacuum the dust, then go over the trim one last time with a tack cloth. Remove every trace of residue, including any alcohol test spots, so the surface is truly bare and dry.
Choose a primer that matches your paint type, and apply it with a brush to work into the grain. Let it dry fully before you add the topcoat, because drying time and cure time are not the same thing.
For the finish coat, pick a sheen that fits the room: satin or gloss for trim because they wipe clean and resist scuffs. Keep a wet edge while you paint so you don’t leave visible streaks.
If you skip this prep, you’ll repaint twice, and the second job will look worse than the first. Do it right once, and the trim will look sharp for years.
Before priming, neutralize any leftover cleaner film by wiping the trim down with a vinegar-water solution, then let it dry for at least 30 minutes to ensure paint adhesion.
Choose Primer and Paint (Interior vs. Exterior)
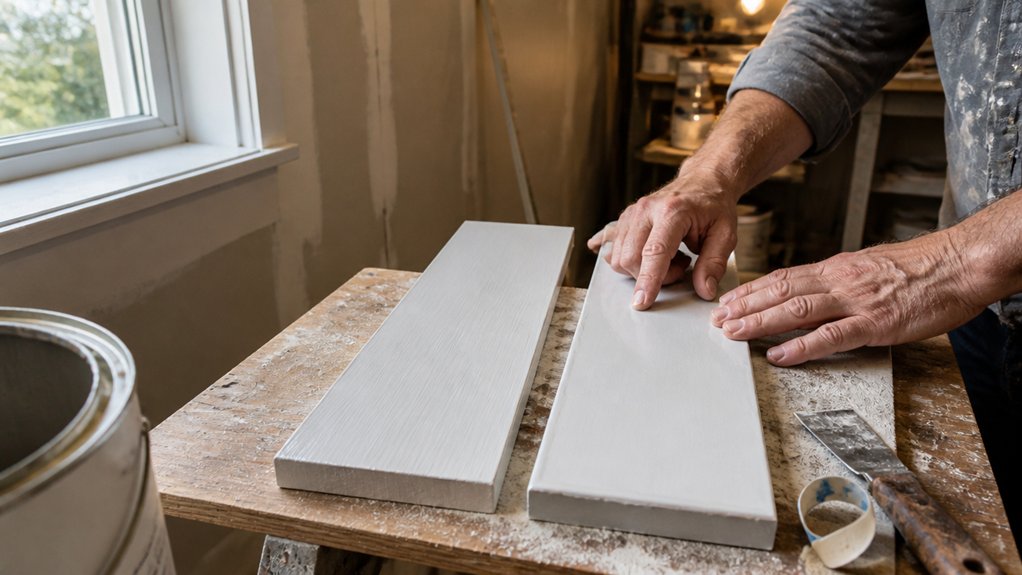
Primer is your insurance policy, plain and simple. Without it, you risk poor adhesion, especially over old oil based paint.
That glossy surface repels new paint like water off a duck’s back. Test it with denatured alcohol; if the surface doesn’t lift, you’ve got oil paint.
Use a bonding primer in that case, since it grips like a stubborn toddler. For interior trim, choose a waterborne enamel in satin or semi-gloss sheen.
That finish is tough, easy to wipe down, and won’t yellow over time. Exterior doors need a different approach, because they face UV rays and weather all year long.
Grab an exterior rated paint that resists fading and moisture, or you’ll be repainting by next spring. I learned that lesson the hard way on my own front door.
Prices run $30 to $50 a gallon, but skipping the cheap stuff saves you from brush strokes and lap marks later. Match the primer to the paint, and keep interior products inside and exterior products outside.
Use painter’s tape and a drop cloth to protect trim and floors while you work. Remember that drying time is not the same as cure time, so give the topcoat a full week before heavy use.
VOC levels matter too, especially indoors, so look for low VOC cans for bedrooms and living areas. For sanding, use 120 grit on bare wood and 220 grit between coats for a smooth finish.
That extra pass prevents rough spots and helps the final coat lay down with a clean wet edge. Your trim will look sharp and hold up for years if you follow these simple steps. For quick fixes on chips and nail holes, a touch-up paint pen with a built-in brush offers a portable, low-cleanup alternative to a full repaint.
Paint Trim From Top to Bottom to Avoid Drips
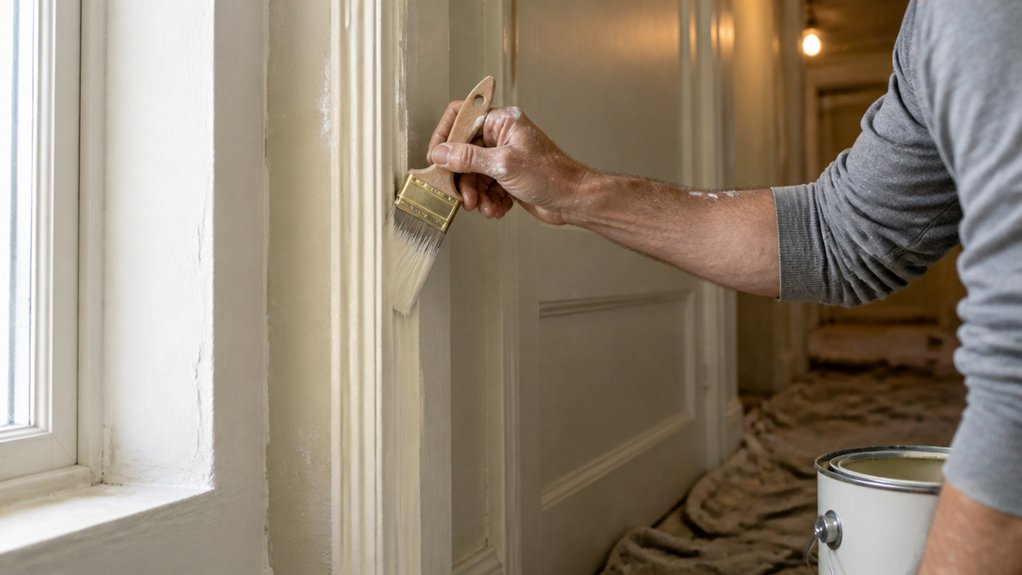
Paint the crown molding first, then the casings, and save baseboards for last. This top-down order stops drips from landing on your fresh finish, and I learned that lesson the hard way.
Paint the crown molding first, then casings, and save baseboards for last—drips won’t ruin your fresh finish.
Gravity pulls paint down, so a drip from a high corner will streak right across your clean baseboard. Work from the ceiling down, and you beat the problem before it starts.
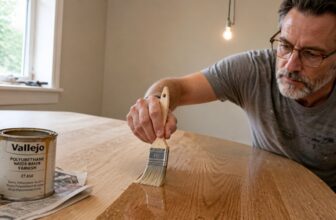
For each section, dip your brush about a third of the way into the can and tap off the excess against the rim. A loaded brush is a dripping brush, so keep it light. Choose a brush with flagged synthetic bristles to minimize brush marks and improve paint flow for a cleaner cut.
Paint in short strokes and finish with one long, slow sweep to smooth the surface. This keeps the coat even and reduces brush strokes that show after drying.
Keep a damp rag in your pocket for instant fixes. If a drip appears, wipe it off right away before it skins over.
Use a drop cloth under your work area and painter’s tape on edges you want to protect. For trim, a satin or semi-gloss sheen works best because it’s durable and easy to clean.
When you move from crown to casing to baseboard, you also avoid lap marks. Each section stays wet long enough to blend into the next, and you won’t need to sand or swear later.
Plan around drying time, not just cure time. A topcoat needs about two hours to dry to touch, but a full cure takes days, so don’t rush the re-coat.
Start high, finish low, and keep your rag handy. It’s simple, it’s fast, and you’ll never ruin a just-painted board again.
Paint Doors Flat to Prevent Brush Marks

Think of painting a door like flipping a pancake: you want it flat for the best results. I won’t risk brush strokes on a vertical surface, so I lay the door across sawhorses with a drop cloth underneath.
That setup is non-negotiable. Gravity stops working against me, and the paint levels out naturally, so I don’t have to chase a wet edge.
For the application, I grab a 6-inch high-density foam roller, about $8, which gives me a smooth, orange-peel-free finish. I roll on thin, even coats, working from one edge to the other without overworking the paint. Uniform nap density stops stippling and helps the finish stay consistent on semi-smooth surfaces.
For recessed panels, I switch to a small 2-inch foam roller to cut in cleanly, then feather the edges immediately with the larger roller. This keeps lap marks away and keeps the sheen uniform, whether I’m using satin or semi-gloss.
Yes, it’s more setup than painting in place, but you skip the dreaded brush stroke cleanup. The paint also dries faster in thin coats, and you avoid the need for heavy sanding grit later.
Just remember to prime bare wood first, let the topcoat cure fully before rehanging, and use low-VOC paint if you’re working indoors. Flat always wins because the finish looks sprayed, not brushed, and your sanity stays intact.
Frequently Asked Questions
What Is the Best Way to Store Leftover Paint?
The best way to store leftover paint is to keep it in a sealed container, protected from extreme temperatures and direct sunlight. I always press a piece of plastic wrap directly onto the paint’s surface before closing the lid, which prevents skinning and keeps the remaining product usable.
Keep the can in a cool basement or closet, as consistent temperatures between 50 and 80 degrees Fahrenheit matter more than just being dark. Label the can with the room, the date, and the color code, then add a dab of paint on the lid for quick identification.
For latex paints, you can store them upside down to create a tight seal around the rim, but for oil-based paints, store them right side up because the solvent can attack the lid gasket. If the paint thickens after a year, stir in a small amount of water (for latex) or mineral spirits (for oil) to restore its original consistency for future touch-ups.
How Do I Fix Brush Marks After the Paint Dries?
To fix brush marks after the paint dries, you must sand the surface smooth and apply a final coat with a leveling additive. Grab 220-grit sandpaper and lightly scuff the entire area until the ridges feel flush, then wipe away all dust with a tack cloth.
Mix a product like Floetrol into your paint at the manufacturer’s recommended ratio, usually about 4 ounces per quart. This extends the open time, letting the coating self-level before it sets, which prevents those ridges from forming again.
Use a high-density foam roller for the last coat instead of a brush, and keep a wet edge by working top to bottom in one continuous pass. If you see new streaks, stop immediately and roll over them while the paint is still wet.
For stubborn latex, switch to a 320-grit sand after the first dry and apply a second thin coat, waiting at least 2 hours between each. This method works for varnishes too, but reduce the additive to half strength to avoid sagging.
When Can I Safely Walk on Freshly Painted Baseboards?
You can safely walk on freshly painted baseboards only after the paint has fully cured, which typically takes 30 days, not just the 24 hours for touch dryness. A good rule of thumb is to wait at least 48 hours for light foot traffic, but only if the humidity is below 50% and temperatures stay around 70°F.
For a concrete check, press your thumbnail gently into the paint near the floor; if it dents, it’s not ready. Don’t rely on the tack-free test alone, since it only measures surface dryness, not the film’s internal hardness. Instead, protect the baseboards with painter’s tape and cardboard for the first week.
Can I Paint Trim Without Using Any Primer at All?
Yes, you can paint trim without using any primer at all, but you will almost certainly regret it. On bare wood or glossy surfaces, the paint adhesion is doomed from the start, which leads to peeling and chipping within months. This is not a gamble worth taking on finished trim, since the cost of stripping and repainting later will wipe out any savings.
For the best result, always use a quality bonding primer first, especially on slick factory finishes. A quick tip: sand the trim with 120 grit sandpaper before priming, then apply two thin finish coats, waiting two hours between them. Without primer, even premium paint lacks the grip needed for long term durability, so your “shortcut” becomes a costly redo. Related terms like “bare wood sealer” also help you choose the right base coat.
Why Does My Paint Look Blotchy After It Dries?
Your paint looks blotchy after it dries because the surface absorbed the finish unevenly, usually from unprimed bare spots or thin coats over a porous material. This creates a patchy sheen that only becomes obvious once the solvent evaporates and the film settles.
To fix it, sand the blotchy areas lightly with 220-grit sandpaper to knock down any raised grain and dull the existing finish. Then apply a full, even primer coat over the entire surface, not just the problem spots, to seal the porosity and equalize absorption.
Let the primer dry completely, typically two to four hours, before repainting with two consistent coats of your topcoat. This also helps with lap marks and flashing, which are common related issues when you roll or brush over a thirsty substrate.
For a quick test, dab a wet sponge on the dry paint: if it darkens unevenly, the surface is still too absorbent. Use a stain-blocking primer for extra insurance on wood or drywall patches.
Rounding Up
To apply trim and door paints, you sand, caulk, and brush top to bottom with patient strokes.
Find the rhythm by laying down a smooth base coat, then follow with a second only after the first is fully dry.
Check your dry time by touching a corner, if it feels tacky, walk away and wait another hour.
Buy a decent angled brush for about twenty bucks, that is your only real upgrade for a flawless finish.
Compare your stroke direction against the wood grain before you commit to each panel.
Test your caulk line by wiping it with a damp finger, a clean bead saves you from sanding later.
Read next about choosing the right primer for bare wood.