How to Apply Tile Paints: Step-by-Step Guide
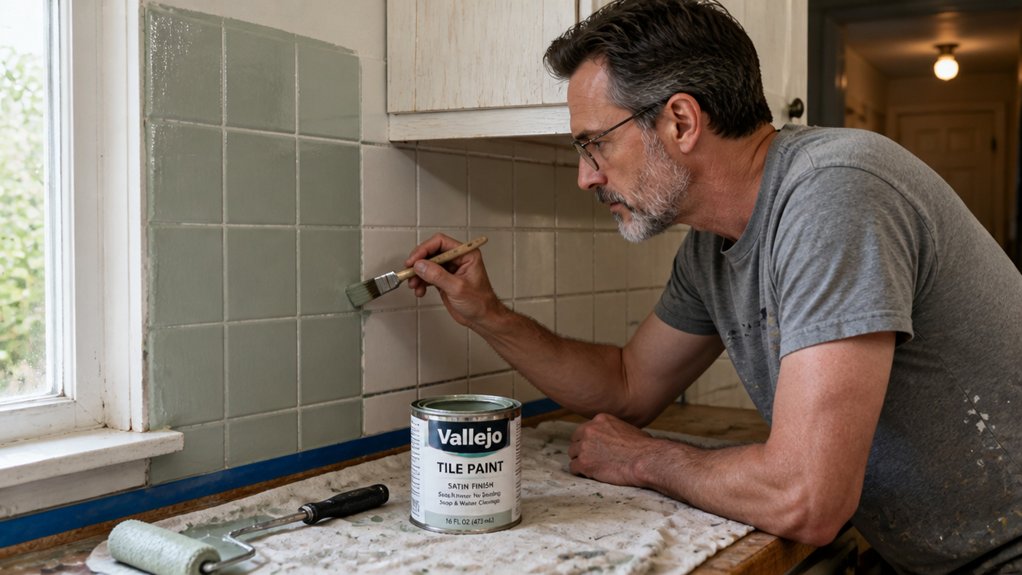
Tile paint can save you a full remodel, but only if you get the prep right.
That means cleaning with TSP, scuffing the glaze with 100-grit sandpaper, and letting everything dry for a full day before you even open a can.
You can skip primer with epoxy, but for glossy or chipped tile, a bonding primer is non-negotiable.
Use a short-nap roller, keep a wet edge, and plan for two coats plus a week of cure time before sealing with water-based polyurethane.
The finishing steps are where most projects go wrong, so this guide covers the exact order, drying times, and troubleshooting you need.
Start with the surface prep below, and you will avoid the peeling and blotching that sends DIYers back to the store.
Quick Answer
- Clean tile with TSP, rinse, and wait 24 hours to dry completely before painting.
- Sand glossy tile with 100-grit paper to scuff the surface for better paint adhesion.
- Apply bonding primer to glazed or chipped tile; skip primer only for direct-bond formulas.
- Roll paint in one continuous strip, keeping a wet edge to avoid lap marks.
- Apply three coats total, then cure seven days before sealing with two thin polyurethane layers.
Choose the Right Tile Paint for Your Surface (1K vs. 2K vs. PU)
Pick the right tile paint before you open a can, or you will be repainting in a year. The choice comes down to epoxy versus polyurethane, and they are not the same.
For walls, a 1K epoxy is easy to apply and air cures in about 4 to 6 hours. A quart runs around $30, and it is great for low-traffic areas where you want a smooth satin finish.
For floors, you need a 2K epoxy because it is tougher and requires mixing two parts before you roll it on. It takes 12 hours between coats and a full week to cure, so plan for slow drying time and protect the area with painter’s tape and a drop cloth.
For wet areas like pools or exterior stairs, use a 2K polyurethane, which is the tank of the group. It handles constant water and sun without peeling, and it resists stains better than epoxy. Low-VOC formulas reduce fumes without needing extreme ventilation, making them safer for indoor work.
Always sand the old surface with 120 grit to give the primer something to bite into. Then apply a bonding primer before your topcoat, and check the VOC level if you are working indoors.
> Sand with 120 grit, prime before topcoat, and check VOC indoors—prep decides how long your paint lasts.
Wet edge is your friend here, so roll in one continuous strip to avoid lap marks and brush strokes. Use a short nap roller for a smooth gloss or a foam brush for tight edges.
Drying time is not the same as cure time. Even if the 2K polyurethane feels dry in a few hours, wait the full week before you put heavy traffic back on it.
Skip the cheap 1K for anything that sees water, and grab the 2K polyurethane instead. Your future self will thank you when the finish stays put for years.
Prep Tile: Clean, Sand, and Strip Old Grout

Painting tile is mostly about prep, and that is where most people fail. Start by scrubbing the surface with TSP and warm water, working top to bottom, then rinse thoroughly. TSP powder mixes with water and is described as a heavy-duty cleaner that removes slick grime before painting to help the paint adhere.
Next, sand with 100-grit paper to scuff the glaze, just enough to dull the shine without going through to the body. You do not need to remove the old grout, but you must strip any silicone sealant with a scraper since paint will not bond to it.
After cleaning, wait a full 24 hours to let the tile dry, then check for dampness with your hand or a moisture meter. Damp tile will peel the topcoat no matter how well you sand, so this step is non-negotiable.
Use a drop cloth to protect the floor and painter’s tape along edges before you start. For the finish, a high-bonding primer is critical, followed by a satin or gloss topcoat that resists moisture.
Keep a wet edge while painting to avoid lap marks, and use a small roller for smooth coverage. Brush strokes disappear if you lay off the paint lightly while it is still wet.
Drying time is about two hours between coats, but cure time takes a week before heavy use. VOCs are lower in water-based enamels, so open a window and use a fan.
The work is tedious, but proper prep makes the difference between a finish that flecks off in months and one that holds for years. Treat it like seasoning a steak before cooking, you cannot fix it after the heat is on.
When to Use (and Skip) Primer for Tile Paint

Primer decides whether tile paint stays put or peels like a bad sunburn, but you don’t always need it. If you’re using EPODEX 1K or 2K tile paint, skip primer entirely because those formulas bond directly to the surface.
For anything else, grab a bonding primer. Glossy glazed tile needs it to give the topcoat something to grip, and old chipped tile benefits from primer filling micro-cracks before you paint.
Bare unglazed tile is porous enough to skip primer, and so is any EPODEX product. Also check your primer’s shelf life; if it’s older than one year, toss it and buy fresh. Oil-based formulas generally last longer than water-based ones, but storing primers in cool, dry conditions extends usability either way.
Before committing to the whole job, run a simple adhesion test on a small patch. Apply primer, let it dry, stick on painter’s tape, and pull it off fast.
If the primer lifts, you’ve got a problem with either the surface or the product. When in doubt, prime, because cheap insurance beats a full repaint.
Match your primer to the paint system, not to habit, and keep your wet edge moving to avoid lap marks. Use a drop cloth and proper sanding grit if you need to rough up glossy tile first.
Drying time matters, but cure time matters more, so wait the full period before applying your topcoat. A satin or gloss sheen will show brush strokes, so work in smooth, overlapping passes.
Apply, Cure, and Seal: Timelines and Topcoats
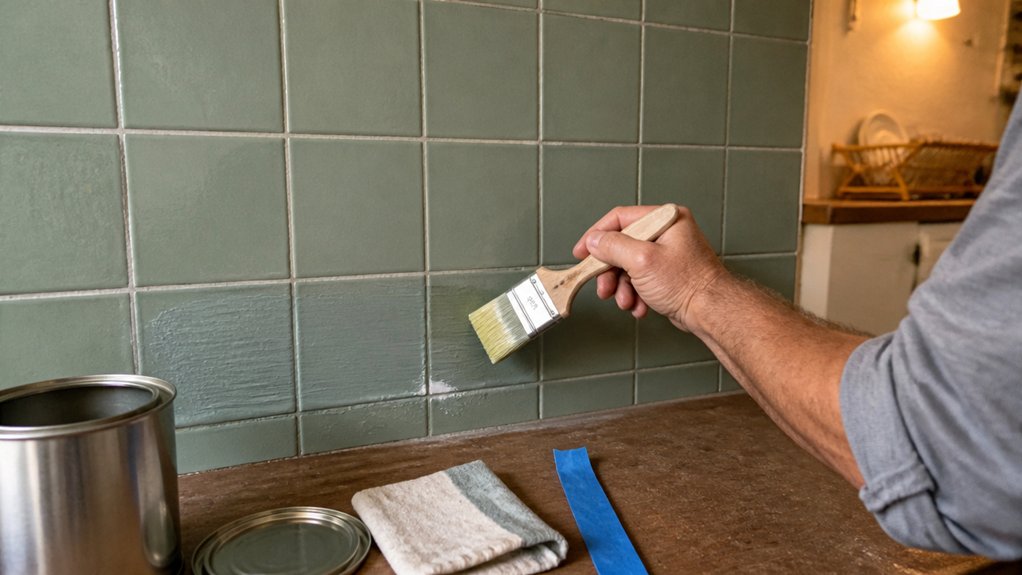
Three coats total is the right number for painted tile: two of paint, one of sealer. Most mistakes happen in the timing between them, so follow the clock closely.
For 1K paint, wait four to six hours between coats. For 2K paint, give it twelve hours.
Humidity and cold can stretch drying time, so don’t rush it. After the final paint coat, let it cure for about seven days before sealing. A flexible blade helps when smoothing spackle or filler in adjacent drywall repairs, but for tile, keep your applicator clean and dedicated.
Seal with a water-based polyurethane, and apply two thin coats with a foam roller. Keep your strokes even and open a window, since the low VOC finish still needs airflow.
You’ll wait another 48 to 72 hours before walking on the floor, which feels long. But patience beats repainting, so let it fully cure.
Get the timing right, seal after full cure, and you’ll have a durable floor. That’s cheap insurance for a surface you’ll actually use every day.
Frequently Asked Questions
Can I Paint Over Glossy Tiles Without Sanding?
Yes, you can paint over glossy tiles without sanding, but only if you use a specialized bonding primer designed for slick surfaces. Skipping sanding on glossy tile is a direct route to adhesion failure, so you must compensate with preparation.
Glossy tile prep isn’t optional; paint needs a rough surface or a chemical grip to hold. Apply a high-adhesion primer like Zinsser B-I-N or an epoxy-based sealer, then use a 100% acrylic or tile paint.
After priming, wait the full recoat time listed on the can, usually 24 hours, before your first topcoat. For best results, apply two thin coats instead of one thick one, as this reduces runs on vertical surfaces.
If you skip the primer, your finish will peel quickly, so don’t rely on paint alone. Consider scuffing with 220-grit sandpaper on high-traffic edges if you want extra insurance without a full sanding job.
Related search terms include “tile refinishing kit” if you prefer a full system, but the primer route works well for small backsplashes. Always test a hidden corner first to check adhesion after drying.
What Happens if I Miss Removing Silicone Sealant?
If you miss removing silicone sealant, you will experience adhesion failure, and the new paint will peel or flake off in those contaminated areas. Silicone leaves a slick, invisible residue that blocks paint from bonding, so even a missed speck creates a weak spot that spreads as the coating cures.
Use a silicone remover or mineral spirits on a clean rag, then wipe the entire surface with isopropyl alcohol and let it dry for at least two hours. For stubborn traces, sand the area with 120-grit paper, but be careful not to just smear the silicone deeper into the pores.
Think of it as surface contamination, not a cosmetic issue, because your finish will only be as strong as its weakest patch. A quick test is to mist water over the area: if it beads up instead of wetting out, you still have silicone there. Strip every trace, then apply a high-adhesion primer before your topcoat, or you’re just decorating a ticking time bomb that will fail within weeks. For thicker bead remnants, a razor scraper works, but follow up with solvent and sanding to ensure a clean substrate.
How Long Can Painted Tiles Stay Wet Before Curing?
Painted tiles should not stay wet before curing, as excess moisture will compromise the paint’s bond to the surface.
In practical terms, you must keep the painted area completely dry for at least 24 hours, though 48 hours is safer if temperatures dip below 65°F or humidity rises above 70%.
High humidity slows solvent evaporation, so use a dehumidifier or fan to speed up the process, but avoid direct airflow that pushes dust onto the wet film.
For a quick test, lightly touch a corner of the tile after 12 hours; if it feels tacky, wait longer before walking on it or applying a second coat.
Also, seal any grout lines with painter’s tape beforehand, since moisture wicking from porous grout can cause peeling later.
Remember that curing fully takes up to 30 days, so avoid heavy cleaning or scrubbing until that window passes.
A related term to search is moisture vapor transmission, which explains why humidity ruins adhesion.
For faster results, use a water-based acrylic enamel instead of latex; it tolerates slight dampness better and dries in about 6 hours to touch.
Can I Use Tile Paint on Cracked or Broken Tiles?
Yes, you can use tile paint on cracked or broken tiles, but only after you repair the damage first. Painting over cracks without fixing them will allow the fracture to spread and ruin your finish, so address the breakage before any coating goes on.
Use a two-part epoxy or a flexible crack filler designed for tile, then sand the repaired area flat with 220-grit sandpaper once it cures. After patching, apply a bonding primer, then two thin coats of tile paint, waiting at least 24 hours between each for a durable bond.
For deep chips, fill in layers rather than one thick blob, and always wipe the tile with denatured alcohol before priming to remove grease. This preparation ensures the paint adheres properly, extending the lifespan of your tile surface and avoiding premature peeling.
Is Primer Necessary for Water-Based Enamel Tile Paint?
Yes, a bonding primer is necessary for water-based enamel tile paint if you want lasting results. It gives the slick tile surface a profile for the paint to grab, which boosts adhesion and durability.
Most tile paints still need that primer coat unless the label clearly says it is self-priming. Sand the tiles with 120-grit paper first, wipe the dust, then apply one thin primer coat and let it dry about 4 hours before painting.
Skip the primer only when the product states it is a self-priming tile paint. Otherwise you are gambling on a coating that may peel or chip later.
Rounding Up
To apply tile paints, you must prep the tile by scrubbing, sanding, and sealing before any coating. Skipping prep means you are just polishing a turd, so do not do it.
Check your surface for grease or soap scum, then sand it lightly to create tooth for the paint. Write down your cure time and mark the calendar for a full week, because patience pays.
Apply thin coats, not glops, using a $40 quart of 2K paint. Compare your cost against a $2,000 reno, but only if you let each layer dry properly.
Ask yourself if your existing tile is truly clean, then seal it before painting. The article’s result is a surface that holds up, measured by literal savings.
Read next about epoxy grout application.