Can You Use a Roller on Trim and Doors?
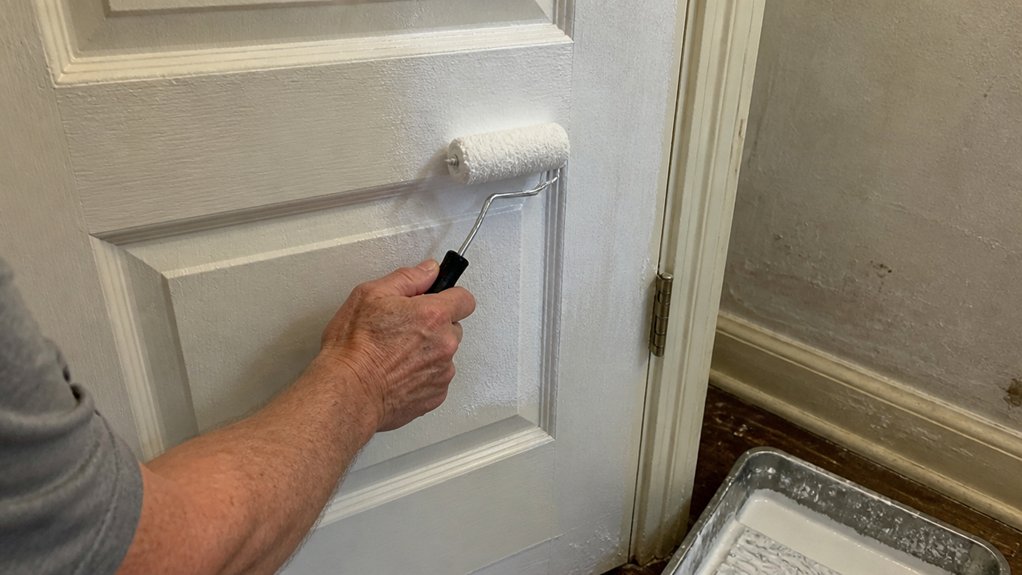
Brushing trim and doors always leaves streaks, and you are likely tired of sanding them down. Yes, you can use a roller on trim and doors, and a 4 inch mini roller with a 1/4 inch nap gives a smooth finish that looks sprayed on.
Roll slowly, about half your normal speed, to avoid trapping air bubbles that ruin the sheen. This trick cuts your painting time in half, and it works beautifully on flat panels without needing a second brush coat.
We will cover the exact roller type, the right primer for the job, and how to manage drying time between coats.
Follow these steps, and you will skip the rookie mistakes that cause orange peel and uneven cure.
Quick Answer
- Yes, rollers work on doors and trim; choose a 4-inch mini roller for tight areas.
- Use a 6-inch roller with a 1/4-inch nap for smooth, stipple-free door finishes.
- A 4-inch foam roller gives a glassy finish on slab doors, but needs frequent reloads.
- Avoid 9-inch rollers on doors; they fling paint and lack control on edges.
- Roll flat surfaces; switch to a brush for corners, recesses, and raised panel details.
Pick the Right Roller Nap and Size for Your Door Type
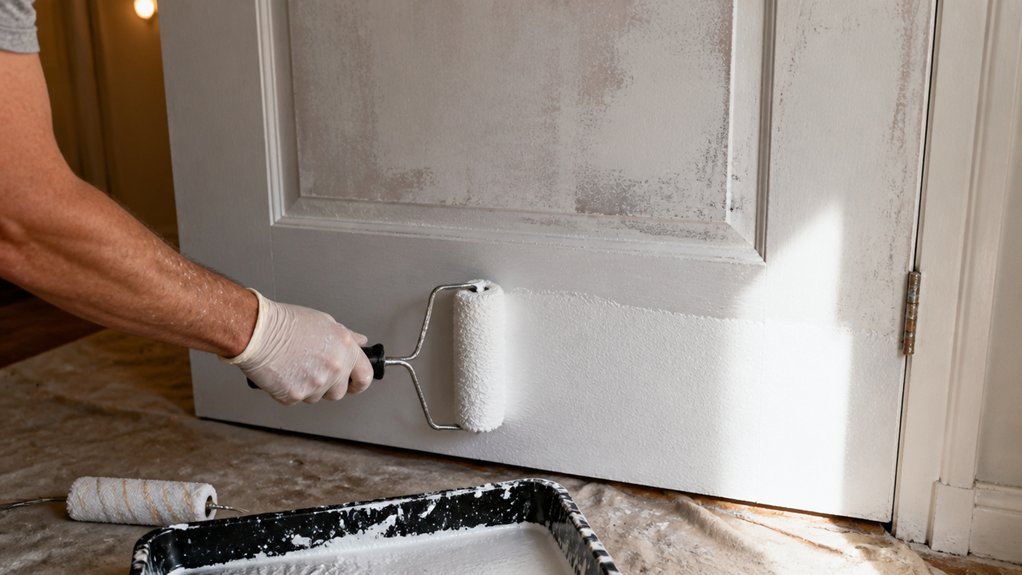
For a standard six-panel interior door, skip the large 9-inch roller. It is overkill and will fling paint everywhere, which I learned the hard way.
A 6-inch roller with a 1/4-inch nap is the right tool for most doors. This short nap lays down a smooth finish without the stippled orange-peel texture that longer naps create. A 3/8-inch nap deposits 15–20% more paint than a 1/4-inch, but that extra film thickness risks texture on flat surfaces.
A 6-inch roller with a quarter-inch nap is the right tool, giving a smooth finish without the orange-peel texture.
For wide trim and paneled edges, switch to a 4-inch mini roller. It gives you better control in tight spots and along the raised sections of the door.
On slab doors, use a foam cover on that 4-inch roller for a glassy, near-mirror finish. Just remember that foam holds less paint, so reload it often to avoid dry spots.
A short nap also helps you keep a wet edge, which prevents lap marks when the paint starts to set. The drying time on interior doors is short, so work in sections and roll back into the wet paint.
Prime the door first with a quality primer, then apply your topcoat in your chosen sheen, whether satin or semi-gloss. Use a drop cloth and painter’s tape to protect hinges and hardware.
Always sand between coats with 220-grit sandpaper to knock down any dust nibs or brush strokes. Then wipe clean with a tack cloth before the next coat.
Matching the roller size to the surface beats wrestling a giant roller around a cabinet frame or door edge. The 6-inch handles the flat areas, and the 4-inch handles the detail work.
Keep the nap short for doors and trim, and you will get a clean, professional result without the mess. That is the practical choice, and it works every time.
How to Roll Doors and Trim Without Bubbles or Orange Peel?
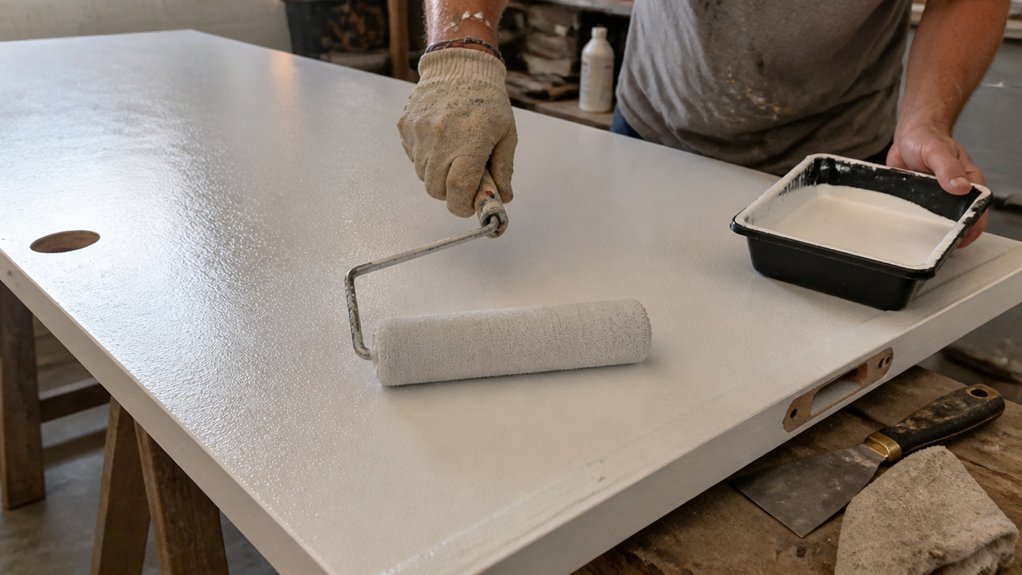
Orange peel and bubbles usually come from rolling too fast or rushing the prep, not from the roller itself. I have made that mistake, and the fix is simple: slow your arm speed and load the cover evenly.
Use a 4-inch foam roller with a 1/4-inch nap for flat doors. Move at half your normal speed and keep steady wrist pressure from one end to the other. This traps less air and lets the paint level into a smooth film before it starts to set.
Apply two thin coats instead of one heavy one, and wait the full drying time between them. A heavy first coat traps solvent and causes pinholes, while thin coats let each layer dry properly. Lightly sand with 220 grit and wipe with a tack cloth before you start, so the topcoat has something to grip.
Back-roll once, then stop. If you go over semi-set enamel again, you will drag the film into orange peel. Work with a wet edge to avoid lap marks, and keep your brush or roller moving in one direction.
For oil-based enamel, use a high-quality primer first and let it cure, not just dry, before the topcoat. Latex paints with lower VOC levels tend to level better, but they still need that even pressure and slow pass. A drop cloth and painter’s tape protect the jambs while you work. Water-based low-VOC formulas, like those used in touch-up pens and trim paints, also cure hard without requiring a separate primer, which simplifies the prep step.
Patience and prep beat any fancy tool. Cut your speed, keep the pressure even, and let each coat dry fully. That routine gives you a clean, flat finish with no bubbles or texture.
Why a Roller Beats a Brush on Flat Surfaces
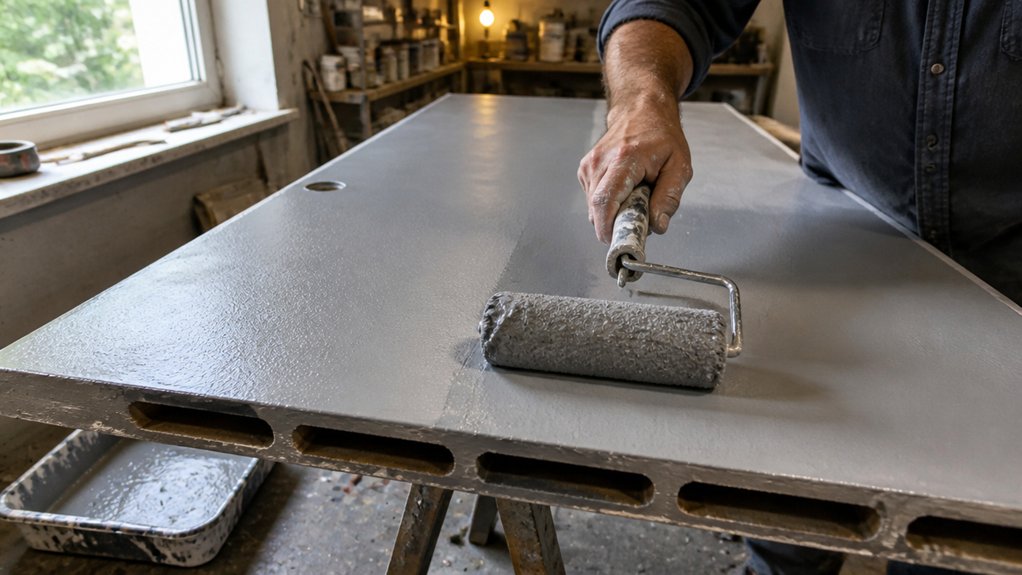
A roller beats a brush on flat surfaces every time. I have the shaky arm and lap marks to prove it from trying to brush a door slab.
A brush leaves streaks you will fight for hours. A 4-inch foam roller lays down a smooth, even coat in minutes.
Watch for foam cover bubbles, though. Roll slow, or you will trap air in the enamel and ruin the finish.
The real trick is balancing paint capacity. A woven 1/4-inch nap holds more paint than foam, so you reload less, but it leaves a slight stipple texture.
Foam gives the smoothest sheen but needs constant dipping. For a flawless door, grab a 6-inch foam roller and load it lightly. Woven microfiber holds paint without shedding, making it a strong alternative for faster coverage.
Roll end-to-end in one direction, keeping a wet edge so you avoid brush strokes and lap marks. Keep the topcoat thin and even, and let it dry fully before sanding between coats with 220-grit if you need a perfect gloss.
Use a drop cloth and painter’s tape on the hinges, and you are done. Roller wins, hands down.
Frequently Asked Questions
Can I Use the Same Roller for Primer and Paint?
Yes, you can use the same roller for primer and paint, but I wouldn’t recommend it for a professional-looking finish. A fresh roller cover prevents primer residue from tinting your topcoat, which matters most on trim and doors.
Swap the cover between coats, and you’ll avoid streaks and texture mismatches. For latex paints, wait the manufacturer’s suggested recoat time, often 2 to 4 hours, before applying the finish coat.
If you’re on a budget, wash the primer-soaked cover thoroughly with soap and water, then spin it dry. Residual primer can still alter sheen, so buy a cheap spare cover instead; it’s a small cost for a flawless look.
Related term: paint roller sleeve. This trick also works for stain and varnish projects, where contamination shows instantly.
How Do I Clean Roller Covers After Oil-Based Paint?
To clean roller covers after oil-based paint, you need to dissolve the hardened resin with a solvent like mineral spirits or paint thinner. First, scrape off excess paint with a 5-in-1 tool, then submerge the cover in a bucket of solvent and work the nap with a brush or your gloved fingers.
Allow the cover to soak for several minutes, then squeeze out the solvent and repeat the process until the runoff is clear. Let the sludge settle in the bucket overnight, then pour the clear solvent back into its original container for reuse, and dispose of the leftover residue at a hazardous waste facility.
Rinse the cover in warm, soapy water, then spin it dry on a paint roller spinner or give it a firm shake. Hang it by the handle to air dry completely, which takes at least 24 hours, and store it wrapped in a plastic bag to keep dust off. Always use a cover comb or brush to lift the nap and remove any trapped paint fibers before your next coat.
What Roller Frame Length Is Best for Doors?
The best roller frame length for most interior doors is a 4 inch mini roller, as its compact width fits panels, stiles, and trim snugly without bridging onto adjacent surfaces. Pair it with a 1/4 inch roller nap for a smooth, low texture finish on prepped wood or primed metal.
You will control edges far better with this smaller frame, cutting down on touch ups and eliminating overspray nuisance. For a typical six panel door, apply two thin coats of a water based enamel, waiting about two hours between coats to avoid tackiness.
If you must use a wider frame, stick to a 7 inch on the flat center panels only, then switch back to the mini for the rails and stiles. Always sand between coats with 220 grit to knock back any raised grain, and use a 4 inch roller sleeve with a solvent resistant core if you are working with oil based varnishes or stains.
Should I Back-Roll Trim After Spraying or Brushing?
Yes, you should only back-roll trim after brushing, never after spraying, because back-rolling sprayed paint destroys the delicate texture and creates drag marks. When you spray, the finish lays down uniformly, and touching it with a roller only pulls and disturbs that perfect film.
Instead, for brushed trim, use a 4-inch microfiber roller with a light touch to level the brush strokes while the paint is still wet. This technique evens out the coating beautifully, especially on flat or paneled surfaces, without gouging the finish.
Work in small sections, around 2 to 3 feet at a time, and roll immediately after brushing, never waiting more than a couple of minutes. If the paint starts to tack up, stop rolling and recoat after 4 hours, or the surface will look ragged.
This approach also works well with varnish or enamel, where a smooth, grain-free result matters most. Just keep your roller lightly loaded and let the paint flow, not smear.
Can I Use a Roller on Crown Molding or Chair Rails?
Yes, you can use a roller on crown molding or chair rails, but only chair rails with flat faces take it well. For crown molding’s intricate profiles, a roller will bridge recesses and leave uneven film, so stick to a brush or a small foam brush for those details.
On a flat chair rail, a 4 inch roller with a 3/8 inch nap works fine, but you must back brush the edges to avoid skipped spots. Rollers miss the tight corners where the rail meets the wall, so use a 2 inch angled sash brush for those seams.
Apply two thin coats, sanding lightly with 220 grit between them for a smooth finish. If you try a roller on ornate profiles, you’ll fight drips and need a brush anyway, so choose your tool by the surface’s geometry, not convenience. Search for “trim painting tools” if you need more options.
Rounding Up
You can absolutely use a roller on trim and doors. This method lays down paint fast and gives a factory smooth finish without brushstrokes.
Use a 4 inch microfiber roller with a 3/8 inch nap for the best results. Lightly back roll over the wet paint to avoid orange peel, that bumpy texture.
Check your roller pressure as you go. Press too hard and you will leave marks, press too soft and coverage gets thin.
Compare the cost against a sprayer. Rolling is cheaper and needs less setup and cleanup.
Ask yourself if you have a clean, dust free surface before starting. This step makes or breaks the final look.
A related topic you may want to read next is how to cut in around corners with a brush.