How to Apply Gilding Waxes: Step-by-Step Guide
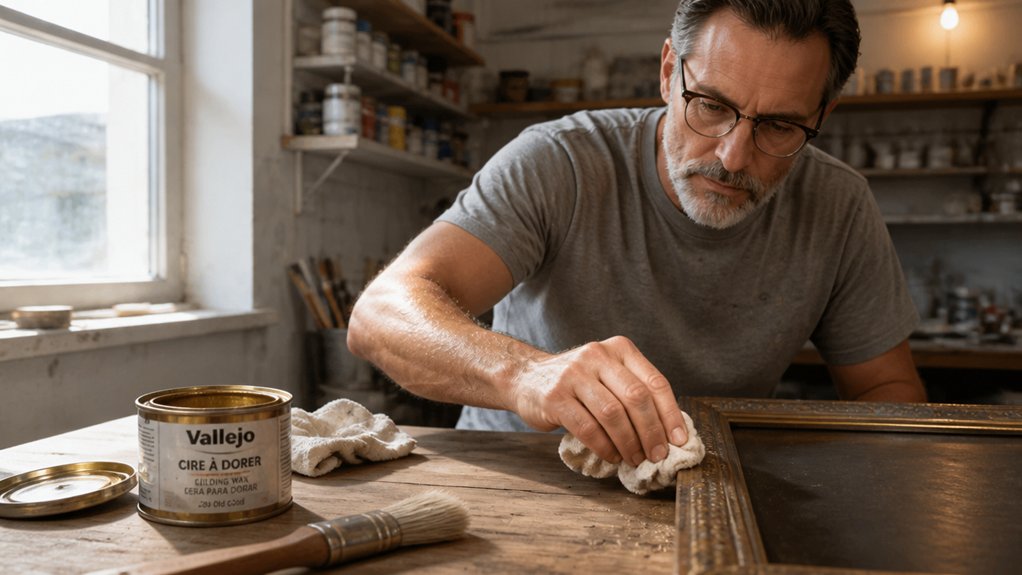
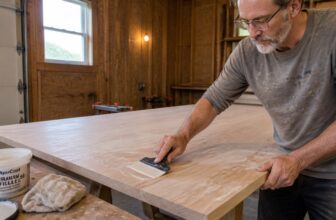
Gilding wax can transform a plain frame or cabinet into an heirloom piece, but it all falls apart if you rush the prep. A clean surface, sanded raw wood at 220-grit, and primer left to dry overnight are your foundation for a smooth, even sheen.
Work the wax on in thin, circular layers using your fingers, since body heat helps it soften and spread. Let it sit for four hours, then buff lightly with a microfiber cloth to build the glow you want. For pieces that see heavy use, seal them with a solvent-based varnish to protect the finish from wear.
The real mistakes happen with stencils, tricky textures, and cure times, and this article walks you through each of those problem spots. Stick around for the full breakdown so you can finish your project with confidence and skip the trial and error.
Quick Answer
- Surface prep: clean, sand raw wood to 220 grit, and remove dust for optimal wax adhesion.
- Apply thin wax layers with fingers or soft cloth, buffing in circular motions to avoid brush strokes.
- Work quickly with a wet edge to prevent uneven drying; use pea-sized dabs per small area.
- Peel stencils off while wax is wet, slowly straight back to avoid smearing designs.
- Buff after 4+ hours with microfiber cloth; stop for satin, continue for gloss finish.
Prep Your Surface and Tools for Gilding Wax
Gilding wax demands a clean surface, so prep comes before you even open the tube. Wipe the piece down with a furniture cleaner like White Lightning, then sand raw wood smooth with 220-grit sandpaper. This wax bonds to wood, glass, plastic, and even cardboard, so don’t overthink the material, just make sure it’s free of dust and grease. Dark base coats, like charcoal, navy, or burgundy, make the metallic finish stand out. I learned that lesson on a pale chair that ended up looking like a sad disco ball. Paint or seal the piece with a primer or satin topcoat first, then let it dry fully according to the label’s drying time. Cure time matters too, so wait overnight for solvent-based finishes. Squeeze a small dab of wax onto a palette, since a little goes a long way. Work in thin layers with a soft cloth, buffing in circular motions to avoid brush strokes. Keep a wet edge as you go, and move quickly so the wax doesn’t dry unevenly. Lay down a drop cloth and use painter’s tape on edges you want to protect. With clean surfaces and the right base color, the wax will glide on smooth and dry to an even sheen. For carved details or trim, dab the wax on with a brush and buff lightly for a highlight that catches the eye, as wax-acrylic formulas like Pebeo Empire Gold are suited to high-contrast work.
Apply Gilding Wax With Fingers, Brushes, and Stencils
Fingers are the cheapest applicator you own, and they double as a built-in heating pad. Press a dab onto a gloved hand and rub; the warmth softens the wax instantly.
For raised moldings, work in tiny circles so the heat pushes the metal into every ridge. Use a stiff bristle brush for crevices, dry-brushing short strokes so the wax never pools.
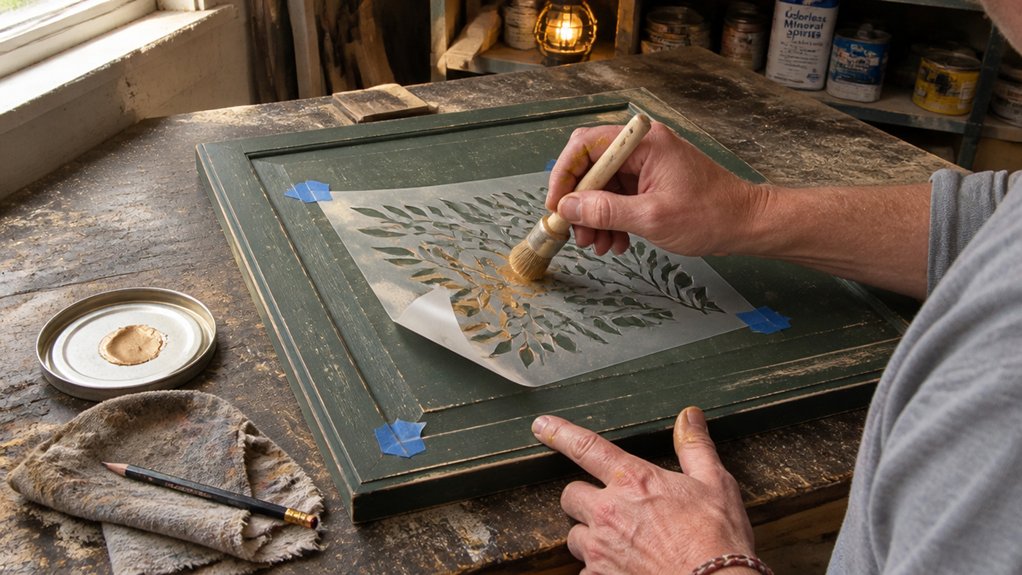
Stencils need patience. Dab, don’t wipe, to keep the edges crisp, and pull the stencil off while the wax is still wet.
Thin coats win every time. A pea-sized blob covers a chair leg, and you’ll over-apply once, laugh, then learn.
Keep a wet edge when you move along a flat surface, just like with varnish or polyurethane. If the wax starts to drag, re-warm it with your fingers before adding more.
Sand lightly with 220 grit if you get a rough spot, then wipe dust with a tack cloth. A satin topcoat over the wax protects the finish on high-traffic areas.
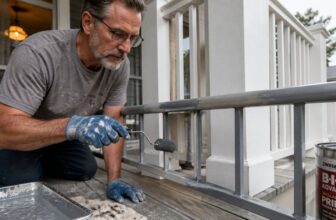
Protect your floor with a drop cloth and mask trim with painter’s tape before you start. Low-VOC waxes smell less, so open a window and work in fresh air.
Drying time runs a few hours, but full cure takes a couple of days. Touch up any streaks with a dry brush before the wax cures completely.
For carved details, a brush with synthetic bristles gets into tight spots without scratching the base. Wipe the brush on a rag between passes to avoid loading it with too much wax.
Stencils shift if you press too hard, so secure the edges with tape. Peel slowly and straight back to avoid smearing the design.
For nonporous surfaces like glass, a light sanding improves adhesion before you begin.
Buff, Cure, and Seal After the Wax Dries
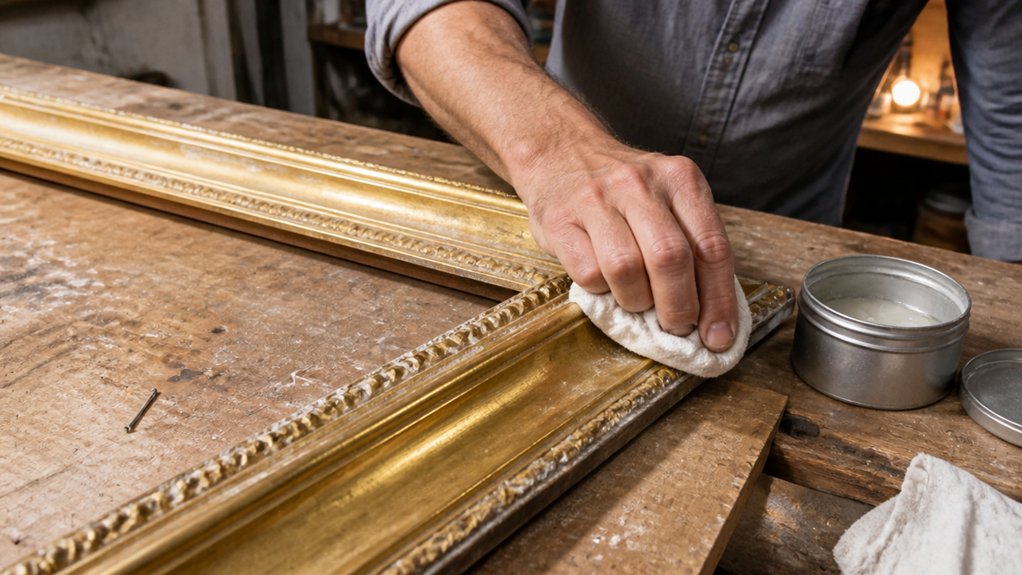
Once the wax feels dry to the touch, you’ve only reached the halfway mark. Don’t grab that drawer knob yet, because you’re now in the patience phase.
Buffing technique matters more than most people realize. If you skip it, the finish stays chalky and dull.
Buffing isn’t optional—skip it, and the finish stays chalky and dull.
Take a clean, dry microfiber cloth and work in small circles. Start with light pressure, then build up as the surface warms.
For a satin sheen, stop buffing early once you see a soft glow. If you want a polished gloss, keep going until your arm starts to ache.
Curing times aren’t just manufacturer fluff. Most bronze waxes need about 12 hours before you should buff, and full cure takes several days.
Don’t rush that drying time vs cure time. A dry surface still has soft wax underneath, so treat it gently.
Wait at least 4 hours minimum before touching it. At that point it is dry to the touch but still fragile.
Buff with a lint-free cloth, never paper towels. Paper towels leave fibers and can scratch the wax finish.
Test the cure after 24 hours by checking an inconspicuous corner with your fingernail. If it dents easily, give it another day.
Seal with a varnish only if the piece gets heavy use. Water-based topcoats dull the wax sheen, so stick with a solvent-based option if you must seal.
Use a drop cloth and painter’s tape when applying any topcoat. That protects the surrounding wood from drips and overspray.
Watch for lap marks and brush strokes when you apply varnish. Work with a wet edge and thin, even coats.
Low VOC finishes are better for indoor air, but check compatibility with your wax first. Some solvent-based varnishes react poorly over wax if applied too soon.
Patience pays off here. The final shine and protection come only after you let the wax fully harden and then buff it properly.
For small pieces, store buffing cloths and waxes in airtight screw-on caps with rubber O-ring seals to prevent contamination and drying out between projects.
Frequently Asked Questions
Can Gilding Wax Be Used on Fabric or Upholstery?
Gilding wax can technically be used on fabric or upholstery, but it is a poor choice and I strongly advise against it. The wax lacks fabric adhesion, so it will sit on the surface and crack into a stiff, flaky mess with any flex or pressure.
For upholstery, stick with fabric paints or textile mediums, which bind to fibers and offer genuine wash durability. If you must experiment, apply a thin coat on a scrap piece and let it cure for 48 hours, then test bending it.
You will see the wax powder off immediately, unlike a proper flexible finish like acrylic-based textile paint. One practical tip: use a soft brush to dab paint into the weave, applying two light coats rather than one heavy one. Search for “fabric medium” instead if you want a better, lasting result.
Will Gilding Wax Work Over an Existing Glossy Finish?
Yes, gilding wax will work over an existing glossy finish, but you are risking poor adhesion if you skip preparation. Lightly scuff the surface with 320-grit sandpaper or a fine abrasive pad to give the wax a mechanical grip.
After scuffing, wipe away all dust with a tack cloth, then apply the wax in thin, even coats using a soft cloth or brush. For best results, apply two to three coats, allowing each to dry for about 20 to 30 minutes before buffing.
Burnish the final coat with a clean, dry cloth to bring out that metallic sheen, which is the hallmark of a proper wax finish. This technique also works well over aged varnish or lacquer, so you can refresh old furniture without stripping. Always test on a hidden area first to confirm compatibility and sheen level.
How Do I Remove Gilding Wax if I Make a Mistake?
To remove gilding wax after a mistake, dab the fresh wax with a paper towel and paint thinner, blotting gently to dissolve it without spreading the residue.
For stubborn spots, switch to a soft cloth with mineral spirits, which breaks down the wax’s binder more effectively. Avoid scrubbing at all costs, since friction drives the pigment deeper into the finish.
Work quickly while the wax is still wet, as it sets within 10 to 15 minutes. If it hardens, reapply a thin coat of thinner and let it sit for 30 seconds before blotting again; this softens the layer for clean removal.
For final cleanup, wipe with a lint-free rag dipped in denatured alcohol to lift any oily film left behind. Always test on an inconspicuous area first, as some wood stains react poorly to solvents. Buff lightly with a dry cloth once the surface is clean.
Can I Apply Gilding Wax Over a Water-Based Polyurethane?
Yes, you can apply gilding wax over cured water-based polyurethane, provided the finish has fully hardened for at least 72 hours. The surface must be clean and dry, so wipe it down with a tack cloth and mineral spirits to remove any oils or dust.
For the best adhesion, lightly scuff the polyurethane with 320-grit sandpaper, then wipe away the residue. Apply the wax in thin coats using a soft cloth, working in small circular motions.
Buff gently with a clean, dry cotton rag after each layer to achieve that metallic sheen. One or two coats is usually enough for furniture, but test on a hidden area first. Remember, this wax sits on top of the polyurethane, so it is not durable like a varnish. For high-traffic items, consider a wax-resistant topcoat instead.
What Is the Best Way to Store Leftover Gilding Wax?
The best way to store leftover gilding wax is in an airtight container, kept in a cool, dark place away from any heat sources. I always press the wax down to force out excess air before sealing the lid, which prevents the solvents from evaporating and keeps the paste from hardening.
Store the container upright to avoid wax creeping up the threads and breaking the seal. For a truly long-term stash, wrap the rim with a strip of PTFE plumber’s tape before capping, which adds a secondary barrier against oxidation.
Keep it away from radiators or sunny windowsills, as temperature swings cause the wax to sweat and separate. If you buy the wax in a tin, transfer any partial remainder into a smaller glass jar to minimize the air gap above the surface.
This method keeps your wax workable for about six to twelve months, so you can reapply over shellac or oil finishes without waste.
Rounding Up
Applying gilding wax starts with a clean, dry surface and a soft brush, then you work in thin, even layers. You can fix mistakes immediately by wiping the wax off with mineral spirits, so do not panic if your first pass looks heavy.
Check your brush strokes by testing the wax on a scrap piece first. Layer a second coat once the first dries, pressing harder for more coverage or lighter for a worn look.
Seal your work with a clear furniture wax, buffing gently with a soft cloth. The article notes a $12 pot and a decent brush, which is what it costs to start, and it measures your only real expense.
For your next project, read up on how to apply metallic leaf to uneven or carved surfaces.