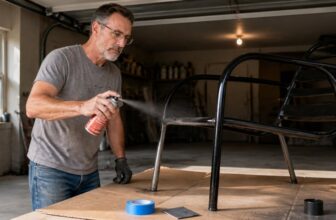
How to Apply Spray Paints for Wood: Step-by-Step Guide
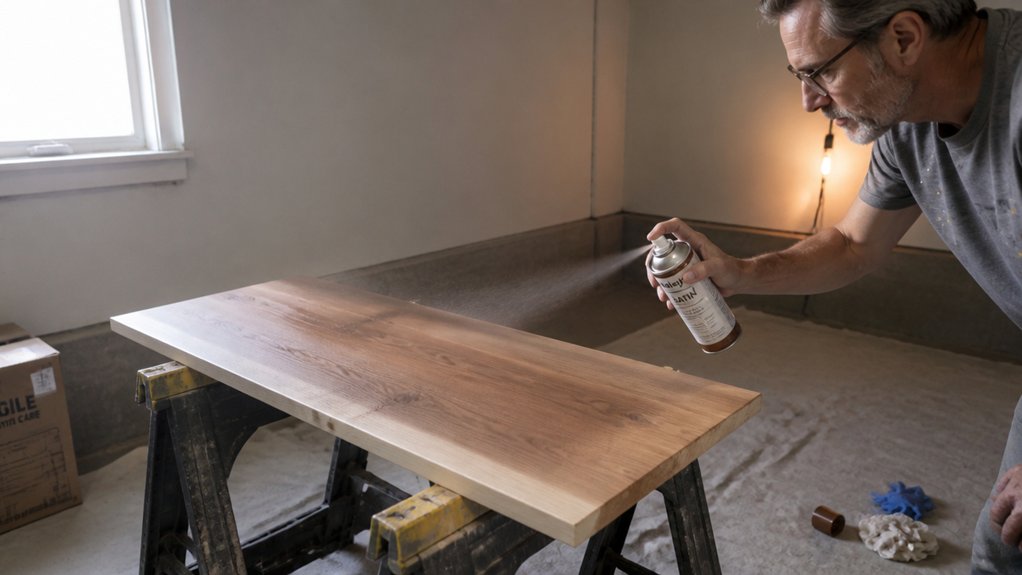
Spraying wood can feel intimidating compared to brushing, but it is the fastest way to get a smooth, even sheen. The secret is not heavy paint layers but smart surface prep and steady hand movement, which we break down for you here. You can avoid drips and orange peel by sanding to 220-grit, wiping down with a tack cloth, and filtering your paint before it hits the gun. Keep the nozzle 8 to 12 inches away and overlap each pass by half, allowing each coat to fully cure before sanding again.
If you skip this prep, you will spend hours fixing runs and uneven color, so patience with drying time pays off immediately. This guide covers everything from choosing the right sprayer to fixing common mistakes, making your next project look professionally finished.
By the end, you will know exactly how to apply spray paints for wood without the guesswork.
Quick Answer
- Prepare workspace with ventilation, respirator, drop cloths, and painter’s tape.
- Sand wood from 120-grit to 220-grit, then wipe dust with tack cloth.
- Strain paint through a fine mesh filter and test spray on cardboard first.
- Spray 8–12 inches away, overlapping passes by 50% with steady arm motion.
- Wait full cure time, not just dry time, before sanding or heavy use.
What You Need Before Spray Painting Wood Furniture
Before you open a can of spray paint, set up your workspace for airflow and safety.
“Before you open a can of spray paint, set up your workspace for airflow and safety.”
You are releasing solvent fumes into the air, so open a window or run a fan and wear a proper respirator rated for VOCs.
Next, plan where you will store your paint cans before you start.
Keep them in a cool, dry spot out of direct sunlight, or you will fight clogged nozzles and lumpy coats.
Lay down a drop cloth or tarp to catch overspray, and tape off any areas you want to protect with painter’s tape.
That covers the basics, and once these are done, you are ahead of most DIYers.
On the wood itself, sand with 120 grit to remove old finish, then wipe away dust with a tack cloth.
Apply a bonding primer first, let it dry completely, then spray your topcoat in thin, even passes.
Work in a consistent motion and keep a wet edge so you avoid lap marks and brush strokes.
Sheen matters for look and durability: satin hides flaws, gloss is tougher but shows every bump, and matte is soft but less scrub-friendly.
Remember that drying time is not cure time.
A coat may feel dry in an hour, but wait the full cure period before sanding between coats or adding a clear varnish or polyurethane for extra protection.
If you shake the can well and test on scrap wood first, you will get a smooth finish without drips or orange peel.
Spray from 8 to 10 inches away, and use short, overlapping sweeps rather than holding the nozzle in one spot.
Once you are done, clean the nozzle by turning the can upside down and spraying for a second.
That keeps the valve clear for the next project.
Keep humidity below 60% so moisture-related tackiness doesn’t ruin your finish.
Prep and Seal Wood for a Flawless Spray Finish
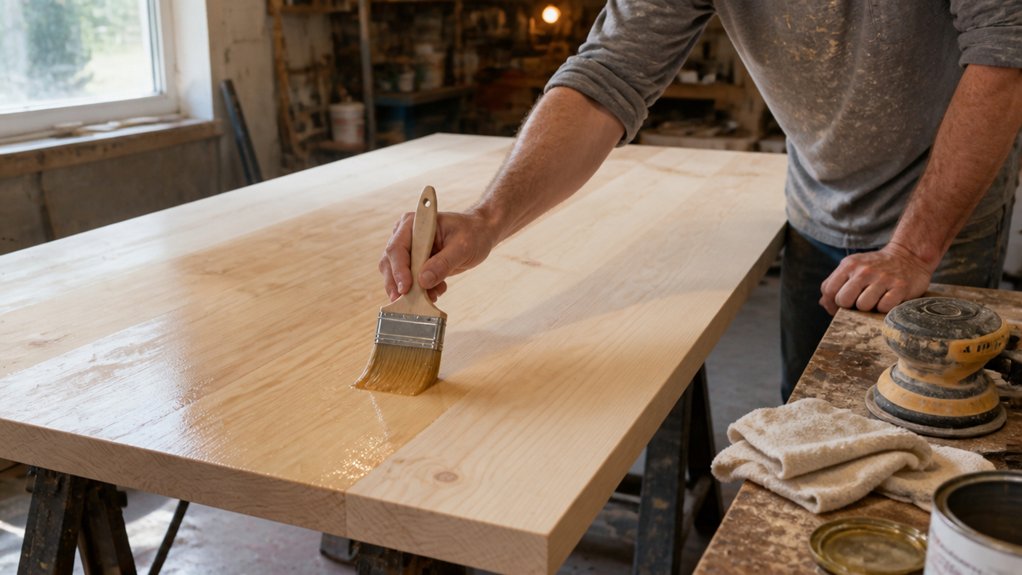
Sanding bare wood is the step that separates decent spray jobs from showroom-quality ones, and I won’t pretend it’s fun. For furniture or quality pieces, grab 150- or 220-grit paper; 120-grit works for shelves but leaves visible scratches on tabletops.
Once you’ve got a smooth surface, you must seal before any primer or topcoat hits the wood. Bare grain will soak up your expensive paint like a thirsty sponge at a BBQ, so a thin coat of sanding sealer or dewaxed shellac locks the surface down.
Let that sealer dry completely, then give it a light pass with 220-grit to knock off any raised grain. Wipe away the dust with a tack cloth, and you’re ready for primer.
Use a high-quality primer formulated for sprayers; it fills tiny pores and gives the topcoat something to grip. Let the primer dry according to the label, then sand it lightly with 320-grit for a glass-like base.
Now you can spray your topcoat in thin, even passes, keeping a wet edge to avoid lap marks and brush strokes. Choose your sheen based on the piece: satin hides flaws, gloss shows them, and matte gives a soft, modern look.
Remember that drying time is not the same as cure time; wait at least 24 hours before light use and a full week before heavy handling. If you’re using oil-based varnish or polyurethane, check the VOC levels and ventilate your workspace. Aim for a workspace temperature around 70°F–80°F to ensure proper curing and avoid extended wait times.
Lay down a drop cloth and use painter’s tape to protect any areas you don’t want coated. Following these steps keeps the finish smooth, durable, and free of the blotches that ruin a fresh spray job.
Sanding Bare Wood
A fresh sheet of 120-grit sandpaper is the cheapest insurance you’ll ever buy for a spray job. I never skip this step, even on wood that looks smooth.
Start with 120 grit to knock down raised grain on bare wood, then switch to 220 for a satin-smooth base. Always sand with the grain, using a sanding block to keep pressure even.
Don’t press hard; let the paper do the work. I’ve ruined plenty of projects by rushing this, thinking my spray gun would hide my laziness.
It won’t. After sanding, dust every surface with a tack cloth, because one speck becomes a crater under paint.
You’re not polishing furniture yet, just prepping a canvas for primer and topcoat. Ten extra minutes here saves an hour of sanding out runs later.
If the wood has any old finish, strip it down first, then sand again with fresh paper. For a closed-grain wood like maple, you can jump straight to 220 after a light pass with 180.
On open grain like oak, stick with 120 to level the pores before you move on. Remember to check your sanding block for worn spots, since a warped block leaves uneven pressure and wavy surfaces.
Keep your work area clean with a drop cloth and vacuum the dust before you tack off. A clean base lets the primer lay down wet and even, which cuts down on lap marks and brush strokes later.
Don’t worry about sheen yet; that’s a decision for your topcoat, whether you pick gloss, satin, or matte. Just focus on a smooth, dust-free surface, and your spray job will look like it was done by a pro. To avoid contamination from loose abrasive grit, clean the panel between sanding stages, since one speck can scratch or mar your final finish.
Sealing Before Topcoats
After the sanding dust settles, you have a clean surface, but bare wood acts like a sponge. It will soak up your topcoat unevenly and leave blotchy patches that look sloppy. I spray on a thin coat of lacquer-based sanding sealer, let it dry, then scuff it lightly with 220-grit sandpaper. That step locks in the grain so the finish goes on smooth and even.
Sealing gives you three main benefits. First, you get even absorption, so no thirsty spots hog the paint while others stay shiny. Second, the grain pattern pops through more crisply, which makes the wood look deliberate instead of messy. Third, the topcoat bonds better to the sealed surface, so chips and scratches are less likely to show up later. For maximum adhesion on tricky surfaces, a water-based bonding primer can also be used here as an alternative to lacquer-based sealers.
Skip this step, and you will end up sanding and refinishing the whole piece. I learned that the hard way twice, so trust me on this. Seal it, sand it lightly, then spray your topcoat while keeping a wet edge to avoid lap marks. Once the topcoat dries, you can buff it to your preferred sheen, from satin to gloss.
Use a drop cloth and painter’s tape to protect your work area, and check the VOC levels on your sealer can if you are working indoors. After the sealer dries, wait the full drying time before scuffing, since cure time is longer than you think. This method works with varnish or polyurethane topcoats, too, so you are not locked into one system.
Thin and Mix Paint to Prevent Nozzle Clogs
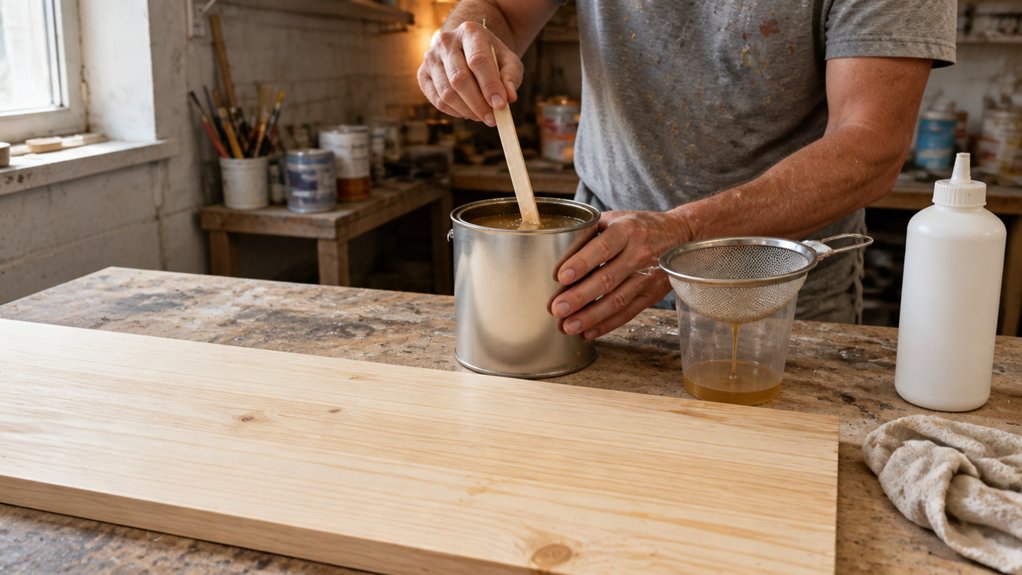
Thin your paint before spraying, because thick paint is what causes nozzle clogs and ruined finishes. I learned this the hard way after a half-sprayed dresser turned into a sticky mess and a blocked tip.
Check the paint’s shelf life first; old paint thickens, skins over, and turns into a clog factory. Stir it thoroughly, then pour it through a funnel to test the flow, which is your basic viscosity check.
If it moves like molasses, add thinner in small doses, about 5% at a time, until it streams like heavy cream. Mix all your cans together into one bucket so the color stays even across your project.
Pour the mixed paint through a fine mesh filter into your spray cup, and don’t skip this step. A single dried fleck of old paint will find your tip and plug it mid-pass, and you will be scraping it out with a pin.
Use a drop cloth and painter’s tape to protect the area, and test your spray pattern on cardboard before touching your workpiece. Check for a consistent fan, no spitting, and a smooth wet edge that doesn’t sag.
Keep your drying time in mind, but remember that cure time is longer, so don’t sand or recoat too soon. If you’re using a topcoat like polyurethane or varnish, thin it the same way and strain it just as carefully.
For a beginner, a satin or matte sheen hides minor imperfections better than a high-gloss finish. Work in a well-ventilated space and check your paint’s VOC label so you know what kind of mask you need.
Stop occasionally to wipe the tip with a rag, and keep a small cup of thinner handy for quick dips. That habit alone prevents most clogs before they start, and it saves you from cursing at a half-empty gun. A 190-micron mesh balances grit catching with flow speed, making it ideal for thicker epoxy and water-based enamels.
Choose the Right Sprayer and Tip for Furniture
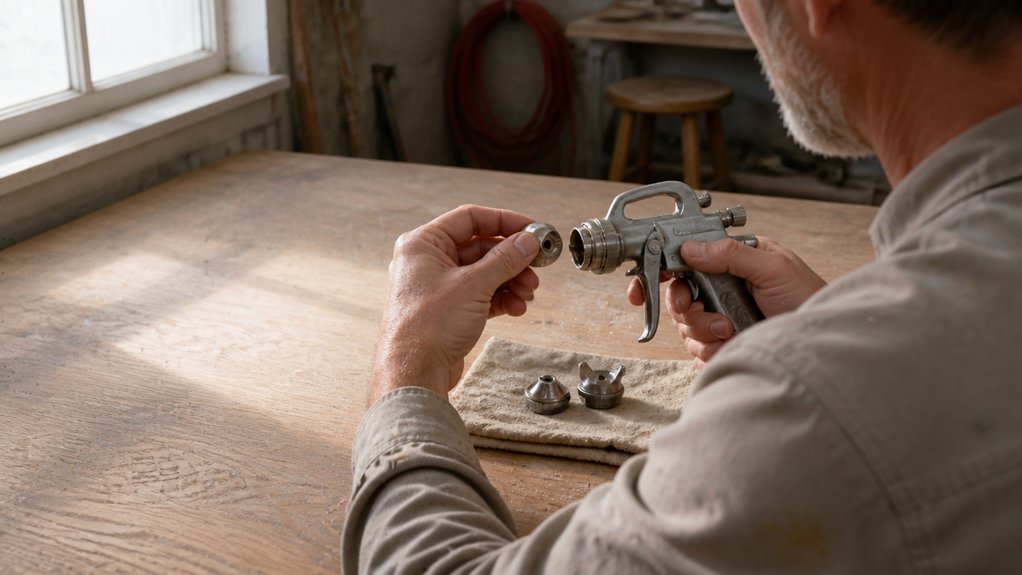
For furniture, choose an HVLP (high-volume, low-pressure) sprayer because it lays down a fine, even coat that suits tabletops and cabinet doors. A bulky airless unit will blast paint on like a fire hose, which leads to runs and waste.
The real control comes from your spray tip, and a narrower 8-inch pattern with a .013 hole size gives you the precision you need without overspray. I’ve learned this the hard way, so trust me: the right tip saves you from sanding off your mistakes later.
Before you spray, always wipe down the wood with a tack cloth and apply a primer if you’re covering bare timber or a stain change. This helps your topcoat, whether satin or gloss polyurethane, bond cleanly and show a smooth sheen.
Keep a wet edge as you move across the surface, overlapping each pass by about half the pattern to avoid lap marks and brush strokes. Work in a dust-free area, lay down a drop cloth, and mask off anything you don’t want painted with painter’s tape.
Remember that drying time is not the same as cure time; a water-based varnish may feel dry in an hour but needs days to fully harden. Sand lightly with 320-grit between coats to knock down any nibs, then wipe off the dust before the next layer.
For low-VOC finishes, check the label and work in a ventilated space, since even water-based products can irritate. Match the tip size to your material: a .013 works for thin stains and sealers, while a .015 or .017 handles thicker topcoats like polyurethane. Brass nozzles and flow-control knobs give you precise output adjustment for consistent coverage.
When you finish, clean the sprayer immediately with the right solvent, or dried paint will clog the tip and ruin your next job. Practice on scrap wood first, and you’ll dial in your speed and distance before touching your actual furniture.
HVLP Versus Airless
Choosing a sprayer can feel like a gamble between two ways to ruin a finish, but knowing what each does best makes the call easier. For furniture work, I grab an HVLP for its fine control, while airless earns its keep on big walls.
Cost is the first big split. A decent HVLP starts around $150, while a reliable airless runs $400 or more, which is serious money for weekend projects. If you’re painting side tables or chairs, that cheaper HVLP is plenty.
Maintenance is where patience gets tested. An HVLP needs a thorough cleaning after every use, and clogs are a constant threat with thicker finishes. Airless handles heavy paints and primers without clogging, but it chews through spray tips faster than you’d expect.
Finish quality separates them clearly. An HVLP lays down fine, smooth coats on tabletops with less risk of runs, so you get a satin or gloss topcoat that looks like it came from a shop. Airless puts out heavier material that’s great for coverage but needs quick hands to avoid lap marks and sags.
For a practical setup, keep the HVLP for trim, drawers, and anything you want a flawless sheen on. Reserve the airless for exterior siding or a full room of drywall, where speed beats perfection.
Always use a drop cloth and painter’s tape to protect what you don’t want coated. Wear a respirator with low-VOC paints, because overspray is real, and wet edge is your friend to blend strokes before drying time kicks in. For thicker finishes, an airless model with 3000 PSI max pressure sprays paint without thinning, saving you prep time.
If you sand between coats with 220 grit and wipe off dust, either sprayer gives you a clean base for your final layer of varnish or polyurethane. That step saves you from fixing runs later.
Spray Tip Selection
The size of the hole in your spray tip, shown by that small number like .013, makes the biggest difference between a smooth finish and a splattery mess. For furniture, I use a .013 tip with an 8-inch fan pattern. That setup gives me control and prevents clogging on detailed parts, so it is my go-to choice.
Clean the tip right after every use. Dried paint left in that tiny hole will cause rough sprays and uneven coats later, and you will regret skipping this step. Your tip size and pressure setting must work together as a team. Start with low pressure, then raise it gradually until the spray pattern looks even with no spitting and no heavy center line.
A tip hole that is too large will flood the wood with excess paint and create runs. A hole that is too small produces a fine mist that dries before it lands, leaving a rough, dusty surface. Match the tip to your sprayer’s pump capacity, and keep the hole clear for consistent flow.
For a typical topcoat like satin polyurethane, the .013 tip handles the viscosity well without thinning. If you spray a higher solids primer, you may need a slightly larger hole, like .015, to avoid spitting. Inadequate continuous airflow can starve a spray gun and cause pressure to sag mid-panel, so check your compressor’s CFM rating against your sprayer’s demands before starting. Always test on scrap wood first to check the wet edge and coverage before touching your project.
Keep a steady hand and move at a consistent speed to avoid lap marks and brush strokes. Let each coat dry according to the label’s drying time, which is not the same as full cure time. Lay down a drop cloth and use painter’s tape to protect adjacent surfaces before you start. The finish sheen, whether gloss, satin, or matte, will look uniform only if your tip stays clean and your pressure stays steady.
Remember to check the nozzle for any dried varnish or stain residue between coats. A quick wipe with the proper solvent keeps the hole clear and your pattern even. Stick with the .013 tip for most furniture finishing jobs, and you will get reliable results.
Spray Smooth, Drip-Free Coats on Wood Pieces
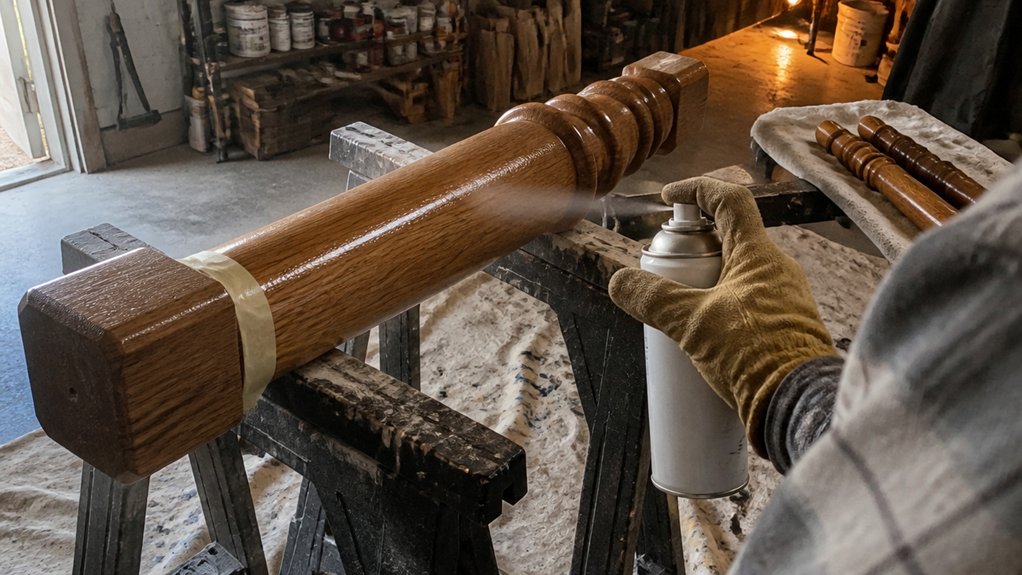
A freshly sprayed cabinet with orange peel texture or paint runs is frustrating, but both are easy to fix once you know the cause. Start with a clean, dust-free, and well-lit work area, because your environment affects the finish more than your trigger finger. Strain your paint through a fine mesh cone or cheesecloth before loading the gun, so dried bits don’t clog the tip mid-pass.
The trick to a glass-smooth coat is consistent gun control. Hold the spray gun 12 inches from the wood and keep it parallel to the surface at all times. Overlap each pass by 50%, lock your wrist, and move your whole arm at a steady pace. Any-angle spray tips help avoid wrist contortions during overhead applications, making them a practical choice for cabinet interiors or undersides.
The trick to a glass-smooth coat is consistent gun control: hold it 12 inches out, parallel, and overlap every pass by half.
Thin coats beat thick ones every time. Heavy or slow passes create drips and orange peel, so practice on cardboard first to get a feel for the speed. If you see a run starting, stop, let it dry, and sand it smooth with 220 grit before applying another thin layer.
Use a satin or semi-gloss topcoat for a durable finish that hides minor flaws, and remember that drying time is not the same as cure time. Wet edge is your friend for avoiding lap marks, so work in one continuous section. Keep a drop cloth and painter’s tape handy to protect the surrounding area, and always check the VOC label on your can for ventilation needs.
A clean gun and a light hand solve most problems before they start. If you do get a drip, sand it flat with 320 grit once the paint is dry, then spot-spray the area. Varnish or polyurethane works well for extra protection, but only after the stain or primer has fully cured.
Fix Blushing, Runs, and Orange Peel in Your Finish
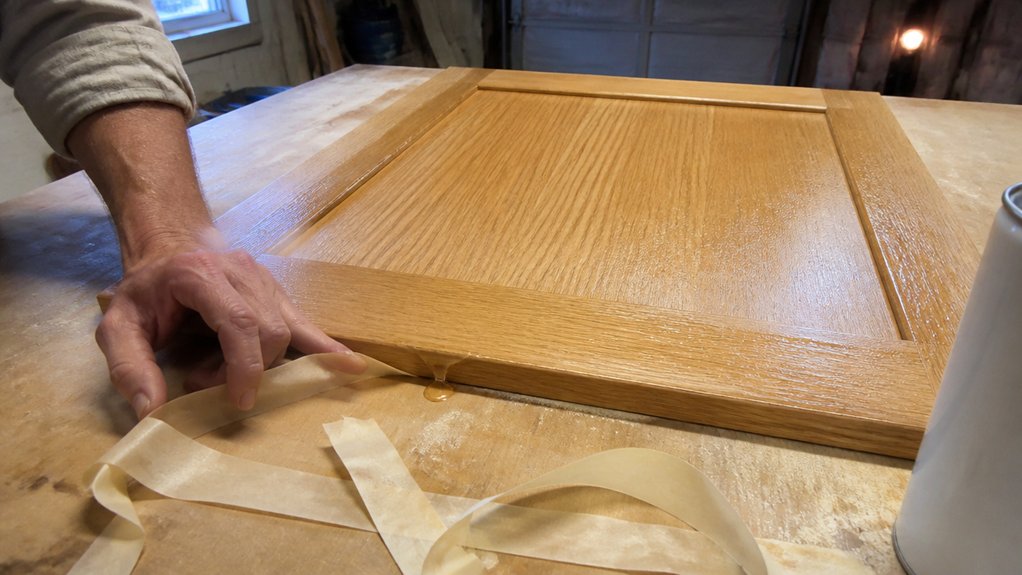
Blushing, runs, and orange peel all happen when you apply paint before the conditions are right. I’ve rushed these steps myself, and fixing the mess always takes longer than waiting.
Blushing shows up as a milky haze when humid air traps moisture in lacquer. Let the coat dry fully, then spray a fresh layer on a drier day with a low-VOC lacquer. Temperature control helps here, as some heat guns offer fine adjustments that can aid in drying or curing finishes more evenly.
Runs are easiest to catch while wet, so wipe them off with a rag dipped in thinner. If they’ve already dried, sand with 220-grit paper, then recoat and keep a wet edge.
Orange peel comes from paint that’s too thick or a spray gun held too far back. Thin the finish slightly and move the nozzle closer, around ten inches from the surface.
My go-to fixes are simple: for blushing, respray in low humidity. For runs, sand or wipe while wet. For orange peel, adjust viscosity and distance.
Slow down, check your drying time versus cure time, and use painter’s tape and a drop cloth to set up properly. That way, you’ll avoid the repair and get a smooth topcoat with the sheen you want.
Drying Time and Recoat Schedule
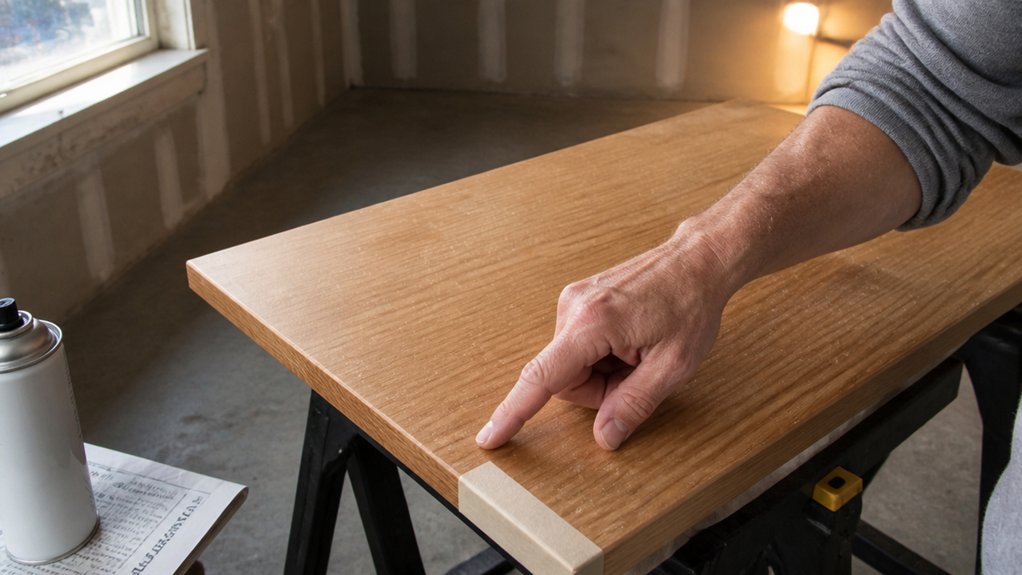
Rushing the drying time between coats is the fastest way to ruin a finish, so slow down and trust the process. Damp air is your enemy here, because high humidity keeps paint tacky for hours, sometimes even overnight. Cold rooms also slow curing, while too much heat can make the topcoat wrinkle. I always check the label for the recoat window, usually 1 to 2 hours for lacquer, but I never trust it blindly.
Before a second pass, I run a quick fingernail test on a hidden corner. If the surface feels tacky or leaves a mark, I walk away, grab coffee, and come back later. I also look for a dull, matte sheen; if the finish still looks glossy, the paint underneath is wet. A strong solvent smell means the coat is off-gassing, which is another sign to wait longer.
Remember that dry to touch is not the same as ready to recoat, so follow the manufacturer’s schedule. Applying a fresh primer or topcoat too early can lift the first layer, leaving you with brush strokes and lap marks that need sanding. Use a fine sanding grit, like 220, only after the full cure time, which for varnish or polyurethane can take days. Patience now saves you from sanding off your hard work later.
Frequently Asked Questions
Can I Spray Paint Wood Outdoors in Direct Sunlight?
Yes, you can spray paint wood outdoors in direct sunlight, but you absolutely should not, because the heat and UV rays will compromise the finish. Direct sun heats the surface, which makes the solvent evaporate too quickly, trapping air and causing a rough orange peel texture. This rapid drying also destroys adhesion, so your paint will peel or blister within months instead of lasting years.
To get a smooth, durable coat, wait for a shaded spot or paint early morning or late afternoon when the wood is cool to the touch. A good rule is to work when the ambient temperature is between 60°F and 75°F, and the surface isn’t hot.
If you must paint in the sun, mist the wood with water first to cool it, then wipe it dry, but know this is a temporary fix. For cure time, plan on 24 hours before light use, but stable temperatures are key; a drop of even 10°F during that window will slow hardening. Use a high-quality acrylic enamel for better UV resistance, and always sand with 220 grit before the final coat to improve bonding.
How Do I Clean My Sprayer After Using Solvent-Based Paint?
To clean your sprayer after solvent-based paint, flush the system with the appropriate solvent until it runs completely clear, which usually takes about three full cycles. Use a solvent recommended for your paint type, such as mineral spirits for oil-based enamels, and run it through the gun, hose, and pickup tube.
After flushing, remove the filter and soak it in clean solvent for at least 15 minutes, then scrub it gently with a soft brush to remove any trapped pigment. Pay special attention to the needle and nozzle tip, wiping them with a solvent-dampened cloth to prevent dried paint from ruining your next finish.
Never leave solvent sitting in the pump overnight, as it can degrade seals, so follow with a quick rinse of fresh solvent and a light coat of pump lubricant. A concrete tip: check the manufacturer’s manual for the correct solvent and disposal rules, since thinners like acetone or lacquer thinner vary widely. For a related term, think “sprayer cleanup,” which also covers flushing with a cleaning solution before storage.
What Respirator Filter Type Is Needed for Oil-Based Paints?
For oil-based paints, you need an organic vapor cartridge, not a standard dust mask. These paints release solvent fumes that a particulate filter simply cannot stop, so choosing the right cartridge is non-negotiable for your lungs.
Look for cartridges rated OV (organic vapor) with a P100 particulate pre-filter to catch both gases and settling mist. A common example is the 3M 6001 cartridge, which snaps onto most half-mask respirators.
Always check that the cartridge’s expiration date is valid before you start, since opened packs lose effectiveness within six months. You should replace it when you smell paint thinner through the mask, which is usually after three to five painting sessions. Pair this with proper ventilation, and you’re set for a safe finish.
Can I Spray Over Old Paint Without Stripping It Completely?
Yes, you can spray over old paint without stripping it completely, provided the existing coat is sound and properly prepped. Lightly sand the surface with 220 grit sandpaper to scuff the old finish, then wipe away all dust with a tack cloth and a mild degreaser. This creates the mechanical tooth needed for a new layer to bond, without wasting hours on chemical stripping.
After sanding, inspect for any loose, peeling, or chipping areas and spot-prime those only with a quality bonding primer. For most spray applications, two thin coats beat one heavy one: apply the first coat, let it dry to the touch, then recoat within the manufacturer’s window, usually one to two hours.
Also, check for shine or glossy surfaces, as these require extra scuffing or a liquid deglosser for proper adhesion. And never skip cleaning old paint, as grease or wax will ruin your finish, even if it looks clean. This method works on trim, furniture, and even metal, so you can refresh cabinets without a full refinish.
How Do I Fix Paint That Blushes After It Has Dried?
To fix paint that blushes after it has dried, you must sand the finish down to bare wood, since the moisture trapped beneath the surface cannot be wiped away once it sets. Start with 120 grit sandpaper to remove the blushed layer, then switch to 180 grit for a smooth base before recoating.
Confirm the wood and surrounding air are completely dry, as any lingering moisture will ruin the new coat. Wait until the paint is fully cured, which can take up to seven days for oil-based enamel, then respray only when relative humidity is below 50 percent.
For a quick test, tape a clear plastic sheet to the bare wood overnight; if condensation forms, wait another day. This blush removal process is the only reliable cure, but keep in mind that a lacquer thinner wipe can sometimes help if the issue is very shallow.
Rounding Up
Apply spray paints for wood by layering thin coats, cleaning your gear, and practicing on scrap first.
Patience is the real tool. Rushing creates orange peel, that bumpy, textured mess.
Clean your nozzle after every session. A clogged sprayer turns genius into frustration fast.
Test on a scrap board before touching your project. It is your rehearsal, your sandbox, your do-over.
Each coat acts as a shield against scuffs. Think of the paint as armor, not just color.
Give your trigger finger a break once the last coat dries. Step back and admire the smooth finish.
Read next about preventing runs and drips in clear topcoats.