How to Apply Gloss Varnishes: Step-by-Step Guide
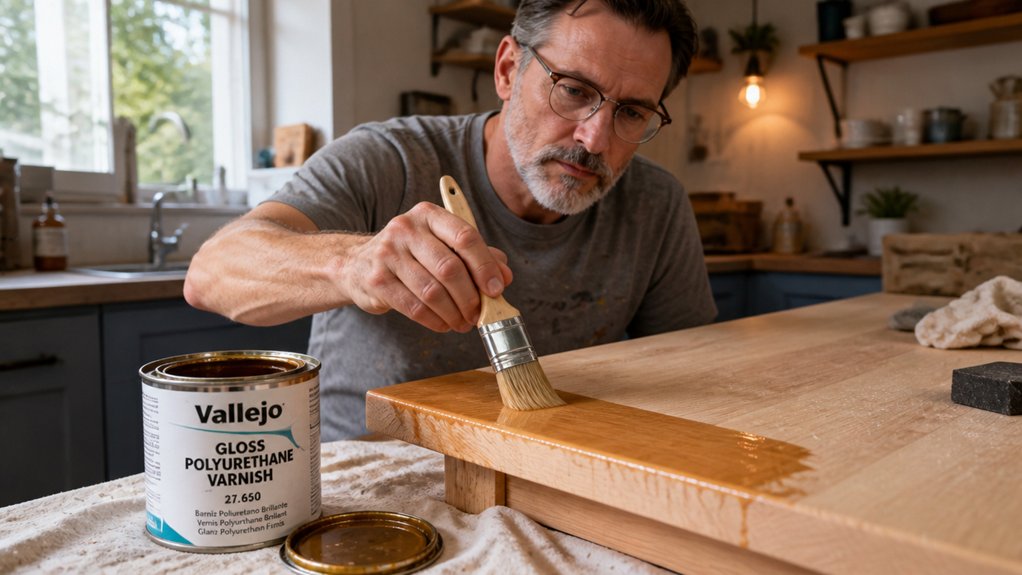
Getting a deep gloss varnish finish is a lot like solving a frustrating puzzle. You follow every step, but a dull spot or a stray bubble ruins the whole look.
The good news is that mirror-like gloss comes down to a few simple rules about surface prep, coat thickness, and cure time.
This guide walks you through the entire process, from sealing the room to the final sanding pass.
You will learn how to apply thin, wet coats without drips and fix any flaw before it sets.
Stick with the method, and you will get that showroom sheen without the guesswork.
Now, let’s start with the most important step: prepping your space and your surface.
Quick Answer
- Prepare a dust-free workspace: vacuum, damp-wipe surfaces, close windows, and use angled 5000K lighting.
- Level the surface with shims and a spirit level to prevent varnish drips from pooling.
- Apply thin, even gloss coats at 10–20 microns, maintaining a wet edge with smooth, continuous strokes.
- Reload the brush frequently to avoid dry bristles dragging over wet finish, which creates bubbles.
- After 24 hours, sand with 400-grit wet/dry paper dipped in mineral spirits, then wipe clean and recoat.
Set Up a Clean, Level Workspace to Prevent Dust Nibs
Dust nibs ruin a glossy finish, so your workspace needs to be treated like a crime scene. Shut every window and door, because drafts carry dust straight onto your wet topcoat.
Vacuum the floor, then wipe all surfaces with a damp rag to catch settled particles. That damp rag is your primer against dust, and it’s non-negotiable before any clear coat.
Strong, angled lighting helps you spot tiny specks before they land. Use a work lamp with a 5000K LED bulb set low, and check the surface from every angle like you’re inspecting a diamond.
A level painting is just as important as a clean one. Tilt the piece and you’ll get drips in your varnish or polyurethane, which means sanding and recoat work you don’t want.
Grab a cheap spirit level and shim the table until it reads true, but for reliable results choose one with a specified accuracy like the JORGENSEN set at ±0.5 mm/m. That small step protects your sheen and saves you from fixing lap marks or brush strokes later.
Work in a space with good airflow but no drafts, and keep your drop cloth and painter’s tape handy for any nearby edges. Drying time and cure time matter, so give your topcoat a full cure before you move the piece.
Prep clean, light bright, and check your level. That routine gives you a smooth satin or gloss result without the heartbreak of a nib.
Apply the First Gloss Coat With a Wet Edge to Avoid Bubbles
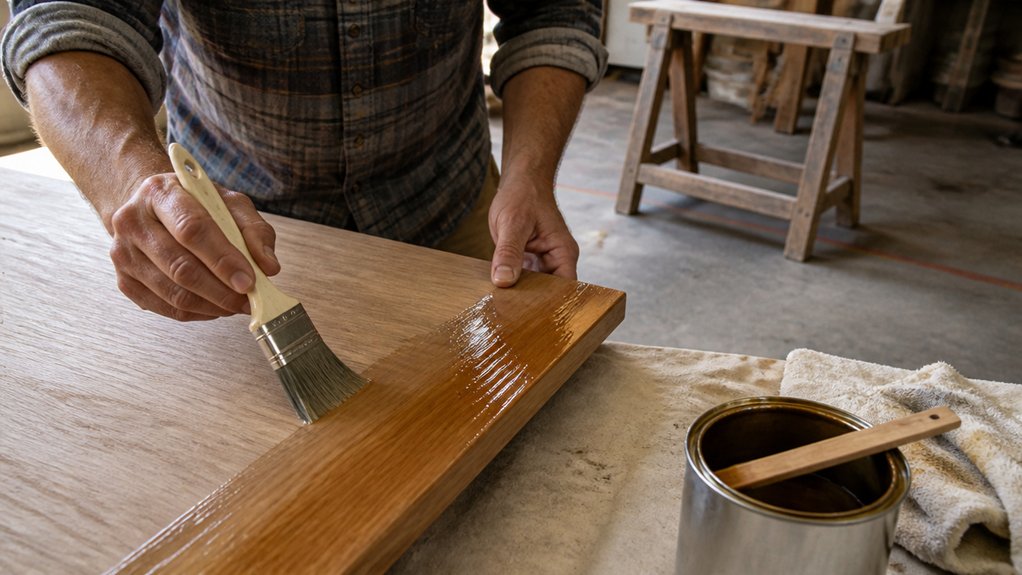
Once your workspace is ready, the first gloss coat is where you need to stay focused. The whole trick is keeping a wet edge so the finish flows together without bubbles.
Grab a flat brush and load it with gloss, but tap off any excess so it doesn’t drip. You want thin, even coats, not a heavy flood of liquid. Start at one side of the painting and pull long, smooth strokes across the surface.
Grab a flat brush, tap off excess, and lay down thin, even coats with long, smooth strokes.
Keep moving so that wet edge never dries out. If you pause, you will get lap marks where the new gloss meets the old. Reload your brush every few passes, and never drag a dry bristle over the wet finish.
Dry bristles are what pull air into the coat and create those sneaky bubbles. Thin coats are critical here because one thick layer dries cloudy and traps air like a balloon. My rule is simple: if the surface looks shiny and wet as I go, I am on track. Apply coats at ten to twenty microns per layer for optimal uniformity.
If you miss a spot, leave it alone until the coat dries. You can fix it later with a light sanding and another thin layer of gloss. For now, keep your strokes moving, keep the edge wet, and don’t overwork the finish.
Use a good quality brush and a low VOC gloss if you want easier flow. A drop cloth under your work area catches drips, and painter’s tape protects any edges you want to keep clean. Drying time is quick, but full cure time takes a week before you can sand or recoat.
Remember that gloss shows every brush stroke and imperfection, so a steady hand beats a fast one. Keep your strokes parallel and overlap each one slightly while the gloss is still wet. This keeps the sheen even and prevents that patchy, streaky look.
Sand Between Coats and Dust With Mineral Spirits for a Mirror Finish
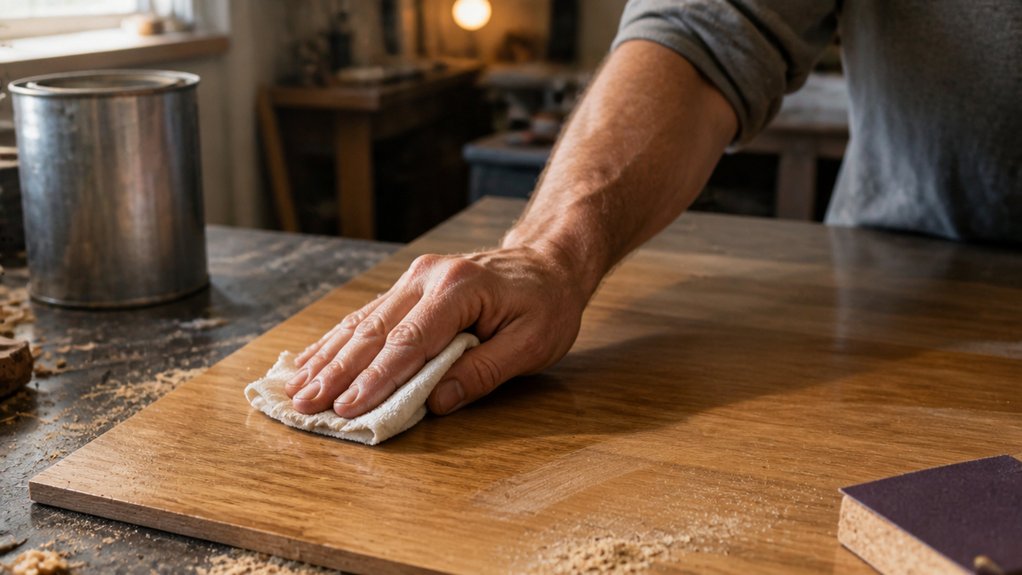
Sanding between gloss coats feels odd, but it’s the best way to get that showroom mirror finish. After each coat dries fully, usually 24 hours, grab 400-grit wet/dry sandpaper and dip it in mineral spirits.
Lightly buff the surface to knock down dust nibs and brush strokes, leaving a satin haze. Then wipe with a lint-free rag dampened in mineral spirits, not water, since water can raise the grain. Slow evaporation allows more working time for this dusting step.
Skip this step and your gloss will trap imperfections forever. Each sanded layer bonds tighter, which also prevents varnish thinning mistakes later on.
Your brush loading stays consistent because the surface grabs evenly. It adds about twenty minutes per coat, but that’s cheap for glass-like depth.
Use a drop cloth and painter’s tape to protect nearby areas while you work. Keep a wet edge when applying each topcoat to avoid lap marks.
Sand, dust, and repeat until you hit that deep gloss. Your reflection will thank you.
Frequently Asked Questions
Can I Varnish Over Wet Paint?
No, you cannot varnish over wet paint, and attempting it will compromise the entire finish. Wet paint traps solvents, leading to clouding, blushing, and a sticky mess that never cures properly.
If you apply varnish too soon, the topcoat will drag, creating orange peel texture and brush marks that are nearly impossible to fix. Wait until the paint is bone dry, which for most water-based acrylics means at least 24 hours at 70°F with good airflow.
For extra safety, lightly sand with 220-grit sandpaper once dry to promote adhesion, then wipe off the dust with a tack cloth. This step is also called “tooth” preparation, and it ensures your varnish bonds without trapping moisture. Patience here saves you from stripping and starting over.
How Do I Remove Varnish Mistakes?
To remove varnish mistakes, you need to assess whether the finish is wet or dry, then choose between scraping, sanding, or recoating. If the varnish is still tacky, stop working and let it cure fully, which usually takes 24 hours for oil-based products.
For a dried drip, scrape it off gently with a sharp razor blade held at a low angle, then sand the area with 220-grit paper to blend the surface. If you have brush strokes, sand them out lightly with 320-grit, but only after the coat is completely hard, not just dry to the touch.
After sanding, wipe away dust with a tack cloth and reapply a thin coat of varnish, using a high-quality brush to match the texture. Always thin your first repair coat by 10 percent with mineral spirits to help it flow and hide the fix.
For deeper mistakes, you may need to strip and start over, but most surface defects resolve with these steps. Search for “varnish repair methods” if you need more guidance on specific finishes.
What Temperature Should the Room Be?
Keep the room between 65 and 75°F for the best finish. This range lets your varnish flow out and cure at a controlled pace, which is exactly what you want.
A cooler room below 65°F slows curing speed and thickens the varnish, making it harder to brush out smoothly. It also invites dust to settle into the tacky surface while it stays wet longer. Monitor humidity as well, since it works hand in hand with temperature.
Keep relative humidity under 50% for a flawless gloss. If it climbs above that, the finish can blush or dry milky, so wait for a drier day or use a dehumidifier in your workspace. As a concrete tip, at 70°F and 45% humidity, most oil based polyurethanes will dry to the touch in about 6 hours, so you can safely sand with 220 grit between coats. For water based acrylics, the same conditions cut that recoat time down to about 2 hours.
Can I Use a Roller Instead of Brush?
Yes, you can use a roller instead of a brush, but for clean gloss varnishes, I recommend sticking with a brush. Rollers, especially foam ones, often trap air and create tiny bubbles that ruin a smooth finish. A high-quality synthetic brush gives you precise control and lays down an even film without those frustrating roller marks.
For best results, apply two thin coats rather than one thick one, waiting at least four hours between coats. Lightly sand with 320 grit between coats to knock back any dust nibs.
If you’re covering a large flat surface, a short nap microfiber roller can work, but you must thin your varnish slightly. Use a 5 to 10 percent mineral spirit addition, or you will fight bubbles. A brush remains the safer choice for vertical edges and detailed trim. The tradeoff is speed, yet the finish quality is worth the extra time.
How Long Until Varnish Fully Cures?
Varnish typically takes 1 to 3 weeks to fully cure, depending on humidity, temperature, and film thickness. In high humidity, cure time can stretch closer to three weeks, while dry, warm conditions may shorten it to around 10 days.
A reliable way to check is the fingernail test. Press gently into the surface; if it dents, wait another few days. If it resists, you can safely handle or lightly sand the piece.
For a practical schedule, apply three thin coats, waiting 24 hours between each. After the final coat, give it a full 7 days before normal use, and 14 days before placing heavy objects on it.
Remember that cure differs from dry to touch, which happens in 2 to 4 hours. Always test an inconspicuous spot first, and avoid recoating after 48 hours without scuff sanding with 220 grit.
Rounding Up
Applying gloss varnishes is simple: sand, coat, and repeat until the surface reads as a mirror.
Check your room for dust and drafts before you even open the can, because every particle will show in the final film.
Sand between each coat with fine grit, then wipe down with a tack cloth, then lay on a fresh, even coat.
Compare your first pass to the last one to see how patience and re-coating actually build that liquid depth.
Test the final coat in low light first, because flaws only reveal themselves when the gloss catches the sun.
If you want to keep going, read next about polishing varnish to a higher sheen.