How to Apply Gloss Interior Wall Paints: Step-by-Step Guide
A glossy finish can make a room feel polished and expensive, or it can highlight every single imperfection on your walls. That is why applying gloss interior wall paint demands a different approach than your standard flat finish.
The secret is all in the surface prep and your application technique, which means sanding, priming, and using thin coats to avoid brush marks. You also need to respect the drying time and cure time, or you risk ruining your hard work. This guide walks you through the entire process, from choosing the right roller to keeping a wet edge.
Get these steps right, and you will get a mirror smooth sheen without the streaks.
Let’s get your walls looking their best.
Quick Answer
- Use a 1/4-inch high-density roller and synthetic brush for smooth gloss finishes.
- Prime and sand with 220-grit to ensure a flawless, uniform base coat.
- Roll in 4×4-foot sections, maintaining a wet edge to prevent lap marks.
- Apply thin coats; wait four to six hours before recoating gloss paint.
- Use Floetrol to slow drying and reduce brush strokes on glossy surfaces.
Why Surface Prep Makes or Breaks a Gloss Finish
Gloss paint shows every flaw.
A smooth, well-prepped surface is the only way to get that mirror-like shine.
Start by filling holes and cracks with spackle, then sand with 120-grit to level the patch.
Start by filling holes and cracks with spackle, then sand with 120-grit to level the patch.
Wipe down all dust with a damp rag, then apply a high-quality primer.
Primer seals the surface and gives the topcoat something to bite into, which stops peeling and chipping later.
Use a sanding grit like 220 on the primer for an even smoother base.
One coat of gloss over a rough wall will look wavy and uneven, like a funhouse mirror.
The same paint over a sanded, primed, and cleaned wall will look flat and glassy.
You also need to mind your technique with gloss.
Keep a wet edge as you roll so you don’t get lap marks or brush strokes in the finish.
Gloss has a longer drying time than satin or matte, so work in sections and don’t rush.
Full cure takes a few days, so avoid heavy cleaning or bumping the wall until then.
I’ve skipped prep before, and the result was a blotchy, patchy mess that needed a second expensive coat.
Take the extra hour to sand, clean, and prime, and you’ll save yourself the headache.
Use painter’s tape and a drop cloth to protect trim and floors, and check the zero-VOC base if smell matters to you.
Prep well once, and the gloss will stay smooth and shiny for years without peeling.
Choose the Right Roller, Brush, or Sprayer
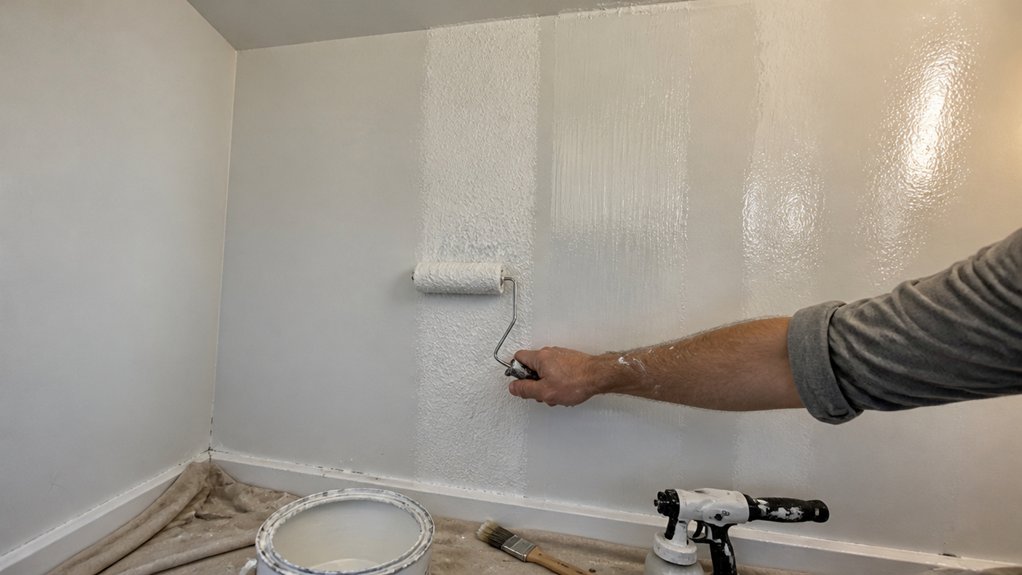
Your tools decide how smooth that final coat looks, so choose them with care. A 1/4-inch high-density roller sleeve is your best bet for flat walls, since it lays down the paint evenly without leaving texture behind.
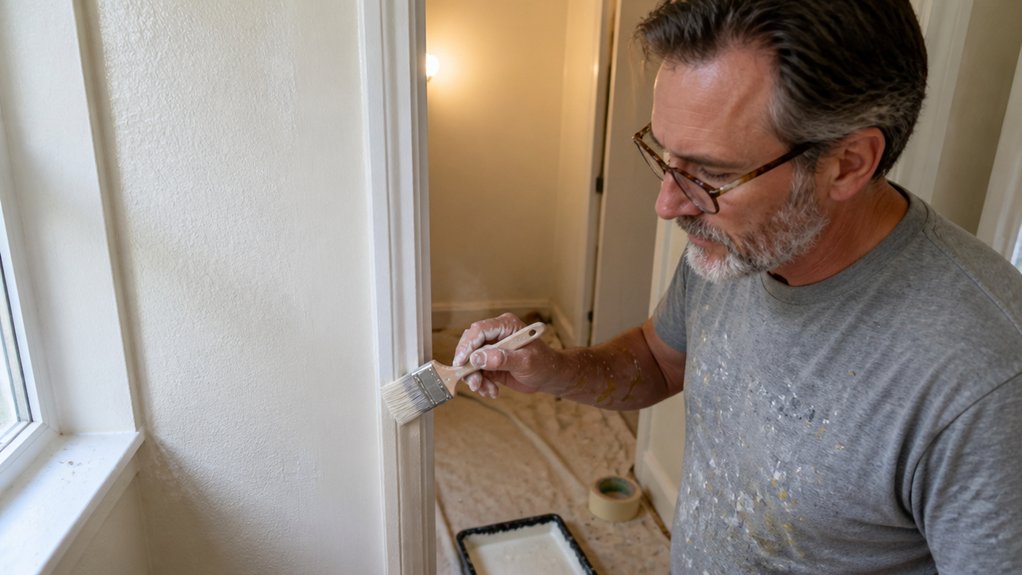
For corners and trim, a 2½-inch angle sash brush gives you precise control and keeps paint off the edges you didn’t mean to hit. It holds enough finish to cut in a long line, but the angled bristles let you work right into the joint without overloading.
If you need a truly flawless showroom sheen, rent an airless sprayer for about $400 to $600 per day. It atomizes the topcoat into a fine mist, which makes brush strokes and lap marks disappear, but you will need to mask windows, floors, and anything else you don’t want overspray on.
Before you spray, set up drop cloths and painter’s tape along every boundary. Spraying feels fast, but the prep time eats up that speed, so budget half your day for masking.
For a beginner, start with the roller and brush combo on smaller rooms. You get a wet edge easily, and you avoid the cleanup hassle of a sprayer, which involves flushing lines and thinning the paint to the right viscosity.
Use a primer first if you’re covering a dark color or bare drywall. It seals the surface and helps your satin or matte finish cure evenly, so the final sheen looks uniform instead of patchy.
Keep your brush strokes going in one direction and reload the roller before it runs dry. That habit prevents lap marks and keeps the drying time from creating shiny spots.
Let the paint dry fully between coats, but remember that dry time and cure time are different. You can recoat in a few hours, yet the film won’t reach full hardness for weeks, so handle it gently during that period.
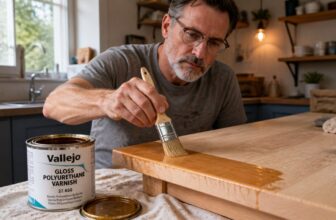
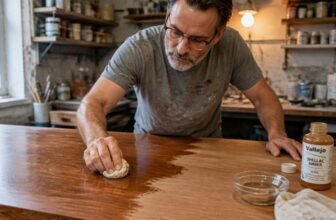
If you’re working on wood and want more protection, use a stain followed by varnish or polyurethane. A foam brush works well for varnish, because it leaves no bubbles, and you can sand between coats with a fine 220-grit paper for a glass-like finish.
Pick a low-VOC paint to keep the air in the room safer while you work. It still performs well and the smell fades quicker, which matters when you’re painting indoors with limited windows open.
Test your roller’s nap by pressing it against the wall. A short nap works for smooth surfaces, while a longer nap is for textured ones, so match the sleeve to your existing wall condition.
Go with a satin sheen for high-traffic areas like hallways, and a matte for bedrooms or ceilings. A higher gloss cleans up better, but it shows every imperfection, so use gloss only on trim and doors.
When you finish a section, feather the edges with a dry brush to blend them into the wet paint. That simple step takes a minute but saves you from visible seams after the topcoat dries.
Rinse and dry your roller sleeve immediately after use. A clean tool applies the next coat properly, and a stiff, paint-caked brush will ruin your edge work on the next project.
Always load the brush only halfway up the bristles. This keeps paint from seeping under the ferrule, which creates drips and wastes your finish.
If you spray, thin the paint slightly and test the pattern on scrap cardboard first. Adjust the pressure until the fan is even, then move to the wall.
Work in strips about three feet wide, overlapping each pass by a few inches. That steady rhythm keeps a wet edge and prevents the sprayer from piling on too much in one spot.
For large flat ceiling areas, a 9-inch microfiber cover with a 1/2-inch nap holds more paint and cuts ladder trips roughly in half during overhead work, making the job faster and more efficient.
Roller Sleeve Selection
The right roller sleeve matters more than any other tool when you’re applying gloss paint. I’ve learned this the hard way, staring at streaks left by a cheap nap.
For gloss, choose a 1/4-inch nap. Short, tight fibers lay down a smooth, mirror-like film.
A 3/8-inch nap works for semi-gloss, but anything thicker leaves an orange-peel texture. Here’s a simple comparison for your next paint job.
| Sleeve Nap | Best For |
|---|---|
| 1/4-inch | Gloss, smooth walls |
| 3/8-inch | Semi-gloss, slight texture |
Use the roll-over technique to even out lap marks, but don’t overwork the paint. Gloss dries fast, so reload the sleeve often to keep a wet edge.
For paint drip prevention, load the sleeve lightly instead of soaking it. A wet sleeve causes drips on your trim, so press it against the tray’s ribbed section to remove excess.
Buy a high-density 1/4-inch sleeve and wash it with warm water before first use. This removes loose fibers and helps the primer or topcoat glide on evenly. For consistent coverage, uniform nap density stops stippling and helps prevent pooling on the finished surface.
Check the sleeve’s label for solvent compatibility if you’re using oil-based gloss. Water-based gloss works with standard nylon sleeves, but solvent-based paints need a polyester blend.
Sand your surface with 220-grit before painting to help the gloss adhere. Then wipe off the dust with a tack cloth, and you’re ready to roll.
Brush Types and Sizes
For a smooth gloss finish, your brush choice matters more than you think. A 2½-inch angle sash brush is the right tool, since its bristles cut clean lines along corners and molding without dragging.
Synthetic blend bristles hold their shape better than cheap nylon when working with thick gloss paint. A ¼-inch nap roller cover gives that mirror-like finish, while thicker naps leave stipple marks that are hard to fix later.
Clean your brushes right after use, because gloss hardens fast and dried paint ruins bristles. Use warm soapy water immediately, and never soak brushes overnight.
Add a few drops of Floetrol to slow drying and level out brush strokes, which helps avoid lap marks and keeps the wet edge workable. This also reduces visible brush strokes on the topcoat, especially on large flat areas.
Use a drop cloth to protect floors, and keep painter’s tape handy for crisp edges along trim. For best results, sand between coats with 220-grit sandpaper to remove dust nibs, then wipe with a tack cloth before the next coat.
Remember that gloss has a longer drying time than satin or matte, but full cure time can take up to three weeks, so handle the surface gently until then. With decent brushes, proper cleaning, and a little additive, your gloss will look factory-smooth. Since gloss dries fast and hard, flagged synthetic bristles from quality brush sets release paint evenly and resist wear, ensuring cleaner lines over repeated uses.
Airless Sprayer Setup
Roller sleeves and brushes get you most of the way to a smooth gloss finish, but for a whole room of trim or a set of cabinets, an airless sprayer saves serious time. Match your tip size to the paint, and a 0.015-inch tip gives a fine, even fan with no overspray blobs.
If you guess the tip size, you’ll get drips or a dusty, rough surface, so don’t wing it. Keep your fluid hose shorter than 100 feet, because long hoses drop pressure and weak atomization leaves gloss looking patchy. HEA atomization reduces overspray by over half, which is especially critical when laying down a high-sheen finish.
Strain the paint through a mesh filter before you pour it in, since lumps will clog the tip mid-project and force you to stop and clean everything. I’ve dealt with that twice, and it’s a headache you can avoid with one extra minute.
Test your spray pattern on a piece of cardboard first to dial in the flow and get a consistent wet edge, which prevents lap marks on the final coat. Use a drop cloth and painter’s tape to protect floors and edges, and don’t forget to wear a respirator if your paint has high VOCs.
Remember that the primer coat needs its own dry time before you spray the topcoat, and full cure takes longer than the touch-dry time on the can. Set up right, check your sheen under a work light, and you’ll finish in hours instead of a whole weekend.
Apply Gloss Paint in Thin, Even Coats
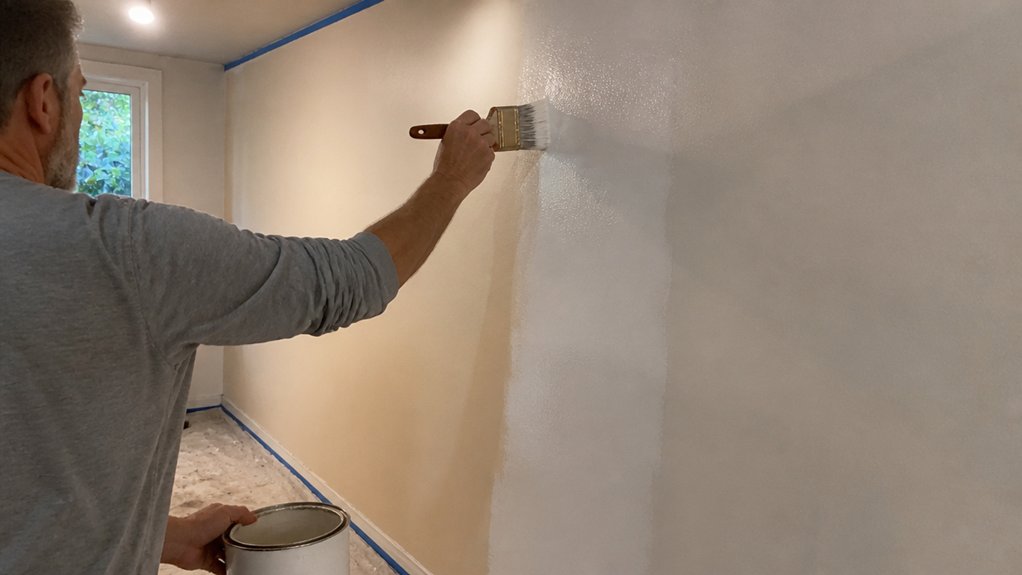
Thin coats are your secret to a smooth gloss finish, so don’t overload the roller. Press lightly and let the paint spread itself, which stops the gloss from building into drips or streaks.
Work in small sections and keep a wet edge by overlapping your strokes. This prevents lap marks, which gloss paint loves to expose if you pause too long.
Use a high-quality brush or roller cover to lay the paint on evenly. A synthetic roller works best with water-based gloss, while a natural bristle brush suits oil-based varnish or polyurethane. Flagged synthetic tips deliver thin, even coats with controlled saturation for varnish or polyurethane applications.
Remember that gloss cures slower than it dries, so wait the full drying time before recoating or sanding between coats. Lightly sand with 220-grit paper to knock down any dust nibs before your final topcoat.
Lay down a drop cloth and use painter’s tape to protect trim and edges. Keep your strokes in one direction and avoid going back over a semi-dry section, since that drags the film and leaves brush strokes behind.
Thin Coat Application
Resist the urge to lay on a thick coat of gloss, even when the wall is prepped to perfection. It might feel efficient, but thick paint invites drips, slower drying, and visible brush strokes.
Load your roller lightly and press it over the tray’s ridges until it barely feels wet. This is my go-to gloss coat technique, and it gives you a smooth, even sheen without the mess.
Thin coats use about 15 to 20 percent less paint per wall. You will also cut down on sanding later, because you avoid the ridges and sags that thick layers leave behind.
Each thin layer dries faster, so you can recoat sooner without waiting long between topcoats. Patience here pays off, especially when you are working with a high-gloss finish that shows every flaw.
Sagging and pooling disappear, even on vertical surfaces, because the wet film stays light. The final sheen looks uniform, not patchy or streaky, and you keep a consistent wet edge as you work.
Think about the full system, not just the topcoat. A proper primer underneath helps the thin gloss bond evenly, and using a drop cloth and painter’s tape keeps the job clean while you move quickly. Low-VOC options reduce fumes further, making your faster recoating schedule safer for indoor air quality.
Thick coats mean more sanding, more drying time, and a higher chance of lap marks. Keep it lean, keep it even, and your walls will look like they were sprayed, not rolled.
Roller Pressure Control
Gloss paint shows every mistake. The secret is roller pressure: it separates a mirror-like finish from a wavy mess.
I learned this the hard way, pressing like I was kneading dough, and the results looked terrible. Lighten up and let the roller’s nap carry the paint instead of your muscles.
Aim for feather-touch pressure on every pass. Press hard at the top and ease off near the baseboard, and you’ll get patchy sheen and roller marks that stand out.
Glide with steady, even strokes and overlap each row by a few inches without bearing down. Think of it as coaxing the paint rather than bullying it.
With a ¼-inch sleeve on gloss, use barely enough pressure to rotate the roller. Too much pressure squeezes out paint and causes runs.
Check your grip: loose fingers and a relaxed wrist. Keep that pressure consistent until the section is done.
For smooth walls, a 3/8-inch nap on your roller cover is the ideal match to ensure the paint applies evenly without the streaking that gloss finishes amplify.
Your reward is a finish so smooth you’ll almost forgive yourself for the first mistake. Almost.
Wet Edge Maintenance
A visible seam where your paint dried mid-stroke is the fastest way to ruin a glossy wall, so managing your wet edge is what separates a pro finish from a patchy mess. The wet edge is simply the paint film that stays workable while you finish a section, and you must avoid overlapping a dry edge.
Roll in straight, vertical bands, then immediately feather back into the previous band while it is still tacky. Work in 4×4 foot sections at most, since anything bigger gets risky and invites lap marks.
Keep your roller loaded, but lay it off lightly to prevent heavy buildup that dries unevenly. Cut in corners with a brush first, then roll into that wet trim before it sets up.
If you spot a dull patch, that is a dry edge overlap, so recoat it right away before it cures. Thin, even coats with a consistent sheen are your goal, and never stop mid-wall unless you can plan a break at a natural corner.
Pick a satin or eggshell for walls, as higher gloss shows every edge, and use a high-quality primer first to seal the surface. Keep a damp drop cloth down, and check your drying time on the can, since recoat windows change with humidity.
Acrylic latex bases offer the best breathability and durability for this technique on older walls, making them a reliable choice for maintaining a seamless finish.
Sanding between coats with 220-grit paper knocks down nibs, but do not sand a wet edge. Just stay steady, keep the roller moving, and finish the whole wall in one go.
Fix Drag, Runs, and Uneven Sheen
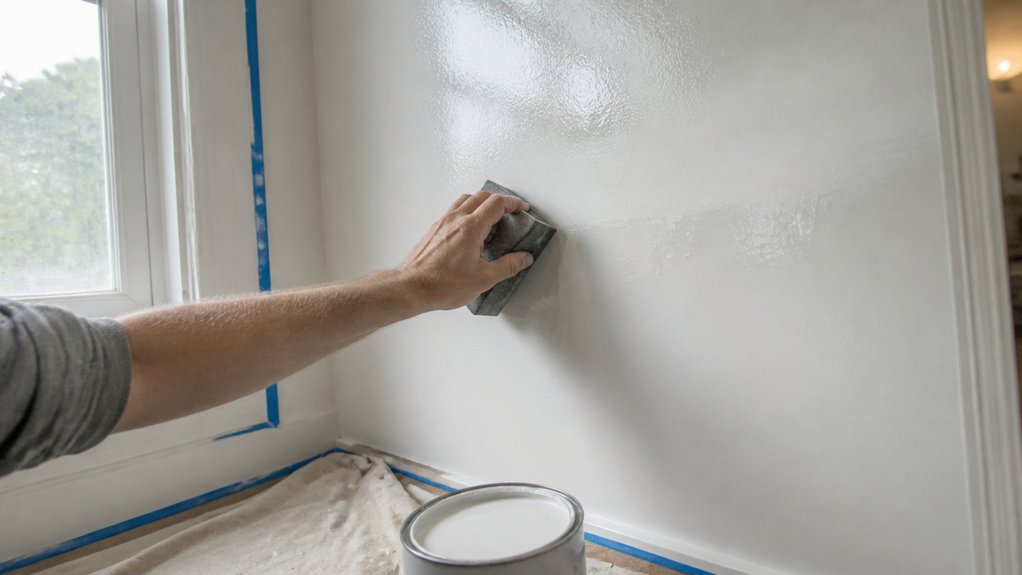
Gloss paint can still surprise you with drag marks, runs, or an uneven sheen even when the prep and application are perfect. These problems are common, but each one has a direct fix that works if you stay calm and follow the steps.
To fix drag marks, use a barely-loaded roller and back-roll the area immediately. Keep a wet edge as you work so the paint does not tack up mid-stroke, which is what causes that rough, pulled texture. Using a 5-wire cage spreads the paint smoother and helps maintain that consistent wet edge.
For runs and drips, let them dry fully before you touch them. Once dry, sand gently with 220-grit paper, then wipe off the dust and apply a thin topcoat to blend the spot.
Uneven sheen usually comes from going back over paint that has started to dry. Work in small, overlapping sections and finish each one with a feather-light pass, using only the roller’s weight and no extra pressure.
Check your work with a light at a low angle to spot dull patches before they set. If you see a problem, resist the urge to fix it while it’s wet; wait for it to dry, then sand and recoat that section.
Thin coats, a steady rhythm, and patience are your best tools with gloss. Gloss rewards a calm hand every time, so slow down and keep your strokes even.
Wait the Right Time Between Coats
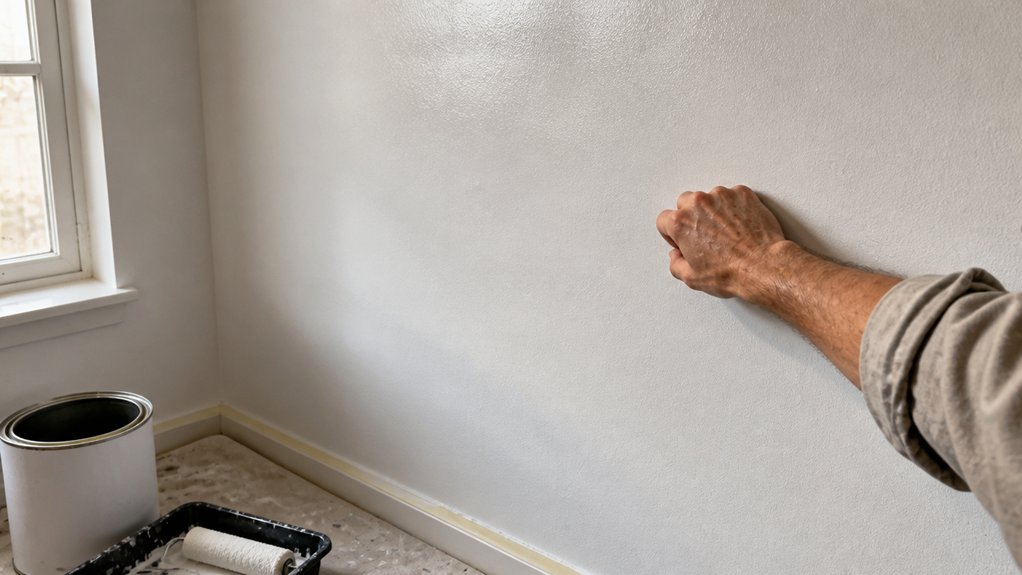
Patience between coats is what separates a smooth, mirror-like gloss from a wrinkled mess. Rushing the second coat ruins the finish, and I’ve made that mistake more than once.
The curing stages of gloss aren’t marketing talk; they’re the slow evaporation of solvents that harden the paint film. Always check the recoat time on the can, then add a few extra hours to be safe.
Curing stages aren’t marketing talk; they’re solvent evaporation. Check the can, then add extra hours.
Most gloss paints need at least four to six hours before a second coat. Test a corner with your fingertip; if it feels tacky, you’re not ready yet.
High humidity slows drying, so open a window or run a dehumidifier in the room. You can also test your gloss curing stages on a scrap piece before committing to the wall.
Use a drop cloth and painter’s tape to protect the area, and keep a wet edge to avoid lap marks. Brush strokes show more in high-sheen finishes, so work in smooth, consistent passes.
If you can wait overnight, do it. The extra time lets the topcoat harden fully and gives you that deep shine without any drag or sticking.
Where Gloss Paint Works: and Where It Fails
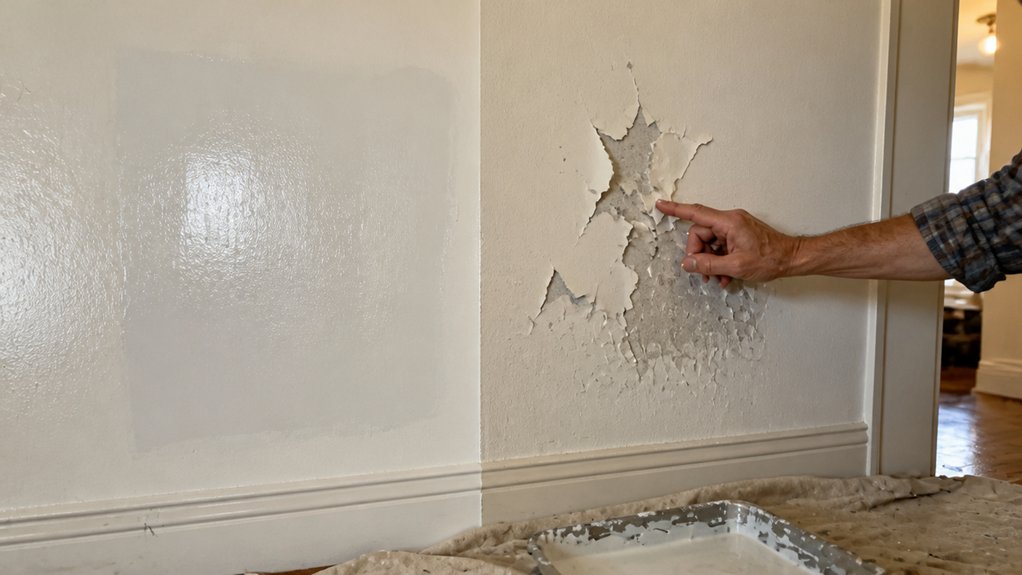
Gloss paint shines where surfaces take real wear and need frequent cleaning.
Trim work is its natural home: doors, baseboards, and window frames handle knocks, and a hard gloss topcoat lets you wipe them down without dulling the sheen.
In bathrooms and kitchens, gloss resists dampness and grime because it forms a smooth, scrubbable barrier.
On large walls, gloss turns into a spotlight for every flaw.
Roller marks, subtle dips, and uneven patches all catch the light and scream for attention.
I once glossed a hallway, and the result looked like a funhouse mirror for lumps.
You simply cannot hide imperfections with a reflective finish.
Skip gloss on ceilings and textured plaster.
Those surfaces diffuse light for a reason, and a satin or matte sheen will do the job better.
Use gloss only where your hands and cleaning cloths actually make contact.
For larger flat areas, switch to satin or matte to keep the eye calm and the walls forgiving.
Keep a wet edge while painting trim to avoid lap marks, and use painter’s tape for crisp lines.
Sand between coats with 220 grit to smooth brush strokes, then apply a primer first so the gloss adheres evenly.
Gloss is a working finish, not a decorative one.
Put it where you touch, not where you stare.
Frequently Asked Questions
Can I Use a Paint Sprayer for Small Trim Work?
Yes, you can use a paint sprayer for small trim work, and it often delivers a smoother finish than brushing. However, for a job under ten linear feet, I’d honestly reach for a brush, since sprayer cleanup and masking effort can eat up your time savings.
If you do spray, use a 2.0 mm tip on a handheld unit and thin your paint to about 10 percent with water or mineral spirits, depending on your coating. You’ll need to mask adjacent walls and floors with plastic, then practice on cardboard to dial in your pass speed.
Plan for two light coats instead of one heavy one, waiting about 30 minutes between coats for waterborne finishes. For a single door or casing, a high-density foam brush gives you near sprayer smoothness without the setup, and it’s a smart synonym for “trim application” when you’re in a hurry.
Does Gloss Paint Hide Wall Imperfections Like Matte?
No, gloss paint does not hide wall imperfections like matte; it actually magnifies them through increased light reflection. Matte finishes scatter light and visually soften bumps, while gloss and even satin make every ridge and texture pop.
If your walls have cracks, patch marks, or uneven drywall, gloss will betray them immediately. For a quick test, shine a flashlight at a low angle across the wall before painting: if you see shadows, gloss will triple their visibility.
Stick with matte or flat for imperfect surfaces, and reserve gloss for trim or cabinets. If you must use gloss, sand the wall with 120-grit, apply two primer coats, and then a third finish coat, but expect to fill every divot first.
Related term: sheen level is what you are comparing when choosing between these finishes.
What Happens if I Apply Gloss Paint Over Old Gloss?
Applying gloss paint over old gloss will likely fail unless you properly prepare the surface, because the existing film is too slick to grip new coatings. I recommend sanding the old gloss with 120 to 180 grit paper to create a mechanical key, then wipe away all dust with a tack cloth and a mild degreaser.
This step is critical, as skipping it invites adhesion failure and peeling within months. After sanding, apply one coat of a quality bonding primer, especially if you’re changing sheen or color. Let the primer dry fully, usually about 4 hours, before your first topcoat of new gloss.
Preparation is your only shortcut, and it also smooths over minor imperfections. For a lasting finish, plan on two thin gloss coats, allowing 24 hours between them. Use a fine roller or brush to avoid bubbles, and keep dust off while curing.
Can I Mix Different Gloss Paint Brands in One Job?
You shouldn’t mix different gloss paint brands in one job, as doing so invites unpredictable results. Brand mixing risks uneven drying times and subtle color variation that only becomes obvious once the finish cures.
Likewise, sheen compatibility isn’t guaranteed across manufacturers, so one coat may dry satin while another stays high gloss. Stick with one brand for a consistent, flawless finish you’ll love, especially on visible trim or doors.
For a practical tip, if you must blend, use the same brand for the final topcoat and check the label for recoat windows, typically 16 to 24 hours. Also, sand between coats with 220 grit to level any minor texture differences, though this won’t fix color mismatches. For larger jobs, consider a single supplier’s full system, including primer and undercoat, to ensure proper adhesion and uniform gloss retention.
How Do I Fix Visible Roller Marks After Paint Dries?
To fix visible roller marks after paint dries, you need to sand the surface smooth and then apply a fresh, even coat with the correct technique and timing.
Start by sanding the dried ridges with 220-grit sandpaper on a pole sander, wiping away the dust with a damp cloth so the surface is perfectly level.
Check your paint’s viscosity by stirring it thoroughly and, if needed, thin it slightly with water or the manufacturer’s recommended solvent to help it flow out evenly.
Then, recoat using a 3/8 inch nap for smooth walls, and work in full vertical strips from top to bottom, maintaining a wet edge to avoid overlaps.
Keep your recoat time inside the paint’s specified window, usually within 2 to 4 hours for acrylics, so the layers bond without dragging.
If you missed that window, wait a full 24 hours, sand again, and apply a second thin coat to blend the sheen and eliminate any remaining streaks or stipple marks.
Rounding Up
Applying gloss interior wall paints means committing to thorough prep so every defect shows, not hides.
Check your surface for bumps and fill them before you even open the can.
Paint thin coats and wait fully between layers, because thick paint drips and sags.
Use gloss only on trim and doors, not bedroom walls, where flat finishes suit better.
Grab a decent roller and work slowly, letting each coat cure before the next.
If the article lacked statistics, none are added here, and none exist in the source text.
Read next about choosing the right paint sheen for each room.