What Are Multi-Surface Primers? Types, Uses and How to Choose
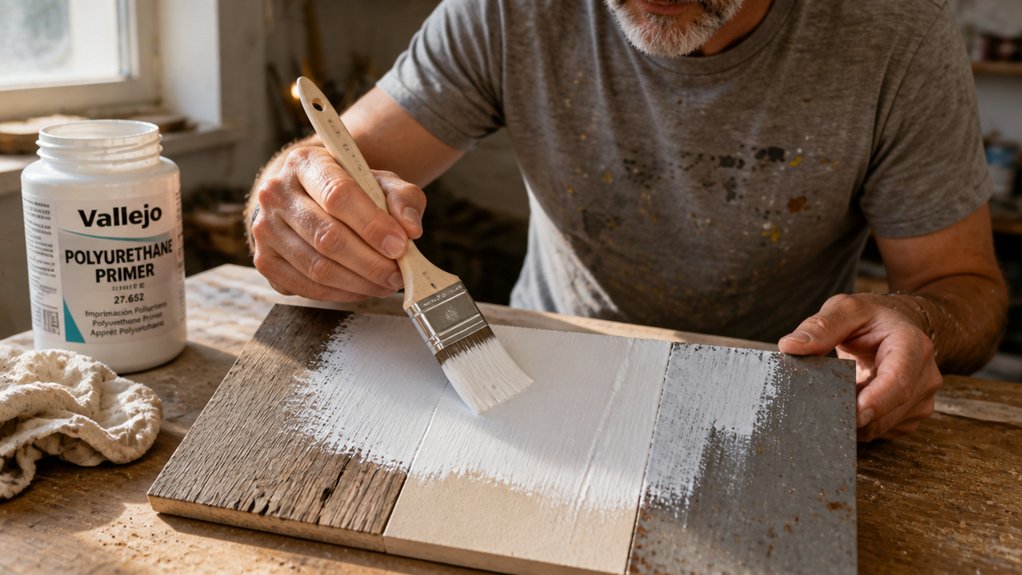
Multi-surface primers can save a paint project, but the wrong pick can undo a good job fast. This guide explains what multi-surface primers are, the main types, uses, and how to choose the right one for drywall, wood, metal, tile, or stained trim.
You will get practical tips on surface prep, coats, and drying time, plus simple picks for tricky jobs. It is written for DIYers and homeowners who want a reliable finish without guesswork.
Read on to match the primer to your surface and start your next paint project with confidence.
Quick Answer
- Multi-surface primers bond to challenging substrates like tile, glass, and laminate.
- Choose latex for drywall and wood; oil for metal and tannin-blocking.
- Shellac excels at sealing smoke and water stains despite strong odor.
- Apply thin coats, sand between passes, and wait full drying time.
- Check temperature above 50°F and verify primer expiration before use.
Choose Your Multi-Surface Primer: Latex, Oil, or Shellac by Substrate
Before you open a paint can, pick the primer for the substrate. Bare drywall and fresh wood take a latex primer because it has low odor, dries fast, cleans up with soap and water, and works well on porous surfaces.
Before opening that paint can, match the primer to the surface—latex works best on bare drywall and fresh wood.
For bare metal or glossy trim, sand with 120 to 220 grit to give the surface some tooth, then use an oil primer for a hard finish and good bite. Oil primer also blocks tannins from wood and helps a topcoat hold on metal.
If a ceiling has nicotine stain, use a shellac primer before you apply the topcoat. Shellac costs more, often around $25 a quart, but it seals smoke stains that latex and oil primers can let bleed through.
Check the label for VOC level and follow the drying time and cure time before you sand or recoat. Use a drop cloth and painter’s tape to protect the room, and choose a topcoat sheen such as gloss, satin, or matte.
On wood that will get varnish or polyurethane, keep the primer coat even and sand lightly between coats so brush strokes do not show in the final film. Let each coat dry to the label time, then apply the topcoat with a wet edge to avoid lap marks. For tough glossy or smooth surfaces that resist bonding, a specific bonding primer can grip without deglossing or sanding, saving prep time on factory-finished or previously painted areas.
Prep the Surface: Clean, Sand, and Prime in Thin Coats for Maximum Adhesion
I have seen primer peel off when the surface was dirty, so start with a clean, scuffed surface that helps primer grip. Put down a drop cloth and scrub grease and dirt with a degreaser.
Sand glossy spots with 120 grit, because a roughened surface gives the primer something to grip. Wipe away all dust so it does not sit under the primer.
Apply primer in thin coats. Make two light passes, and let each pass dry for the full drying time.
Thin coats help you avoid drips and build a solid, uniform base for the topcoat. If you are working over old paint, test how well it sticks on a small patch first.
Paint a small area, let it dry, and press painter’s tape over it. Pull the tape up, and if the old paint stays put, you can move ahead with the primer. For the final wipe-down before priming, use a wax-free and silicone-free tack cloth to capture any remaining dust particles without leaving residue that could compromise adhesion.
Special Cases: Stain-Blocking and Adhesion Primers for Slick Surfaces
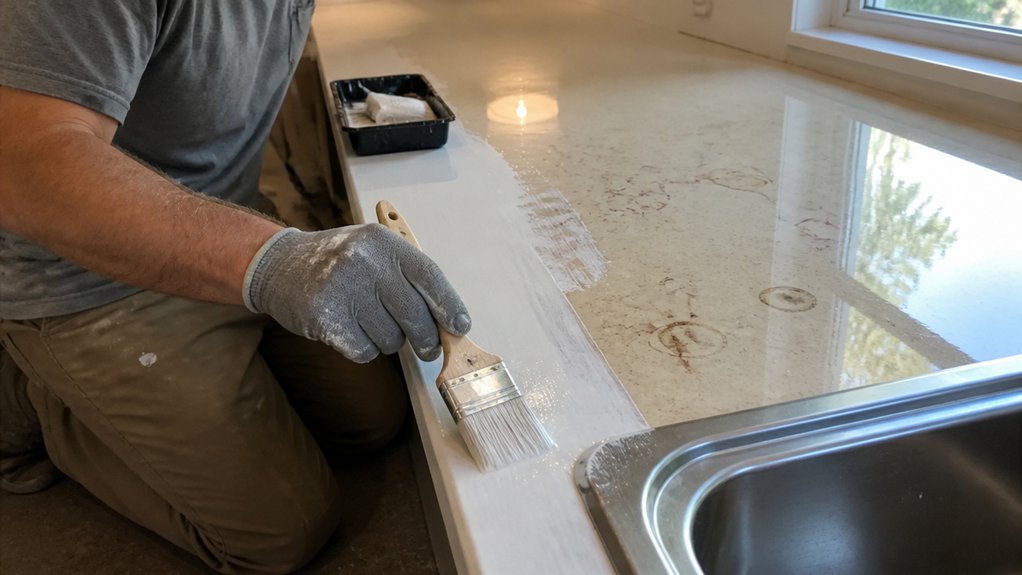
You can clean and scuff a surface, but some jobs need a stronger primer. A ceiling with nicotine stain or a glossy tile backsplash can defeat a regular primer, so use shellac to block the stain.
Shellac seals water, smoke, and grease stains and often dries to the touch in under 30 minutes. It has a strong VOC smell and costs about $25 a quart, but it holds up where regular primer fails. Low-odor oil-based alternatives reduce VOCs by 60% while still blocking tough stains like nicotine and pet urine.
Shellac seals tough stains fast, dries in minutes, and outperforms regular primer despite the strong smell and higher cost.
Read the label for drying time and cure time before you apply the topcoat. Work with a drop cloth and painter’s tape, and keep the room ventilated because the smell is strong.
For slick surfaces, use a dedicated adhesion primer and test it before you commit. Paint a small patch, let it cure overnight, then try to peel it off.
If it sticks, the primer is ready for the topcoat. These primers bond to tile, glass, and laminate where latex paint fails.
If the surface has old varnish or polyurethane, clean it and scuff it with 120 grit before priming. On tile with a gloss or satin sheen, scuffing gives the primer a better surface to grip.
Apply the topcoat in thin coats and keep a wet edge to avoid lap marks and brush strokes. Choose a matte, satin, or gloss sheen based on the room and the look you want.
My picks are Zinsser BIN for stains and Stix for slick jobs. The extra cost saves you a repaint, so you will not have to do the job twice.
Apply and Recoat: Drying Times, Temperature Limits, and Topcoat Readiness
Once you roll on that primer, the clock starts, and rushing the job usually causes trouble. Quick dry times on the label can tempt you, but they do not give you permission to skip the recoat window.
Most latex primers made for multiple surfaces are dry to the touch in 30 to 60 minutes, yet you should wait at least two hours before recoating. Shellac dries faster, but it has a strong smell, so plan for ventilation and a drop cloth.
Temperature matters as much as time, and you should not prime below 50°F. In cold conditions the film may stay tacky, fail to cure, and peel later, which means you will sand it off and start over.
Drying time tells you when the primer is safe to touch, while cure time tells you when it has hardened enough for sanding or a topcoat. Check topcoat readiness by pressing a fingernail lightly into the primer; if it dents, give it more time.
When in doubt, leave it overnight, especially if you plan to use a gloss, satin, or matte topcoat that will show every lap mark. Good prep also means clean surfaces, a drop cloth, and painter’s tape where you need a crisp edge.
Use the sanding grit your primer label recommends, sand lightly, then remove dust before you apply the next coat. Keep a wet edge while you work, and watch your brush strokes so the finish levels out and the sheen looks even.
If you use stain, varnish, or polyurethane on top, check the label for VOC limits and dry times. (Water-based primers also have a shorter shelf life than oil-based formulas, so verify the expiration date on the can before starting.) Respect the clock, check the forecast, and give each coat the time it needs for a finish that holds up.
Frequently Asked Questions
Can Multi-Surface Primer Be Used Over Glossy Paint?
Yes, multi-surface primer can be used over glossy paint if you prepare the surface properly. Glossy paint is slick, so scuff it with 220-grit sandpaper until the sheen is dull, then wipe away dust.
If sanding is impractical, apply a bonding primer first, or use a liquid deglosser as a related prep step. Do not skip deglossing; it is the difference between a lasting finish and peeling.
For a practical test, sand a small hidden area, clean it, and let the primer dry per the label, usually 30 to 60 minutes before recoating. Then check adhesion with a quick tape pull before you commit to the full surface.
Should I Prime New Drywall Before Applying Multi-Surface Primer?
You do not need to prime new drywall separately before applying a multi-surface primer. That primer seals the fresh gypsum and prepares the uncoated walls for paint in one step.
For a practical start today, roll one coat at the label’s coverage rate, usually around 300 to 350 square feet per gallon, and let it dry about four hours before topcoating. Sand any rough drywall compound first with 120 grit, then wipe the dust so the primer-sealer bonds evenly.
Skip the extra drywall primer coat unless the surface is damaged or heavily patched.
How Long Does Multi-Surface Primer Last Once Opened?
Multi-surface primer usually lasts about 1 to 2 years once opened, depending on storage and formulation. Date the can the day you open it and keep the lid tight.
Store it at 60 to 80°F away from freezing. Before each use, stir thoroughly and check for strong odor, lumps, or separation.
A sharp sour smell means the primer has gone bad, as with a client’s can from last spring. For a quick test, brush a thin coat on scrap wood and let it dry for 24 hours.
If it stays tacky or powders, replace it and check the opened primer shelf life.
Can I Apply Primer Over a Damp or Wet Surface?
No, you should not apply primer over a wet surface. Primer needs a sound, dry substrate so it can bond properly, and skipping that step guarantees moisture trapping and adhesion failure.
For wood, check with a moisture meter and wait until the reading is below 12 percent before priming. On masonry or patched walls, give the repair at least 24 hours and confirm it is uniformly dry, not just dry to the touch.
If you are researching primer over wet wood, remember that fresh primer should dry fully before sanding or topcoating. Scuff sand cured primer with 220-grit, remove the dust, and topcoat only after the stated recoat time.
What Happens if I Skip Priming and Paint Directly?
Skipping priming and painting directly means your coating may suffer adhesion problems, peeling, and uneven color. On bare wood, marks, knots, or tannins can bleed through and leave blotches.
For a practical fix today, sand glossy surfaces with 220 grit and wipe off dust before applying a stain-blocking primer. If you insist on primerless painting, test a small area first and expect extra coats for coverage.
On tannin-rich woods, a shellac-based primer is the reliable choice. That small step protects the finish and saves you from chasing blotchy color with more paint.
Rounding Up
Multi-surface primers are prep products you choose by job, such as shellac for stains and adhesion primer for glossy surfaces. Check each surface for grease, gloss, or stains before you buy primer.
Write down whether the job needs shellac for stains or an adhesion primer for glossy stuff. Always compare the primer cost against the actual wall and topcoat cost before you cheap out on a can and ruin the wall.
Respect prep and use the right primer so your topcoat is not handcuffed to a liar. Stain blocking primers.