How to Apply Polyurethane Varnishes for Exterior Projects: Step-by-Step Guide
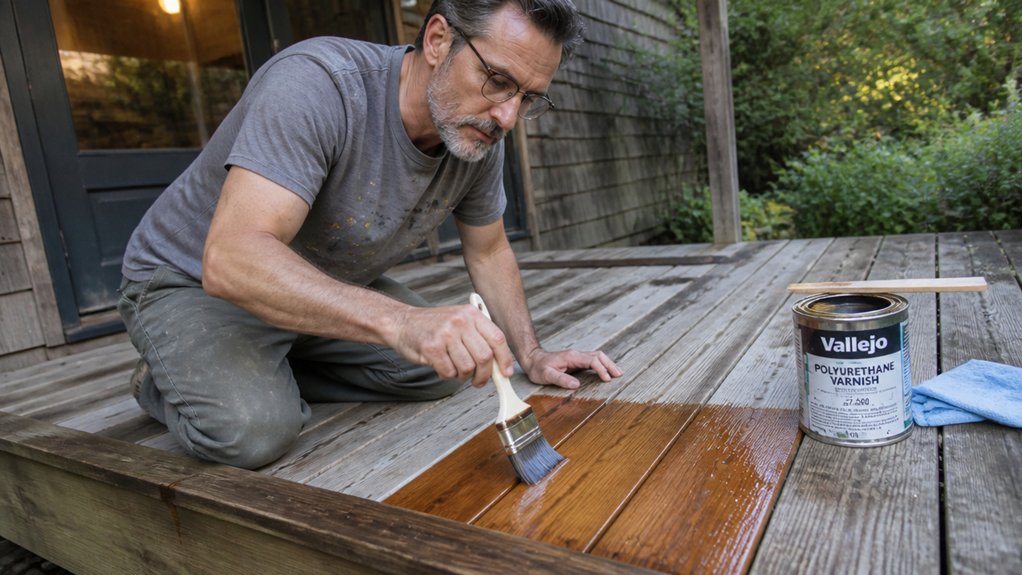
Applying exterior polyurethane without brush marks or peeling comes down to one thing: surface prep. If you skip the sanding or rush the cure time, you will see every mistake in the final sheen.
This guide covers the full process, from choosing the right primer to knowing when to apply each coat. You will learn how to handle drying time, humidity, and the all important scuff between coats.
By the end, you will know exactly how to get a durable, glass like finish on your next outdoor project.
Let’s walk through it step by step.
Quick Answer
- Sand bare wood from 120- to 220-grit with the grain, then vacuum and tack cloth.
- Choose 2K PU for best UV and rain resistance; water-based needs extra coats outdoors.
- Work only between 50-70°F and 30-70% humidity, avoiding direct sun and dew.
- Brush thin, wet-edge coats along the grain; stir gently, never shake, to prevent bubbles.
- Lightly sand each dry coat with 220-grit and tack cloth before applying the next.
Why Surface Prep Determines Your Polyurethane’s Lifespan
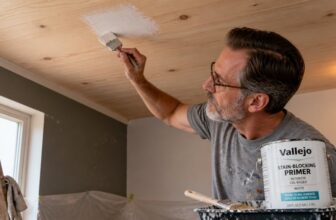
Skip surface prep and that $60 can of polyurethane becomes $60 of regret. I have made that mistake, and you can avoid it.
Start by sanding new wood in steps, from 120-grit up to 220-grit, always moving with the grain. This seals open pores in woods like oak or ash, which otherwise drink finish unevenly and leave blotchy patches.
Grain filling matters more than most beginners think. A smooth base means your topcoat lays down even and clear, not streaky.
“Grain filling matters more than most beginners think. A smooth base means an even, clear topcoat—not streaks.”
Vacuum the dust first, then wipe with a tack cloth. This removes the fine particles that ruin a finish’s adhesion.
For water-based poly, skip the tack rag entirely. Its oily residue can kill the bond between the wood and your first coat.
Prep acts as cheap insurance for your final sheen. Do it right, and the varnish earns its keep with a durable, clear coat that lasts.
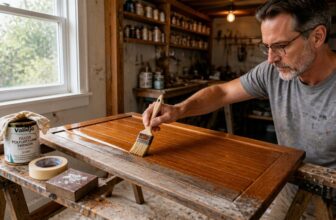
Use a drop cloth and painter’s tape to protect the surrounding area before you start. Keep a wet edge while brushing to avoid lap marks, and respect the difference between drying time and full cure time.
A satin or matte finish hides small flaws better than gloss, but all of them need the same clean surface. Sanding dust and old stain residue are the top reasons a polyurethane peels or blisters. For exterior work, choose an anti-static tack cloth to prevent dust from re-settling onto your freshly prepared wood before the first coat goes on.
Oil-Based vs. Water-Based vs. 2K PU for Outdoors
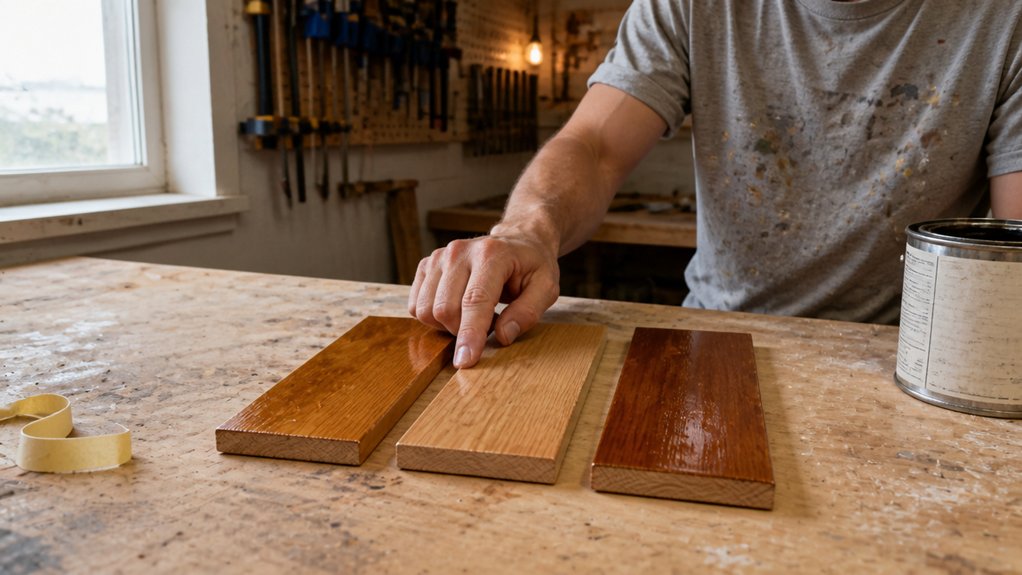
Prep work sets the stage for all three outdoor finishes, but picking the varnish itself is the real decision. For exterior durability, I go with 2K PU every time because it shrugs off rain and UV rays better than the others, and it stays clear without that yellowing problem.
Oil-based varnish gives you that classic warm glow and it’s the cheapest option, but it ambers over time like old newspaper. Its UV absorbers help some, yet you’ll still be recoating sooner than you want.
Water-based finish dries fast and stays crystal clear, which is nice for light woods. But it’s the lightweight in the ring, needing extra coats to build up decent sun defense. Bare-bones versions can drop to 50-60% gloss after 1,000 hours of UV exposure, so you really have to layer them thick.
2K PU costs more and uses solvent, so mind the VOC levels and wear a respirator while brushing it on. The payoff is top-tier gloss retention, so your topcoat still looks good after a few harsh summers.
Oil-based is tough and cheap, but expect a warm amber tint that deepens with age. Water-based is clear and quick, but thin-skinned against prolonged sun exposure.
2K PU wins for long-term outdoor abuse, plain and simple. I’d save up for it every time, because you won’t be sanding and recoating every single year.
When you apply 2K PU, keep a wet edge and work in sections to avoid lap marks. Use a good brush and lay it down smoothly to minimize brush strokes, then let it cure fully before the next coat.
If you’re on a budget, oil-based is fine for a project you’re okay refreshing sooner. But for furniture or doors that stay outside year-round, 2K PU is the one I trust.
Best Temperature, Humidity, and Sunlight for Exterior Polyurethane
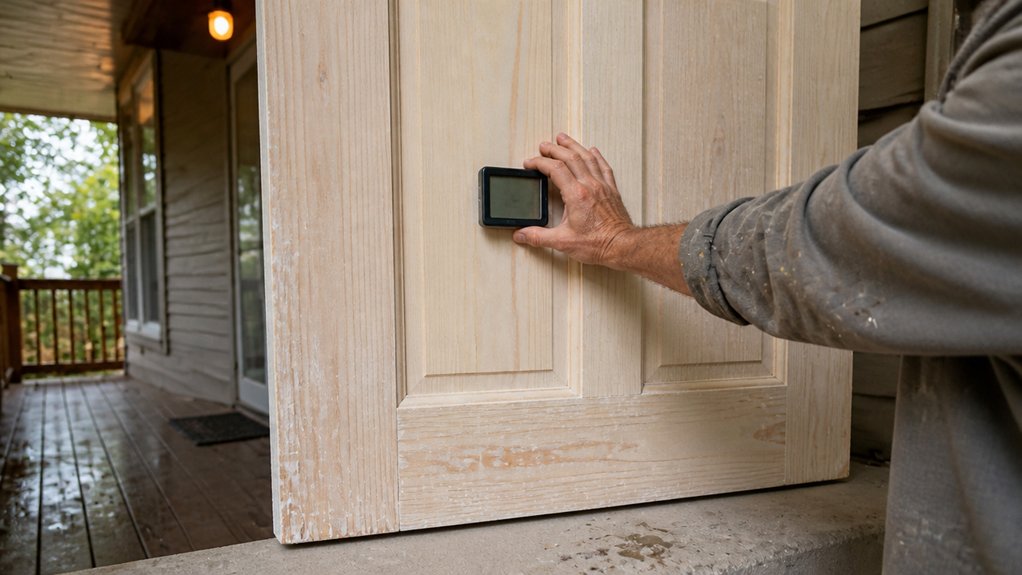
Check the forecast before you open the can. Polyurethane turns cloudy or won’t cure if the air or surface is too cold, too hot, or too damp.
Oil‑based products need air and surface temps above 50°F. Water‑based products prefer a range between 60°F and 90°F, and humidity should stay between 30% and 70% to avoid that milky, ruined finish.
Keep the work out of direct sunlight, and stop brushing at least an hour before dusk. Dew settles fast and will dull a fresh coat, forcing you to sand and recoat before you’ve even cleaned your brush. Since this is an exterior project, remember that interior and exterior polyurethanes are not interchangeable, as interior formulas lack the UV blockers needed to survive sun exposure.
Use a drop cloth and painter’s tape to protect nearby areas, and check the drying time versus full cure time on the label. A coat may feel dry in two hours, but it won’t harden for days, so don’t rush the next layer.
Stir the polyurethane gently instead of shaking it, which creates bubbles that show up as brush strokes. Apply thin, even coats with a good brush, keeping a wet edge to avoid lap marks, and sand lightly with 220‑grit between coats for better adhesion.
For a satin or matte sheen, stir more often because the flattening agents settle fast. Gloss and semi‑gloss hide less, so any dust or brush marks will stand out, which means a clean, dust‑free space matters more.
Temperature and Humidity Ranges
Temperature and humidity decide whether your polyurethane finish cures clear and smooth or turns into a cloudy, sticky mess. I’ve ruined more than one project by ignoring the forecast, so trust me on this.
For exterior polyurethane, aim for air and surface temps above 50°F if you’re using oil-based, or 60 to 90°F for water-based. Keep humidity between 30 and 70 percent, and check the dew point. If it’s within a few degrees of air temp, moisture is about to settle on your fresh coat.
Spring and fall usually give you the best windows. Summer heat can cook the finish into bubbles, and winter cold stops it from flowing out evenly.
Morning dew on your brush leaves a cloudy, ugly film that won’t fix itself. A hot afternoon sun makes the topcoat dry too fast, trapping solvent and creating blisters.
A crisp 65°F day with 45 percent humidity dries your varnish smooth as glass, with no brush strokes or lap marks. Evening work feels fine, but overnight condensation can ruin your satin or gloss overnight.
A cheap hygrometer costs about twenty bucks and removes all the guessing. Sensor placement matters because avoiding dead-air pockets near walls or corners ensures you get a true reading of the surrounding conditions. Use painter’s tape and a drop cloth, then check your numbers before you mix the stain or open the poly.
Remember that drying time is not cure time. Even if the surface feels dry to the touch, humidity can still mess with the film for days.
Watch the seasonal shifts: spring and fall mornings often hit that sweet spot. When the weather’s playing tricks, just wait, because a repaint takes twice as long as doing it right the first time.
Sunlight Exposure Guidelines
Sunlight controls how exterior polyurethane cures, so you have to work around it instead of fighting it. Direct sun cooks the finish, causing bubbles and a cloudy blush that ruins the look.
I have ruined boards that way, so now I schedule my brushing for early morning or late afternoon when UV exposure drops. The best window for finishing is under 70°F, over 50°F, with no glare bouncing off the surface.
Work in the shade, like the north side of the house or under a drop cloth on a tarp frame. If the wood feels hot to the touch, wait until it cools down, because a redo costs more time than patience.
Even exterior-grade polyurethane with UV blockers, which runs about $40 a gallon, struggles in peak sun. Heat speeds up drying, but it also forces air out as bubbles and weakens the bond between the topcoat and the wood.
For a clean, clear coat, keep your wet edge moving and avoid lap marks by brushing continuously from one end to the other. Use a high-quality brush and a satin or gloss finish depending on your surface, and remember that drying time is not the same as cure time, so wait a full week before heavy use. Water-based formulas stretch to 150 to 175 square feet per coat, meaning you’ll need fewer quarts for large exterior surfaces than with oil-based options.
Treat sunlight like a bouncer at a job site, respect its rules and plan around it. You will get a tough, clear coat that shrugs off rain, snow, and summer heat without bubbling or peeling.
Step-by-Step Application: Brushing, Rolling, and Spraying Without Bubbles
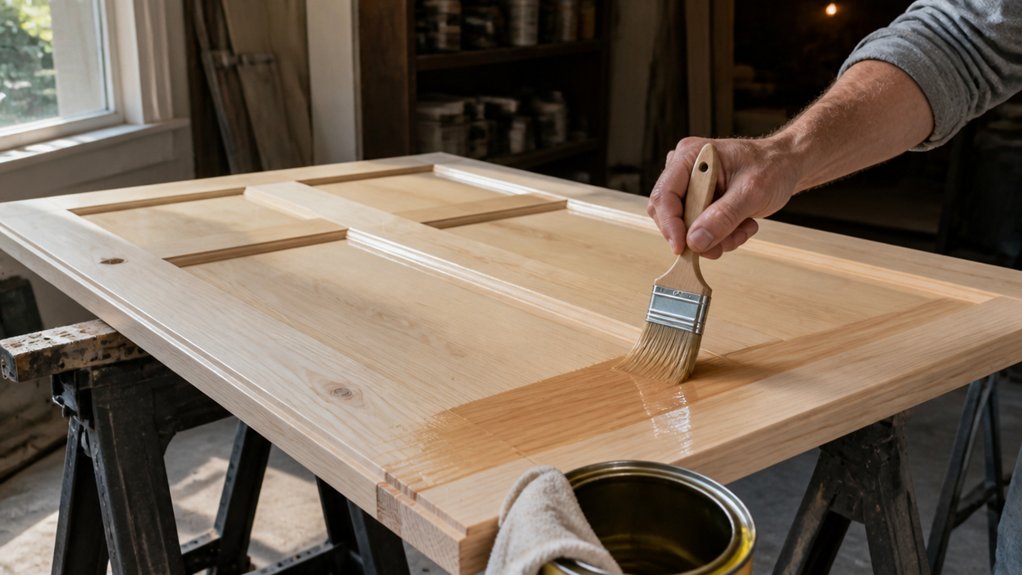
Brushing gives you the most control on the way to a bubble-free finish. Rolling and spraying each have their own tricks, and I will walk you through all three so your surface does not end up looking like a shaken soda can.
For brushing, load the brush about halfway and lay down long, even strokes along the grain. Over-brushing works air into the polyurethane and is the worst enemy of a smooth coat. Apply thin coats, as a ten to twenty micron layer per pass ensures uniform resilience and avoids trapping air.
With a satin or matte sheen, brush strokes show less than on gloss, but they still matter. Keep a wet edge as you work so each pass blends into the last one and you avoid lap marks.
For rolling, use a short-nap roller and keep the coats thin. Right after you roll, tip the surface with a brush to pop trapped air and lay the finish flat.
Scuff between coats with 220-grit sanding paper once the coat is dry. Wipe off the dust with a tack cloth before the next coat, and check the drying time on the can so you do not sand too early. If you wait beyond twenty-four hours, lightly scuff the surface again to ensure proper adhesion.
For spraying, set your spray gun to a fan pattern and thin the polyurethane slightly. Hold the gun 10 to 12 inches back and keep it moving at a steady speed.
Aim for a wet glass look as your finish goal. Listen for the soft hiss of an even spray instead of sputtering.
Feel the brush glide instead of drag. Watch bubbles rise and vanish like morning fog.
Smell fresh-cut wood mixed with the sharp bite of solvent. Open a window or set up a fan, and check the VOC level on your finish if you work indoors.
Use a drop cloth and painter’s tape to protect the floor and edges before you start. Keep strokes light and coats thin, and let each coat dry to the touch before the next one goes on.
How Many Coats of Exterior Polyurethane and Recoating Times Do You Need?
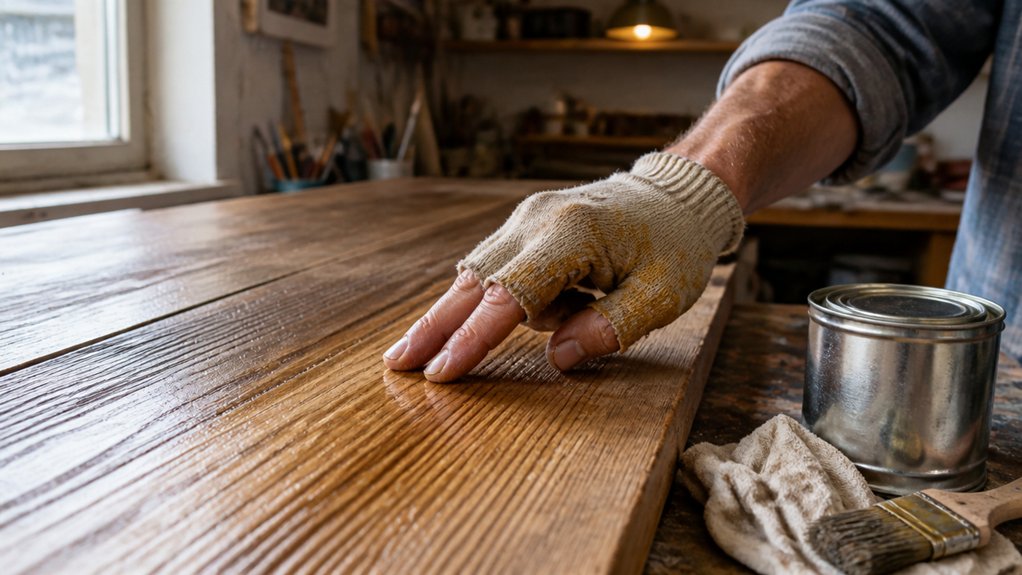
For exterior wood, apply at least three coats of polyurethane. This base layer protects against rain, UV rays, and temperature swings that cause warping and rot.
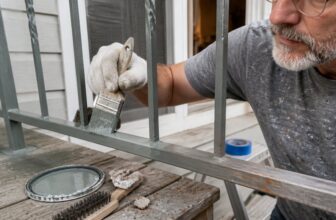
Skipping coats means you’ll be sanding and recoating much sooner. I’ve scraped sun-baked finish off railings before, and it’s far more work than adding one extra coat upfront.
On surfaces that face direct sun all day, add a fourth coat. That extra layer acts like cheap insurance against peeling and fading.
Use a satin or semi-gloss sheen for best durability. Gloss shows every brush stroke, while matte offers less weather resistance. A satin finish provides a balance between matte and glossy looks, while specific products like TotalBoat Gleam Marine Spar Varnish offer UV blockers for brutal exterior exposure.
Your recoat window depends on the product you choose. Check the table below for oil-based, water-based, and two-component polyurethanes.
| Product Type | Recoat Windows | Extra Coats Needed |
|---|---|---|
| Oil-based (standard) | 24–48 hours | 1–2 in harsh sun |
| Water-based | 1–2 hours | 2–3 for decks |
| Two-component PU | 8–10 hours | 1–2 for full protection |
Never recoat before the finish is dry to the touch. A damp surface traps moisture, creating bubbles that ruin the smooth look.
Wait for the full recoat window, then lightly sand with 220 grit between coats. This knocks down dust nibs and gives the next layer something to grip.
Wipe off sanding dust with a tack cloth before applying the next coat. Keep a wet edge while brushing to avoid lap marks and uneven sheen.
For water-based poly, work in thin, even strokes. Thick coats dry slowly and cause runs, especially on vertical railings.
Oil-based poly needs more ventilation and has higher VOCs, so wear a respirator. Water-based options dry faster, but they may raise the wood grain more on the first coat.
If you’re finishing a deck, expect to use two to three extra coats because foot traffic wears through finish quickly. For fences or shutters, three coats is usually enough.
After the final coat, let it cure fully before heavy use. Drying time is when it feels dry, but cure time, which takes up to two weeks for oil-based, is when it fully hardens.
Use a drop cloth and painter’s tape to protect adjacent surfaces. Stir the poly gently to avoid air bubbles, and never shake the can.
You’ll know the finish is ready when a water drop beads up and stays on the surface. If it soaks in, add another coat.
Three coats is the solid starting point, and four handles harsh sun. Follow the recoat windows, sand lightly between layers, and your woodwork will stay sealed for years.
Sanding Between Coats and Maintenance to Extend the Finish
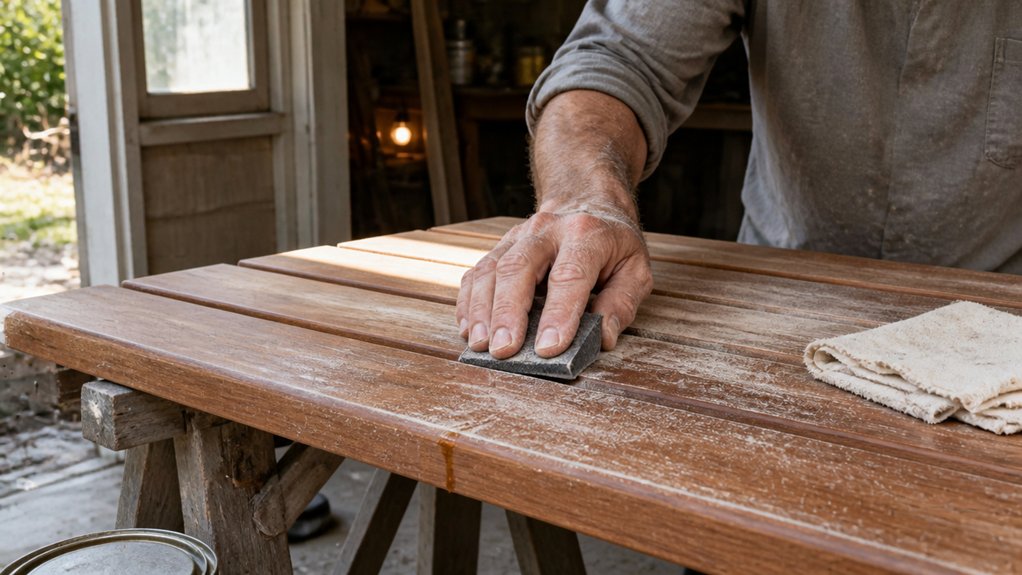
Light sanding between coats is the key to a smooth, durable exterior finish. After each coat of polyurethane dries, use fine grit sandpaper, like 220 grit, to lightly scuff the surface.
This knocks off dust nibs and gives the next layer something to grip. Think of it as giving the finish a firm handshake before the topcoat bonds.
Use a sanding block for even pressure and wipe the dust off with a tack cloth. You only need a light pass, not enough to cut through to the wood.
After the final coat, the real clock starts on curing time. Drying time means the surface is dry to the touch, but curing is when the varnish fully hardens and reaches its maximum strength.
Wait at least a week before putting any real wear on the project. Keep it out of rain and heavy dew during that window. Applying additional coats within the recommended recoat window ensures proper adhesion and prevents delamination.
Your maintenance rhythm is simple and starts with a yearly inspection. Look for dull spots, chalking, or any place where the sheen has worn thin.
Wash the surface with a mild soap and water solution, using a soft brush to lift grime. Rinse well and let it dry completely before assessing the finish.
If the gloss looks faded or you see the wood starting to gray, that is your signal to recoat. Lightly sand with 320 grit, wipe clean, and apply a fresh topcoat.
Using the same brand and product line avoids adhesion problems. A compatible topcoat, whether satin or semi-gloss, will melt into the old finish without lap marks.
Keep a drop cloth and painter’s tape handy for touch-ups on trim. Recoat only the affected area if the finish is still in good shape elsewhere.
This yearly check, plus a fresh coat every couple of years, keeps the wood protected. That routine stops the paint from peeling and keeps your project looking sharp for decades.
Sanding Between Coats
Every coat of paint or finish dries with some dust nibs, tiny bumps, or an uneven sheen. Run your palm over the dried surface and you’ll feel those prickly spots.
That’s your target. Grab 220-grit sandpaper and lightly scuff the surface, moving with the grain, never across it.
You’re not removing the finish, just giving the next layer something to bite into. The scuff also breaks micro-bubbles that trapped themselves during drying, leaving a smooth base.
Use a sanding block to keep pressure even. Fingertips create divots, so trust the block.
Wipe away the dust with a tack cloth after each pass. Skip this and you’ll grind the grit back into the coat.
Check for shiny patches as you go. Shine means you’ve missed a spot and need another pass.
Two minutes per square foot is plenty. This is a scuff, not a refinishing job.
That quick sanding step is what separates a topcoat that peels in a year from one that shrugs off rain like a duck. A smooth, dull surface lets the next coat of satin or gloss polyurethane bond properly, and it also cuts down on lap marks and brush strokes when you apply the final sheen.
Always sand with a clean, dry block and use fresh 220-grit paper, because worn grit will burnish the finish instead of scuffing it.
If you’re working with a water-based varnish, wait for the full drying time before sanding, and remember that cure time is longer.
For oil-based finishes, the same rule applies, so check the can for both numbers.
Lay down a drop cloth and use painter’s tape to mask off edges before you start.
Low-VOC products still need the same sanding routine, so don’t skip it just because the smell is milder.
When you’re done, the surface should feel uniformly dull and smooth to the touch, with no glossy islands left behind. Proper care allows rollers to outlast project enthusiasm, so extend that same maintenance mindset to your sanding tools and keep them clean.
Final Curing & Upkeep
Final curing is often sold as a one week wait, but that only gets you partway there. I let a finish sit a full month before leaning anything against it, and yes, that feels like forever.
Full hardness takes that long, and heavy loads before then will dent the topcoat like soft cheese. Patience here saves you from ugly dents you cannot fix without sanding down to bare wood. For projects that demand professional-grade durability, a belt sander like the Makita 9403 offers the power needed for a complete refinish.
For upkeep, I do a seasonal inspection, mainly checking for dull patches or peeling along edges. Those are wear indicators that tell me when a light sand and a fresh topcoat are due.
On sunny decks, that usually means once a year. I also watch how water behaves on the surface, since beading is a good sign.
If water soaks in instead of sitting in droplets, the protection is fading. The quick fix is to clean the deck, scuff it with 120 grit sandpaper, and roll on another coat of varnish or polyurethane.
I have ruined finishes by skipping that step, so trust me, set a calendar reminder. A few hours of maintenance each year beats a full strip and recoat.
Frequently Asked Questions
Can I Apply Polyurethane Over an Existing Oil-Based Stain?
Yes, you can apply polyurethane over an existing oil-based stain. Just make certain the stain is fully cured before you start, which typically means waiting 24 to 48 hours depending on humidity.
Then do proper surface preparation: lightly scuff the surface with 220-grit sandpaper and wipe away all dust. I would additionally recommend a compatibility test on a hidden spot first, since it will save you from adhesion failures later.
Apply thin coats rather than heavy ones, and sand lightly between coats for the best result. This clear topcoat approach also works well when sealing other oil-based finishes.
How Do I Fix Brush Marks After the Polyurethane Has Dried?
To fix brush marks after the polyurethane has dried, sand them out with 220-grit paper and then remove all dust completely. Dust is the enemy here, so wipe with a tack cloth after sanding.
Reapply thin coats using long, even strokes along the grain. Use a high-quality synthetic brush and maintain a wet edge to avoid lap marks. Thin coats dry faster and level better, so wait at least two hours between each layer.
Don’t overwork the finish, as that stirs bubbles and drags the material, which is what caused the ridges. For a final smoothing between coats, you can use 320-grit stearated paper to cut the sheen. Two to three coats usually hide all remaining imperfections.
What Is the Best Way to Store Leftover Exterior Polyurethane?
The best way to store leftover exterior polyurethane is to seal the can airtight and keep it in a temperature-stable, cool location. Wipe the can’s rim clean as a whistle, then press the lid down tight using a rubber mallet for a solid seal.
Airtight sealing prevents skin from forming fast, which ruins the finish for later use. Store the can upside down in a cool spot, as temperature control keeps the liquid usable for months.
For an extra layer of protection, transfer small amounts into a glass jar with a tight lid, leaving minimal air space. Upside-down storage forces any remaining film to form on the bottom, away from the paint.
Before your next project, strain the polyurethane through a 100-mesh filter to remove any particles. Check the label for a shelf life indicator and always stir, never shake, to avoid introducing air bubbles.
Can I Use Exterior Polyurethane on Interior Wood Projects?
Yes, you can use exterior polyurethane on interior wood projects, but I would not recommend it for most cases. The extra UV blockers are wasted inside, and the higher VOC levels can linger in your living space for weeks.
For a durable interior finish, choose a water-based interior polyurethane instead. It dries faster, often recoatable in two hours, and stays crystal clear without the yellowing that oil-based exterior varnishes develop over time.
If you must use exterior polyurethane indoors, apply it in a well-ventilated garage and let it cure for at least seven days before bringing it inside. Sand between coats with 220-grit paper for a smooth, professional result.
For trim or furniture, a water-based interior varnish gives you better abrasion resistance and a safer, low-odor experience. You will also find easier cleanup with soap and water, which is a practical win for most DIYers.
How Long Should I Wait Before Exposing the Finish to Rain?
You should wait at least 24 to 72 hours before exposing the finish to rain, but the longer you hold off, the safer your paint job will be. Full cure, or complete solvent evaporation, takes anywhere from two to four weeks depending on humidity and temperature. A short shower at the 24-hour mark might dull the sheen, while a heavy downpour can leave water spots or blisters that force a costly redo.
For concrete peace of mind, give it a full 72 hours if the forecast allows. After that first week, a light mist is usually harmless, but still avoid direct sprinkler spray or pooling water on horizontal surfaces. Check the label on your can for the recoat window; if it says 48 hours to recoat, that is a decent baseline for rain resistance too. Use a dew point meter or just touch the surface: if it feels cool and clammy, it is not ready. Remember, a slow, dry cure beats a rushed finish ruined by weather.
Rounding Up
Applying exterior polyurethane varnishes demands obsessive preparation and precise timing to get a durable finish. Sand thoroughly, control humidity, and apply three perfect coats with a high quality brush, accepting that minor drips happen.
Check your local humidity before every coat and sand between layers to remove flaws. Test your brush stroke on scrap wood and buy the best natural bristle brush you can afford.
Plan on refinishing the surface in three years, since no exterior varnish lasts forever. Next, read about choosing the right wood stain for outdoor furniture.