How to Apply Grain Fillers: Step-by-Step Guide
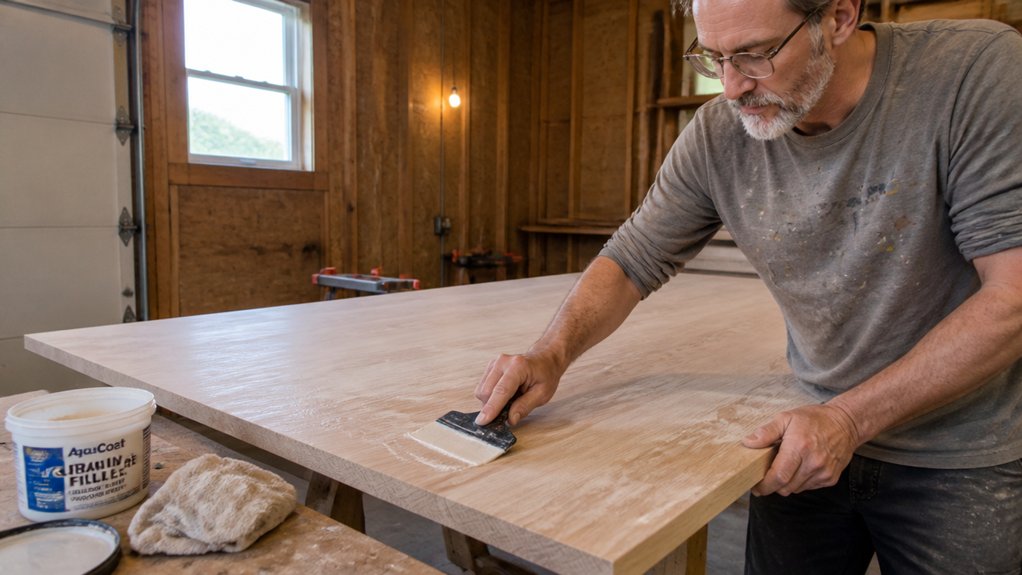
Glass smooth grain filling sounds like a pro secret, but you can nail it on your first try. The trick is matching your filler’s consistency and cure time to the wood’s porosity, so you skip the blotchy mess.
That 320 grit sanding step is your primer for the filler, and it makes all the difference for the finish.
I’ll walk you through the paste mixing, application, and sealing steps that keep your topcoat from failing. You’ll also learn why water based filler needs a compatible finish, not just any polyurethane.
Grab your squeegee and let’s get your surface prepped for a flawless, glass like sheen.
Quick Answer
- Sand bare wood to 320-grit before applying water-based filler to prevent blotchy patches.
- Mix filler to pancake-batter consistency; too runny sinks, too stiff won’t penetrate pores.
- Apply filler across the grain with a stiff brush, then squeegee off excess at a sharp angle.
- Let water-based filler dry 45 minutes before sanding with 220-grit; oil-based needs 8–12 hours.
- Test finish compatibility on scrap wood; water-based filler fails under oil-based polyurethane.
Why Grain Filler Is Non-Negotiable Before Finishing
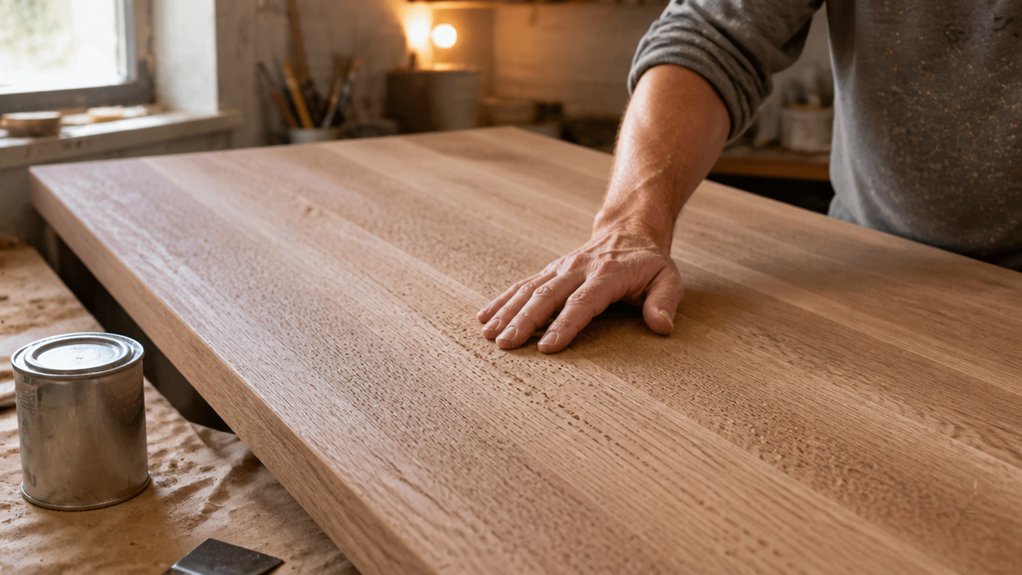
You sanded a beautiful piece of oak, and then the finish dried into a gritty, orange-peel mess. Those open pores act like tiny craters, swallowing your varnish and leaving a rough surface.
Grain filler levels that battlefield before you apply any topcoat. It creates a glass-smooth base so your stain and polyurethane sit on top, not sink in.
Skipping this step guarantees blotchy patches and a weak film. I learned that on a walnut table, and it’s a mistake you won’t repeat.
Filled pores also boost durability. A thin coating stretched over hollow spots will crack, but a solid, level base holds up to daily use.
Use a paste filler with a plastic scraper, pushing it across the grain. Wipe off the excess with a clean cloth before it dries, then sand with 220 grit after it cures. For deep fills, allow 4 to 6 hours of open time to prevent the surface from skinning over before the filler fully settles.
You don’t need expensive tools, just a drop cloth, a putty knife, and patience. Let the filler dry fully based on the label’s drying time, not your schedule.
Once sealed with a primer, your topcoat will flow evenly without lap marks or brush strokes. The sheen, whether satin or gloss, will look deep and even.
Run your hand over that finished top later. It feels smooth, not gritty, and that’s the whole point.
Don’t skip the filler. Your future self, admiring that flawless walnut or oak surface, will thank you.
Prep Your Wood Surface for Grain Filler
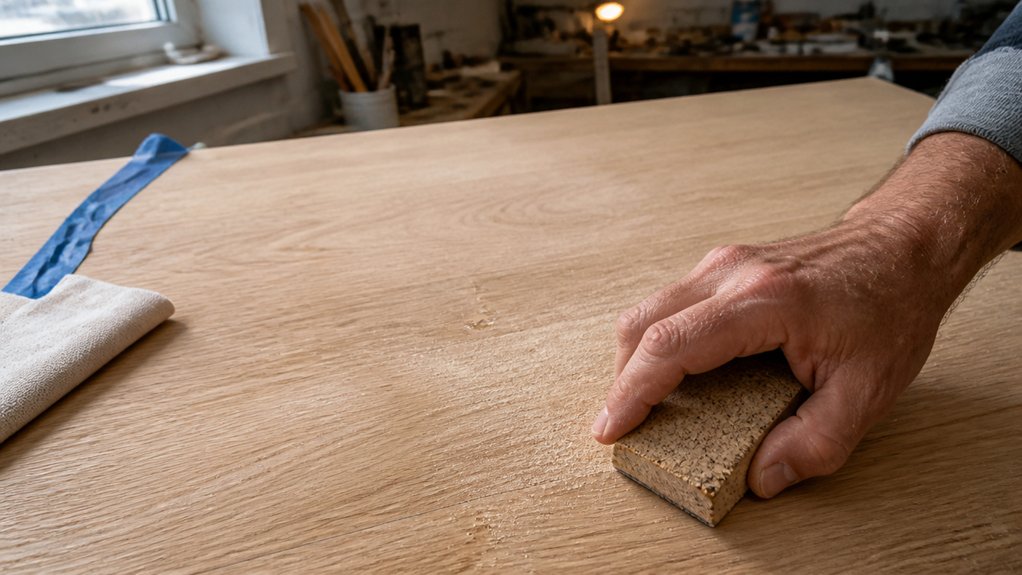
Sand the bare wood to 320-grit before applying a waterbased grain filler. That grit is the sweet spot for these products, so the filler can grip the pores without leaving a mess.
For an already finished surface, scuff-sand with 120 to 180 grit instead. This roughs up the old topcoat or varnish just enough to let the new primer or filler bond, and skipping it means peeling paint on your knuckles later.
Wipe away every bit of dust and grease with a tack cloth or a damp rag. Filler won’t stick to a dirty surface any better than polyurethane sticks to a glossy, waxed floor, so clean it like you mean it.
Keep your wet edge tight when you spread the filler, and work in small sections. If the filler dries before you smooth it, you’ll get lap marks and brush strokes that show through the stain or topcoat. Choosing a low-VOC water-based formula minimizes odor and speeds up drying time in tight indoor spaces.
Sanding to 320-Grit
Sanding to 320 grit sounds excessive, but it’s the right call for waterbased grain filler.
A 220 grit surface leaves microscopic scratches that make the watery filler soak in unevenly, causing blotchy patches.
The finer 320 grit keeps the filler on the surface where it belongs, so you get a smooth, even result instead of a mess.
This step also stops the filler from highlighting swirl marks under your topcoat, especially with a gloss polyurethane.
I run a random orbital sander over the whole panel, moving with the grain and letting the tool’s weight do the work.
I don’t press down, because that creates deeper scratches that defeat the purpose.
It takes an extra few minutes, but it prevents those swirl marks from showing up later under satin or matte varnish.
Skipping this means every flaw shows from across the room, so treat 320 grit as part of your routine before priming.
After sanding, wipe the dust off with a tack cloth before you apply the filler, and check for any shiny spots that indicate missed areas.
You want a dull, uniform surface so the filler grabs evenly without lap marks or brush strokes.
Keep your sander moving with the grain, and overlap each pass by half to avoid uneven patches.
This method also works for stain and primer, so the same prep saves you trouble on any clear coat.
For the best results, use a sander with a variable-speed dial so you can drop the OPMs during this final pass to minimize heat and scratching.
The finish will look glassy and clean, like a professional sprayed it, and you’ll avoid the frustration of a blotchy topcoat.
Budget the extra sanding time into your project, because fixing a bad filler job costs far more than the few minutes it takes to do it right.
Remember to check your sander’s pad for wear, since a worn pad leaves chatter marks that 320 grit can’t fix.
And always test on scrap wood first, so you see how your specific filler behaves before touching the real piece.
Removing Existing Finishes
Skipping the removal step is like trying to ice a cake with the crumbs still stuck on. I’ve made that mistake before, and you don’t need to repeat it.
Stripping stubborn coats means using a chemical stripper, a scraper, and a lot of patience. You slather it on, let it bubble, then scrape it off.
It’s messy but honest work.
For heat guns, keep it moving and never linger on one spot. Never point it at glass, because it will shatter.
I scorched a panel that way once, and that smell stays with you.
After stripping, neutralize the surface with mineral spirits. Then sand lightly with 120-grit to open up the pores.
Don’t skip this step. Your grain filler will just slide off the old finish, and you’ll be back to square one, only crankier.
Use a drop cloth and painter’s tape to protect the surrounding area before you start.
Choose a water-based, non-caustic gel to minimize harsh fumes and toxicity during this messy process.
Mixing Grain Filler to the Right Thickness
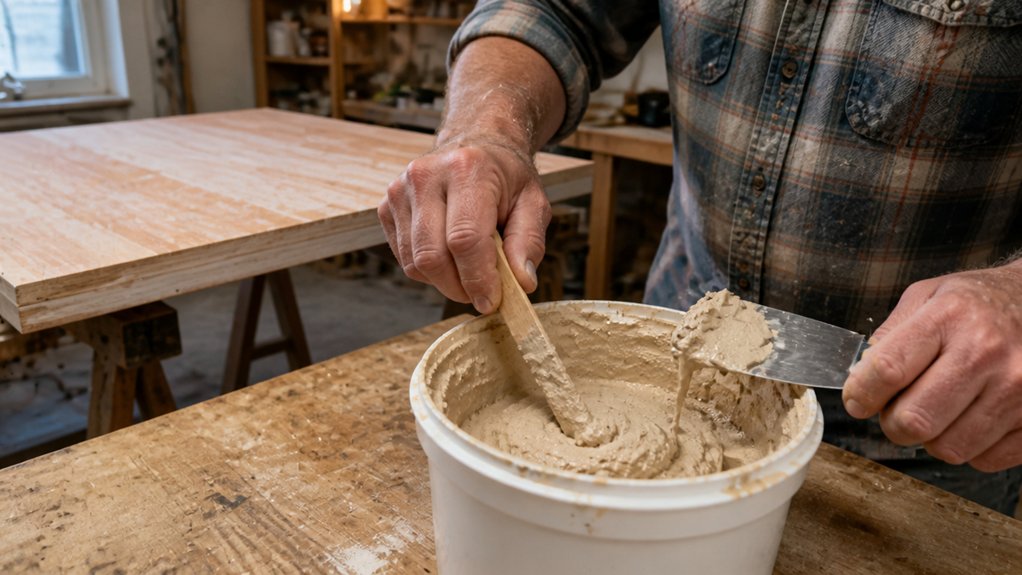
Getting the filler to the right thickness is honestly the whole ballgame, and it’s where most people trip up. You’re aiming for a filler consistency akin to pancake batter, loose enough to flow but thick enough to stay put in the pore.
Getting the filler to the right thickness is the whole ballgame; aim for pancake batter consistency.
Too runny, and it sinks into the wood instead of filling it. Too stiff, and it won’t penetrate the grain at all.
I always start thick, then add thinner in small splashes, since you can always thin more but can’t easily thicken back up. Here’s a practical cheat sheet for common fillers.
For oil-based filler, thin it with mineral spirits until it drips off a stir stick like warm honey. That flow means it will settle into the grain without running out of the pore.
For water-based filler, mix it to a paste thickness, similar to thick paint, so it clings to the surface without pooling in low spots.
Always test your mix on scrap wood before applying it to your project. If the filler dries chalky and dusty, it was too thin; if it skins over quickly and won’t sand smooth, it was too thick.
When you tint the filler, add the dye or pigment before you thin it. That way the color stays consistent throughout the mix, and the thinner won’t wash out the tone. For a more durable and reusable mixing setup, consider airtight seal containers that keep leftover filler from drying out between coats.
Remember that thinning changes drying time, so check the label for cure time versus drying time before you move on to primer or topcoat. A properly filled surface will take a coat of varnish or polyurethane without showing brush strokes or lap marks.
Once you get the thickness right, the rest is straightforward, like pouring warm pancake batter on a clean, dust-free surface. Just keep a rag and some solvent handy for cleanup, and you’ll avoid sanding grit problems later.
Brush On, Squeegee Off, Rub in Figure Eights
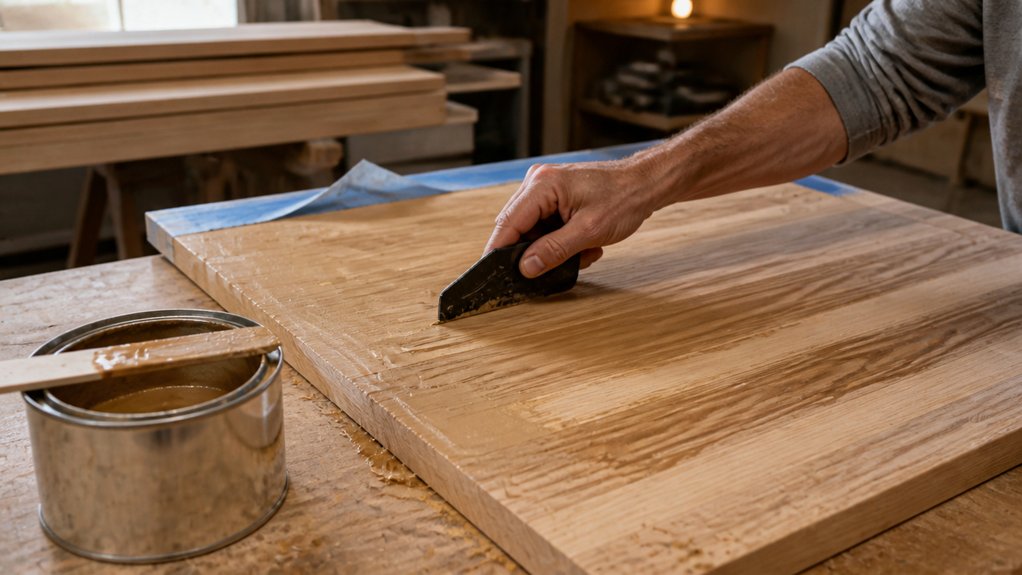
You don’t need fancy tools. A stiff bristle brush, a plastic squeegee, and your own hands will do the job just fine.
I slather on a generous coat of filler, working it across the grain with the brush. That’s where the real pore filling happens, because the bristles dig into every valley.
Then I grab the squeegee and pull it at a sharp angle. This scrapes off the excess like frosting off a cake, and it’s fine if the surface looks messy at first.
Right away, I switch to my fingertips and rub in figure eights for two or three minutes. This isn’t gentle; it’s firm pressure that forces the filler deep into the wood’s pores.
You’ll feel the filler grab as it locks in. Let it sit for a while, and don’t sand yet, because the filler needs time to set before you touch it with any grit.
Use a drop cloth and painter’s tape to protect the surrounding area before you start. Then, after the filler dries, you can move on to primer and your topcoat, whether you prefer gloss, satin, or matte.
Remember to keep a wet edge when you brush on any stain or varnish later, so you avoid lap marks. The drying time here matters more than the cure time, so be patient, and note that a thin coat dries faster than a thick one.
Brush on, squeegee off, and rub in figure eights. Repeat the whole cycle if the pores still look open, and your finish will come out smooth and ready for paint or polyurethane.
Drying Times: How Long Before Sanding or Sealing?
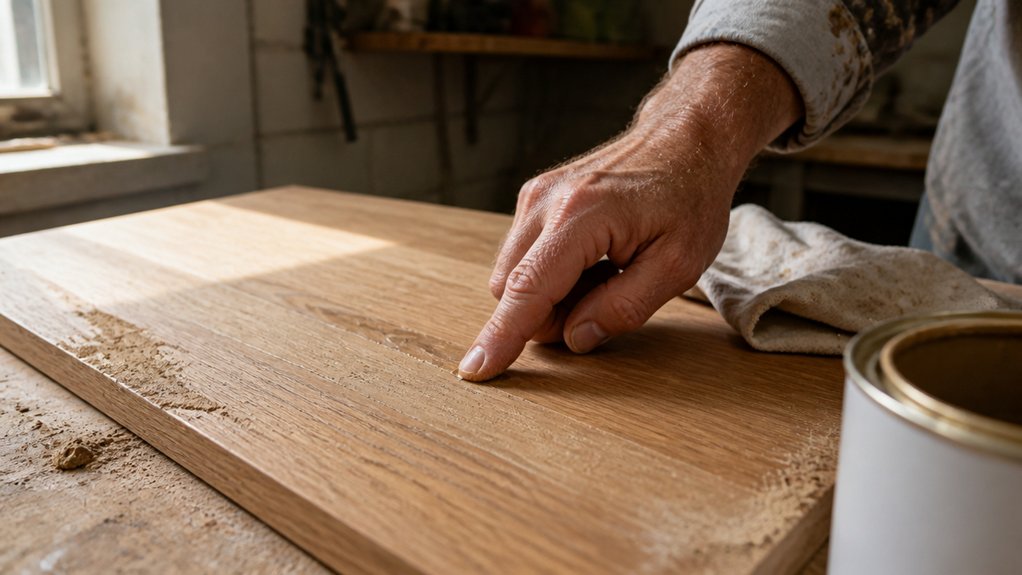
Patience is the real tool here, because drying time separates a smooth, glass-like finish from a gritty mess. Rushing it will ruin a day of work, so treat the clock as part of your process.
Drying time depends on three things: the filler type, humidity, and how thick you laid it on. Waterbased fillers dry in 15 to 45 minutes, but oil-based needs overnight, and there’s no shortcut around that.
Here’s a simple sanding schedule to follow. For a thin waterbased coat, wait 15 minutes for touch-dry and 45 minutes before sanding with 220 grit.
For oil-based filler at 1/16 inch thick, give it 8 to 12 hours, then test with a fingernail. If your workshop is humid, over 70 percent, add half the time again, seriously.
Before sealing with a primer or topcoat, wait 1 to 2 hours for waterbased filler, or 12 hours for solvent-based. Test dryness by pressing your thumb into the filler; if it dents, walk away and wait longer. Shallow repairs on wood fillers like Minwax dry in about 2 hours, but deeper fills require applying in quarter-inch layers with 2–6 hours between each layer.
My own rule is simple: when I think it’s dry, I grab coffee for ten more minutes. Your finish will stay smooth, without brush strokes or lap marks, and the varnish or polyurethane will bond properly for a lasting sheen.
Sanding Between Coats and Matching Finishes to Your Filler
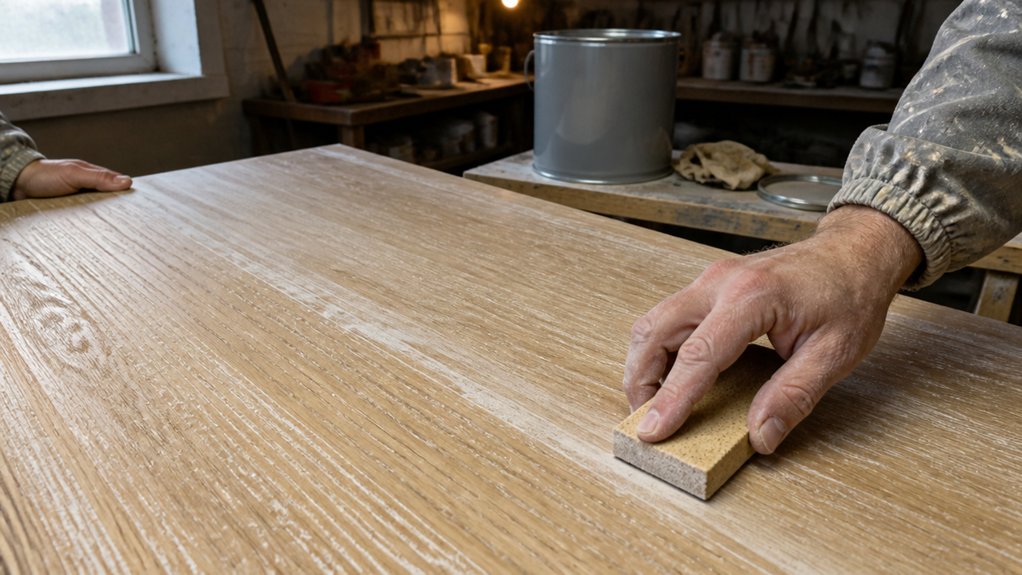
Sanding between coats is where patience pays off, and matching your filler to the finish is the final step you can’t skip. I grab 320-grit paper and level-sand lightly, because too much pressure will yank filler from the pores. That’s a rookie mistake I’ve made enough for two lifetimes. Wipe the dust clean, then apply another coat, since most woods need two or three passes anyway.
The big catch is filler stain bleed, where a tinted filler smears color over the surrounding grain if you sand too hard. Seal the filler first with a thin coat of shellac or primer, or wait until it’s fully dry before sanding. For the topcoat, don’t guess, run a finish compatibility test on a scrap piece of wood. Waterbased filler doesn’t bond well under oil-based varnish or polyurethane, and oil-based filler can react badly under a waterbased finish. Match the filler to your topcoat, test it, and you’ll avoid lap marks and brush strokes later. Light mallet taps on a metal cap can help loosen stubborn residue without damaging a blade edge, but avoid heavy hammering to prevent warping.
Use a drop cloth and painter’s tape to protect the work area, and keep a wet edge when brushing to prevent streaks. Check the drying time versus cure time on the can, because sanding too soon ruins the surface. A satin or matte sheen hides minor flaws better than gloss, so choose based on the look you want. Low-VOC products are easier on your lungs, and they work just as well for most DIY projects.
Frequently Asked Questions
Can I Use Grain Filler Over an Existing Finish?
Yes, you can use grain filler over an existing finish, but only after you scuff-sand the surface to create a mechanical bond. For most cured lacquers or polyurethanes, use 220-grit sandpaper and wipe away all dust with a tack cloth before applying the filler.
Water-based fillers won’t adhere to oily or waxed finishes, so first test the coating with denatured alcohol on a rag. If the finish softens, it’s shellac or lacquer, and you’ll need a compatible solvent-based filler instead.
For best results, apply the filler with a plastic spreader in thin coats, pressing it into pores and sanding between coats once dry. A single coat often suffices for closed-grain woods, but open-grain oak may require two or three passes. Always let the final coat dry overnight before topcoating, and remember that adhesion testing on a hidden spot is your safest move.
What Happens if I Skip the Washcoat Step?
Skipping the washcoat means you are risking blotchy, uneven stain and poor adhesion on your next project. Without that thin, diluted sealcoat, the wood’s natural suction pulls your first stain coat too deep, and you will see patchy color that is nearly impossible to fix.
You also invite a bigger problem: when you sand your filler flush, exposed raw fibers can tear out, leaving a sand-through that shows as a light halo under your topcoat.
To protect your finish, mix one part shellac with five parts denatured alcohol and brush on a single pass, letting it dry for 30 minutes. Then sand lightly with 320 grit, and you can proceed with confidence, since this sealer also helps your grain filler level without sticking.
For a clear, water-based system, use a dedicated sanding sealer instead, which dries in 45 minutes and gives the same safety net. This extra step takes under an hour, but it saves you from a recoat nightmare, so treat it as non-negotiable.
How Do I Fix Grain Filler That Dried Too Quickly?
To fix grain filler that dried too quickly, lightly spray the surface with a solvent like denatured alcohol or mineral spirits to rehydrate the film before it fully cures. Work in small sections, misting just enough to soften the filler, then immediately level it with a plastic scraper or wet rag.
If the filler has already hardened into a rough, clogging layer, sand it back with 220 grit paper, then apply a fresh, thinner coat. For future jobs, thin the filler by 10 to 15 percent with its recommended solvent to extend open time.
Also, work in cooler, shaded conditions and keep a damp sponge handy to slow evaporation. This approach prevents the frustrating “sanding blockage” that comes from a skimmed surface. Search for “grain filler working time” to find more tailored product advice.
Can I Tint Oil-Based Filler With Waterbased Stain?
No, you cannot tint oil-based filler with waterbased stain, as the two systems are chemically incompatible and will separate or clump. Oil-based products require pigments suspended in a solvent, while waterbased stains rely on waterborne resins that won’t bind to the filler’s oily base.
This mismatch often causes uneven drying, blotchy color, and a soft film that never cures properly. Instead, use a matching solvent like mineral spirits to thin an oil-based stain, or mix a small amount of oil-based paint into the filler for color.
For a practical fix, test your tint on scrap wood first, and if you must use waterbased stain, apply it as a topcoat after the filler is fully cured, not mixed in. Sand with 220 grit between coats to avoid dragging.
Related term: pigment dispersion. Always read the label for “compatible solvents” before blending.
Is Grain Filler Necessary on Closed-Grain Woods?
No, grain filler isn’t necessary on closed-grain woods like maple or cherry. These species already possess a naturally tight, smooth surface that accepts most finishes beautifully without any filling step.
I’d skip the filler entirely to keep the wood’s clean, natural look. Applying it adds time and risk of blotchiness without any real benefit to the final appearance or durability.
If you’re working with maple, just sand to 220 grit and wipe with a tack cloth before staining or sealing. For cherry, a quick pass at 180 grit is plenty, then move straight to your first coat of finish.
Using a wood conditioner on cherry can help even out stain uptake, which is a better alternative than filler for closed-grain projects. This approach saves you a day and keeps the grain crisp and visible.
Rounding Up
Apply grain filler by sanding to 220 grit, wiping tack-cloth clean, and matching filler color to the stain, not raw wood.
That extra hour is cheaper than a redo, since 70% of finish failures trace back to poor surface prep, not the topcoat.
Check your sanded surface for any remaining scratches before you wipe it down.
Write down your stain color and compare it to filler samples in natural light before committing.
Test your filler on a scrap piece to confirm it dries to the right tone and doesn’t shrink.
Fill first, finish second, and your furniture will outlast my excuses.
Read next about choosing the right topcoat for filled surfaces.