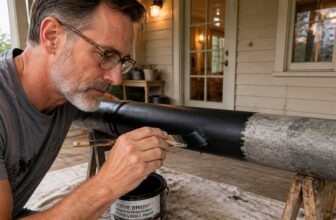
How to Apply Aluminium Paints: Step-by-Step Guide

Painting aluminum is where many DIYers hit a frustrating wall, and it usually ends in peeling paint within a season. The good news is that aluminum paint failure is almost always a surface prep problem, not a paint problem.
You can fix this easily with the right grit sandpaper and a self-etching primer before your first coat. This guide covers the full process, from scuffing the slick oxide layer to managing drying time and final sheen.
We will walk you through each step so your finish lasts for years, not weeks. Let’s get your project on the right track with proper prep and application.
Quick Answer
- Scuff bare aluminium with 24–120 grit sandpaper to break the oxide layer.
- Apply self-etching primer within 6–8 hours after sanding, using 3–4 light coats.
- Use a brush with long, one-direction strokes to ensure even, thick metal protection.
- Recoat within 18 hours at 23°C or sand with 220 grit before the next coat.
- Maintain 55–75°F and under 60% humidity; allow 72 hours for full film cure.
Why Surface Prep Decides How Well Aluminium Paint Sticks
Paint won’t stay on bare, shiny aluminium unless you break that slick surface first. A thin oxide layer forms the moment air hits the metal, and it acts like an invisible shield that pushes paint away.
You need to scuff the metal with aluminium-compatible sandpaper, and grit size matters more than how hard you scrub. Use 24 to 120 grit; coarser paper digs in and gives the paint a rough anchor to grip.
Use 24 to 120 grit on bare aluminum—coarse paper digs in, giving paint the rough anchor it needs.
Fine sanding only polishes that oxide layer, which leaves you back where you started. You’re not aiming for smooth here, so skip the fine grit and go coarse.
No prep means the paint will peel off faster than you can say repaint, and you’ll be back with a sander and a fresh quart before the season changes.
Rough the surface, break that oxide layer, then wipe away the dust with a tack cloth. After that, you can roll on a primer or a direct-to-metal topcoat, and it’ll hold up like it’s supposed to.
Keep a wet edge while you paint, and watch for lap marks, especially in warm weather. Drying time is short, but full cure takes longer, so don’t rush the second coat.
That’s the whole trick: a quick scuff with the right grit beats any amount of elbow grease on a smooth sheet.
You’ll get a finish that stays put, and you won’t be chasing flakes with a scraper next month.
Maintain a temperature range of 55–75°F and humidity under 60 percent to prevent flash rust and fisheyes from ruining the bond.
How to Prime Aluminium for a Corrosion-Resistant Paint Base
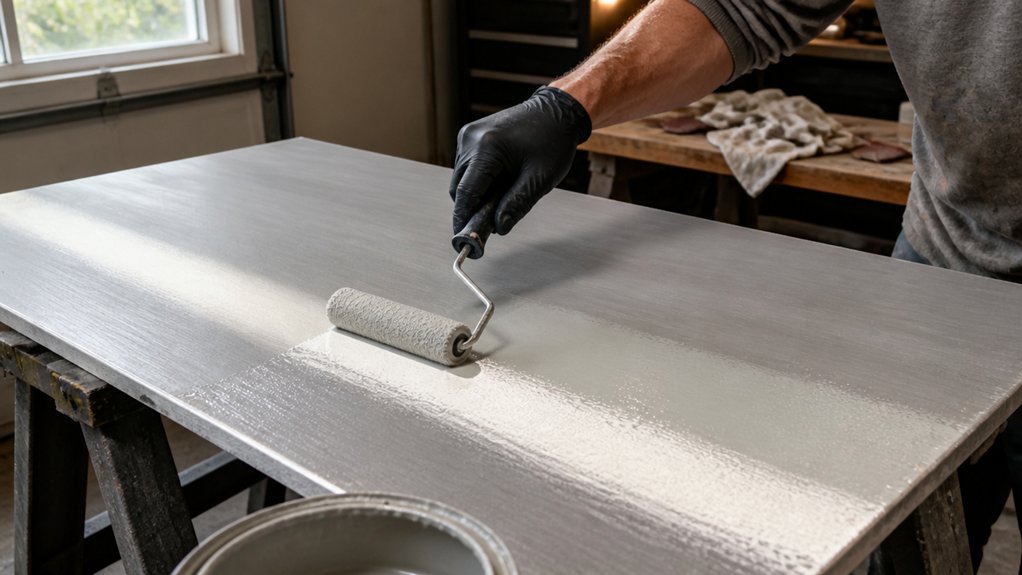
Priming is the step that turns slick aluminium into a surface that actually holds paint without peeling or corroding underneath. You cannot skip it, because bare aluminium oxidizes fast, so you have about 6 to 8 hours after sanding to get the primer on.
Grab a self-etching primer for this job. It micro-etches the shiny surface, giving the topcoat something to grip, and I have learned that the hard way. Apply 3 to 4 light coats from about 8 inches away, letting each coat dry 5 to 15 minutes.
Then cure for an hour before painting, otherwise you will watch it peel later. This etch primer acts as your corrosion shield, and it also helps you avoid brush strokes and lap marks when you roll on the topcoat. Use a drop cloth and painter’s tape to keep the work area clean, and check the VOC label if you are working indoors. Many options, like lacquer-based formulas from Eastwood, provide immediate sanding capability within thirty minutes to speed up your workflow.
The drying time between coats is short, but the cure time matters for durability. Do not cheap out on primer, because a proper etch coat is what keeps moisture out from underneath the paint.
Which Aluminium Paint Application Method Works Best?

Once the primer has cured, you need to pick how you’ll lay down the aluminium paint. I grab a brush every time because it gives you the film thickness that actually shields the metal from the elements.
A brush lays down a saturated, even coat that you can steer into corners and along edges without much fuss. Spray works, but it goes on thin and forces you to build up extra coats, which is more work for a weaker result. If you do opt for a sprayer, look for an HVLP gravity feed gun with a 1.4mm nozzle to handle finishes like automotive and furniture paints with minimal overspray.
Rollers are the one to skip here. They trap air and leave a bubbly, uneven texture that looks rough and can compromise the finish.
Your best move is to brush it on with long, one-direction strokes. Keep a wet edge as you go so you don’t create lap marks, and don’t overthink the technique.
For a small job, a brush is also easier to clean than a sprayer, and it keeps overspray off your drop cloth and painter’s tape setup. Just match your brush to the sheen you want, whether that’s a satin or gloss topcoat, and give the paint its full cure time before you put anything on top.
Aluminium Paint: How Long Between Coats and Before Handling?
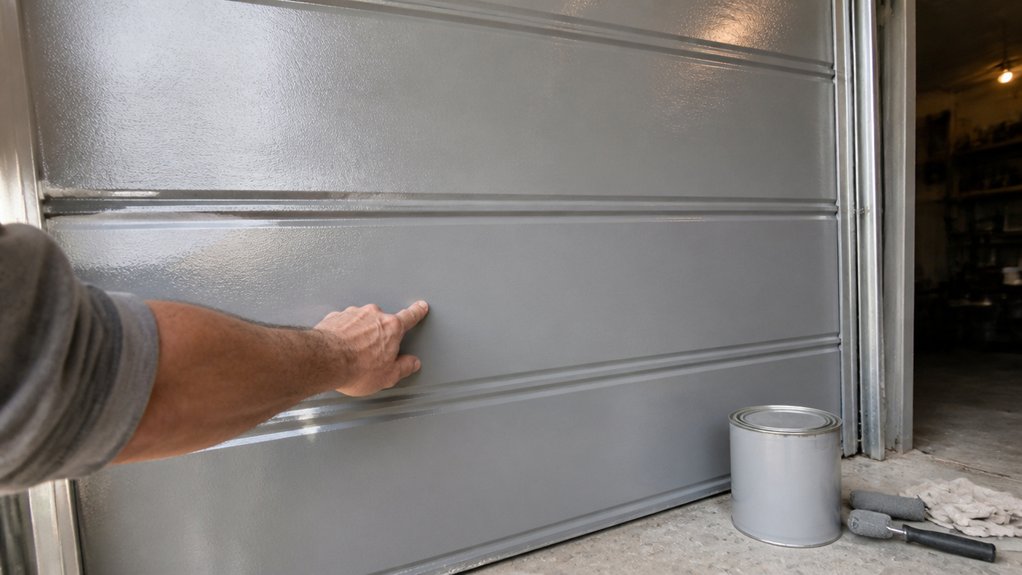
Recoating windows matter more than most DIYers realize. At 23°C, you have about 18 hours before the next coat won’t bond properly, so overnight usually works fine.
If you miss that window, you’re looking at sanding with 220 grit and starting over, which is wasted effort. Humidity and cold are your worst enemies here, because damp air stretches that 18 hours out to sometimes 36 or more.
Keep it simple: aim for two to three coats of aluminium paint, and wait at least 4 hours between each if the day is warm and dry. That wait keeps you inside the wet edge, so you avoid lap marks and brush strokes in the final sheen.
After the last coat, don’t handle the surface for a full 24 hours minimum. Drying time means you can touch it, but cure time means the film is actually tough, and that takes 72 hours.
So plan your project around the calendar, not the clock. Paint on a Tuesday morning, and you can move the piece by Friday afternoon without fear of fingerprints or runs.
Use a drop cloth and painter’s tape to keep edges clean, and check the can for VOC limits if you’re working indoors. Primer matters too, especially on bare metal, because it gives the topcoat something to grip and prevents early chipping.
Remember that a satin or matte finish hides minor imperfections better than gloss, so choose your sheen based on where the part will live. If you’re coating a door or railing that gets touched daily, expect the cure time to feel longer than the numbers suggest.
Patience is the cheapest tool you own, and fixing a run takes far longer than waiting an extra hour. Keep the brush strokes even, load the brush steadily, and let each coat dry flat without forcing airflow. For projects where speed matters, some fast-drying enamels reach a tack-free state in roughly five minutes.
Frequently Asked Questions
Can I Use Any Primer on Bare Aluminium?
No, you cannot use just any primer on bare aluminium, as standard primers won’t grip the slick, oxidized surface. You need a self-etching primer specifically formulated to bite into the metal and provide a corrosion-resistant base for your topcoat.
Apply this primer within 6 to 8 hours after sanding, because bare aluminium oxidizes almost immediately, forming a invisible layer that blocks adhesion. Before priming, scuff the surface with 320-grit sandpaper and wipe down with a solvent like acetone to remove any grease.
For best results, spray two thin coats, waiting 10 minutes between them, and let the primer dry for at least one hour before painting. If you skip this step, your paint will likely peel within months, even with a quality metal conditioner applied beforehand.
What Happens if Primer Is Applied After Six Hours?
Applying primer after six hours means you are risking adhesion failure, because the bare surface has already started to form its oxide layer. That microscopic barrier will prevent subsequent coatings from bonding, no matter how thoroughly you clean it.
Solvent evaporation will not fix that slick surface, so any topcoat you apply will likely peel or blister within a season. To recover, you must abrade the surface with 220 grit sandpaper or a scotch-brite pad to break that oxide, then prime it fresh.
If you are working with galvanized metal or aluminum, use an etching primer specifically formulated for these tricky substrates. Acrylic or oil based primers can still fail if the oxide has sealed the surface.
The safe window is typically four hours, so schedule your priming right after surface prep and before lunch. For best results, recoat within 30 minutes if you are using a fast drying urethane primer, which avoids the issue altogether.
Do I Need to Sand Between Each Primer Coat?
No, you do not need to sand between each primer coat, provided you apply thin, even layers that level out without dust nibs or runs. The critical sanding step happens only after your final primer coat has fully dried, which preps the surface for paint adhesion and smoothness.
Between coats, you only need a short drying time of 5 to 15 minutes, depending on humidity and primer type. If you rush and apply a thick second coat before the first is tack-free, you’ll trap solvents, causing wrinkling or poor bite. A good rule is to wait until the surface feels dry to the touch but not fully cured.
Once that last coat is dry, sand with 220‑grit or a fine sanding sponge, then wipe off the dust with a tack cloth. This creates the mechanical tooth that topcoats need. For a related term, think of this as “de-nibbing” the surface, which removes tiny bumps without flattening the primer film. Skip sanding between coats to save time, but never skip it after the final primer layer.
Can I Paint Aluminium Outdoors in Direct Sunlight?
Yes, you can paint aluminium outdoors in direct sunlight, but you should avoid it because the heat causes rapid drying and poor adhesion. Direct sun pushes the aluminium surface temperature above 35°C, which makes the paint blister, bubble, or fail to bond properly.
Wait for a cloudy day, early morning, or late afternoon when the metal is cool to the touch. If you must paint in sunlight, shade the surface with a board or tarp, but never let the paint dry in that heat.
Use a solvent-based primer and a quality exterior acrylic, which tolerate warmer conditions better than water-based options alone. Sand the aluminium with 120 grit, wipe off all dust, and apply two thin coats, waiting at least two hours between them in cooler air.
For best results, check the forecast and aim for temps between 15°C and 25°C. This simple timing trick saves you from redoing the job, and it works with powder coating or spray finishes too if you’re in a hurry.
How Do I Fix a Tacky Final Paint Finish?
To fix a tacky final paint finish, you need to identify whether the issue comes from applying too thick a coat or from skipping the correct recoat window. If you overlapped wet layers, the solvent gets trapped, so first extend curing time to about 48 hours in a warmer, drier room with good airflow.
If the surface still feels sticky after that, lightly sand it with 220-grit sandpaper to break the skin, then wipe off the dust and reapply a very thin topcoat. Do not use paint additives or drying accelerators, as they can compromise adhesion and sheen.
For oil-based varnishes, always respect the manufacturer’s suggested drying schedule between coats, usually 24 hours at 70°F. A proper thin, even coat applied within that window will cure hard and clear, leaving no tacky residue behind.
Rounding Up
Applying aluminium paints means respecting your prep, primer, and recoat timing above all else.
Check each coat’s dry time by touch before sanding lightly with fine grit, then wipe away all dust with a tack cloth.
Compare your paint’s label cure time against the full forty-eight hours before heavy use, and write that date on the can lid.
Test a small hidden patch with a fingernail scrape after twenty-four hours to see if it still softens, then wait the full period regardless.
Ask your supplier for a compatible thinner if you need to adjust viscosity for spraying, and always strain the paint before loading your gun.
Keep your work area above fifty degrees Fahrenheit to avoid blush and poor adhesion.
The related topic to read next is metal surface etching for better paint bond.