How to Apply Brick Sealers: Step-by-Step Guide

Applying brick sealer seems straightforward, but a patchy, blotchy finish will ruin your hard work. The secret is all in the prep and the two coat process, not just the product itself.
You need a clean, fully dry surface, or you are literally sealing in the dirt and old efflorescence. A low pressure sprayer with back rolling gives you an even sheen, but the timing between coats is what really matters.
I’ll walk you through the full process including drying time and cure time, so you get a uniform, protected wall. This guide covers everything from surface preparation to the final coat.
Stick with me and you will avoid the most common sealer mistakes that lead to white patches and flaking.
Quick Answer
- Ensure brick is clean, dry, and bare; wait 28 days after fresh mortar before sealing.
- Strip old coatings with a stiff brush and mild cleaner, then rinse and dry for two days.
- Use a low-pressure pump sprayer under 30 psi, flooding from bottom up for even coverage.
- Apply two coats wet-on-wet, waiting 30–45 minutes between coats while first is tacky.
- Allow full cure for 3–7 days before traffic; use vapor-permeable sealer in humid zones.
Prep Brick Surfaces Before Sealing
Before you open that sealer, make sure the brick is clean, dry, and completely bare. If you skip this, you are just locking dirt and old coatings into the surface, which ruins the finish and wastes your time.
Fresh brick or mortar needs at least 28 days to cure, so check that first. Sealing too early traps moisture and causes blotchy patches that look like a failed topcoat.
Run a simple dampness test by taping a plastic sheet over the brick for 24 hours. If you see any condensation underneath, stop and wait; the surface is not ready for a sealer. Different conditions require specific chemistry, as humid zones need vapor-permeable sealers to prevent mold growth.
Strip old paint, previous sealers, or efflorescence with a stiff brush and a mild cleaner. Rinse everything thoroughly, then let the brick dry for two full days after any wet cleaning.
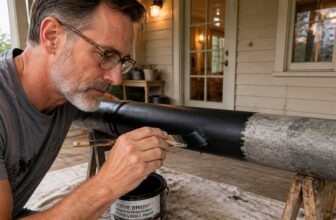
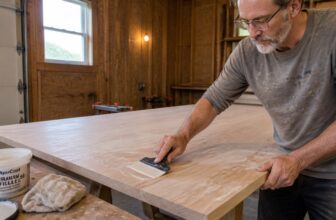
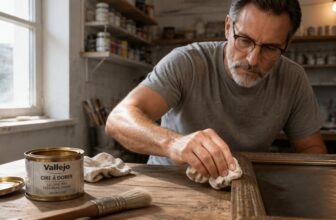
Treat this like prepping wood before a varnish or polyurethane coat. A clean, dry substrate is the only way to get an even sheen and avoid lap marks or brush strokes.
Use painter’s tape and a drop cloth to protect surrounding areas, and pick a low-VOC sealer if you are working indoors. Patience here saves you from sanding or stripping the whole job later.
Choose the Best Brick Sealer and Sprayer
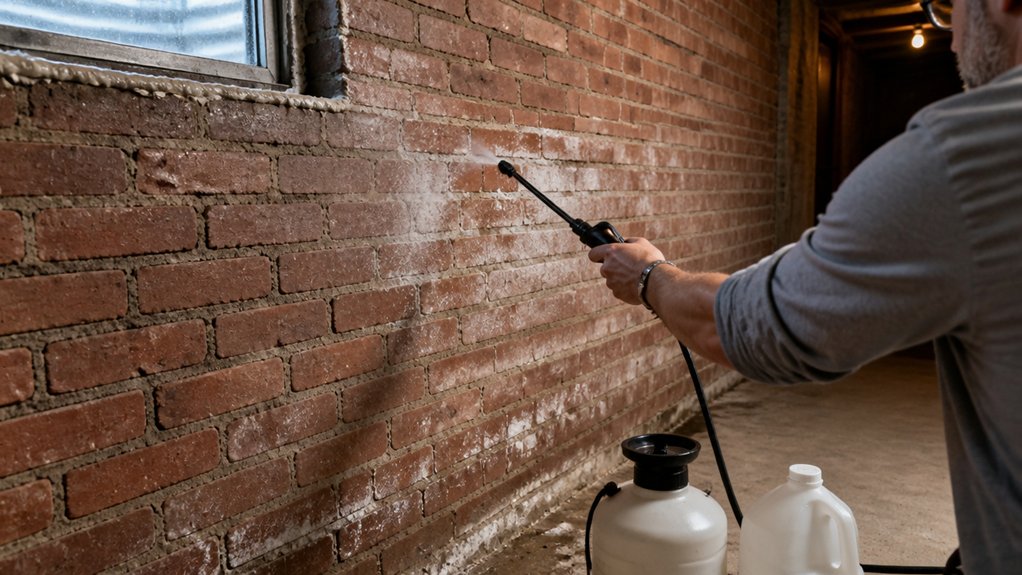
Choosing the right sealer and sprayer is half the job, and getting it wrong means water soaks in like a sponge or you fight a clogged nozzle while the brick dries patchy. You have two main options: solvent based sealers, which penetrate deep and resist efflorescence, and water based ones, which are low VOC and easier to clean up. Zero-VOC water-based formulas keep fumes out of enclosed spaces and are safe for nearby pets and plants during application.
For sprayers, skip the cheap trigger bottle and use a low pressure pump unit under 30 psi with a fan tip. I have made that mistake before, and a pump sprayer gives you a wet edge that lays down evenly without lap marks.
| Sealer Type | Best For | Drawback |
|---|---|---|
| Solvent based | Dense, aged brick | Strong fumes, needs ventilation |
| Water based | Porous, new brick | Slower drying time and cure time |
| Film-forming | High traffic walls | Can peel like varnish over time |
| Penetrating | Natural look, no sheen | Needs reapplication every few years |
If you want a matte finish that keeps the brick’s natural color, go with a penetrating sealer and a 2 gallon pump sprayer. Wet the surface with a primer coat first, then apply a full topcoat, keeping a wet edge to avoid brush strokes or patchy spots.
Use a drop cloth to protect the ground, and tape off any trim with painter’s tape. Wait for the full drying time before foot traffic, and give it the full cure time before heavy rain or cleaning.
Don’t overthink it, grab a penetrating sealer and the pump sprayer, and your brick will stay solid for years.
Apply Brick Sealer in Two Coats and Know the Cure Time
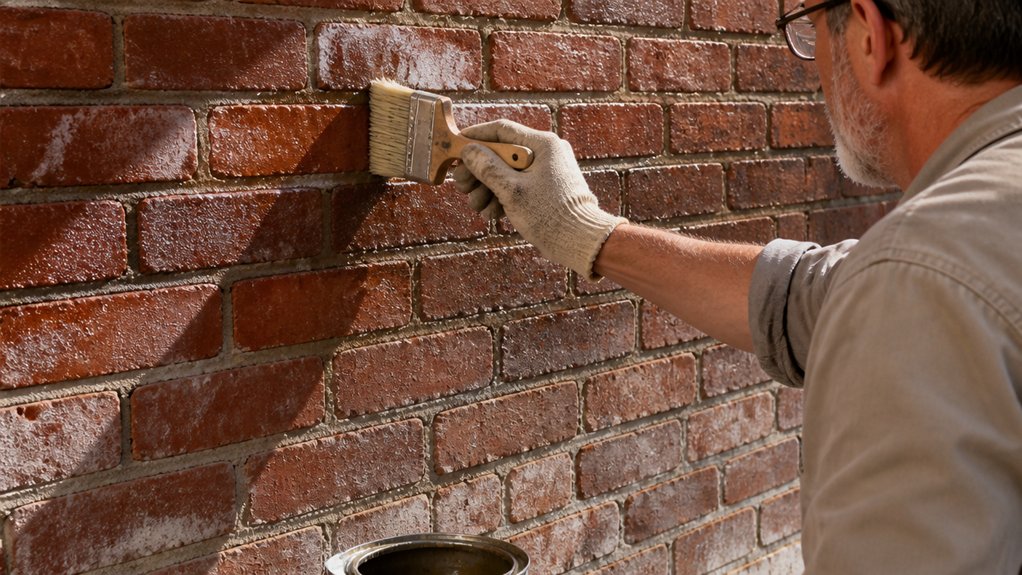
Two coats of brick sealer are the difference between a surface that shrugs off rain and one that soaks it in. I have seen streaky brick after a single coat failed, so I always apply a second layer while the first is still tacky. Coverage decreases on bone-dry substrates, so you may need to adjust your product estimate before starting.
Start by flooding the brick with sealer using a low-pressure sprayer. Work from the bottom up, then back-roll with a roller to spread it evenly and avoid puddles. Wait 30 to 45 minutes, then apply the second coat while the first is still wet. This wet-on-wet method bonds the layers into one solid film, so you do not waste product or end up with lap marks later.
The cure time is where most DIYers trip up. The surface will feel dry to the touch in about three hours, but that is only the drying time. Let it cure for a full three to seven days before walking on it or letting vehicles near it, because deep penetration into the brick pores takes that long.
The surface feels dry in three hours, but that’s only drying. Cure three to seven days for real penetration.
Rushing this step means the sealer never bonds fully, and you will be resealing next spring. Use a satin or matte finish sealer with low VOCs for less odor, and keep a drop cloth and painter’s tape handy to protect nearby surfaces. Brush strokes are less of a concern with sprayed coats, but back-rolling smooths any uneven spots before they dry.
Patience here pays off. A proper two-coat job with a full cure gives you a watertight barrier that lasts years, not months.
Frequently Asked Questions
What Happens if I Seal Brick in Direct Sunlight?
Sealing brick in direct sunlight causes the sealer to cure too fast, which traps solvents and leads to a patchy, weak finish. You’ll see blistering and uneven absorption, and the adhesion will fail within months.
The worst part is that the shortened curing time gives you almost no working window. On a hot, sunny wall, a water-based sealer can skin over in under ten minutes, so you end up with lap marks and a milky haze.
Instead, always work on the shaded side of the house, or wait for an overcast day. If you must seal in sun, wet the brick lightly with a garden sprayer first to cool it down, then apply one thin coat and monitor the temperature.
Finally, check the label for a maximum surface temperature, often 80°F, and verify absorption with a water drop test before you start. That simple 30-second test, along with proper substrate temperature, prevents most bond failures.
Can I Use a Roller Instead of a Sprayer?
Yes, you can use a roller instead of a sprayer, but the right choice depends on the surface you are coating.
For flat, smooth areas like fences or siding, a roller is often faster and uses less material, so it wins on efficiency and cleanup.
On rough or porous brick, however, a sprayer excels because it forces paint into every tiny pore, leaving a more even, durable film.
If you do choose a roller for brick, use a 3/4 inch nap cover and back-roll immediately after applying to work the paint into the texture and prevent puddles.
Always keep a wet edge and apply two thin coats instead of one heavy one, waiting at least two hours between coats for latex paint.
For a spray finish, you still need to back-roll or back-brush to ensure adhesion, so the roller remains a practical backup tool.
Search for “roller vs sprayer coverage” if you want exact square footage comparisons; my rule is a roller covers about 400 square feet per gallon versus 250 with a sprayer.
How Do I Remove Sealer Overspray From Glass?
To remove sealer overspray from glass, you need to act fast with a solvent and a clean rag for fresh residue. Dampen the cloth with mineral spirits and wipe gently; for dried spots, carefully use a razor scraper held flat at a low angle to avoid etching the pane. Always test a small corner first, and keep the glass wet with soapy water while scraping to lubricate the blade and prevent scratches.
For stubborn buildup, try a solvent cleaner like denatured alcohol, which dissolves cured film faster than mineral spirits. Work in one direction, and wipe with a fresh rag after each pass to check your progress. If you catch it within 24 hours, you can often avoid scraping entirely by re-wetting with spirits and lifting the film with a putty knife.
Allow the glass to dry fully, then inspect under raking light to confirm no hazy residue remains. For a final polish, use a clean microfiber cloth with a dab of white vinegar to remove any oily traces and restore clarity. This method works on sealed concrete, metal, or painted trim nearby, but always mask off adjacent surfaces for future jobs.
Will My Brick Sealer Change the Color?
Your sealer likely won’t drastically shift color, but expect a slight darkening effect since it saturates the brick’s pores. This is most noticeable on highly porous surfaces, like older clay brick or soft pavers.
Test a small, hidden area first and let it cure for at least 24 hours. You’ll see the true outcome only after full drying, since wet sealer looks darker than the final finish.
For a matte look, choose a penetrating sealer instead of a film-forming one; it reduces gloss and minimizes color change. If you want no change at all, use a water-based clear hardeners that leave no film.
As a rule, apply one thin coat, then check. A second coat deepens tone further, so stop at one if you’re happy. Always check the can’s label for wet-look versus natural-look options.
Can I Walk on My Brick After Sealing?
Yes, you can walk on your brick after sealing, but only for light traffic after 3 hours. Full foot traffic safety requires a cure time of 3 to 7 days, so hold off on heavy use until then.
During those first few hours, the sealer is still gassing off and softening, so even a quick heel drag can leave a dull mark. I recommend keeping pets and furniture off the surface for the first 48 hours to avoid trapping moisture.
For the best finish, test a small corner with your thumbnail after day three. If it leaves a dent, wait another day or two. This drying time varies with humidity and temperature, so a warm, dry day speeds things along.
Also, remember that breathable sealers may need a second coat if you want extra stain protection. Your brick will feel dry before it’s truly hardened, so trust the clock, not your touch.
Rounding Up
Apply brick sealers with two even coats using a decent sprayer, and do not rush the cure time. Prep the surface first, then spray, and wait between coats as directed.
Check the sealer manufacturer’s cure time before you start, and write it down where you can see it. Compare two sealer brands before buying, since cheaping out on the sealer will cost you a redo. Test your sprayer on a small brick patch to confirm even coverage.
The article confirms that prepping, spraying, and waiting are all you need for a wall that sheds rain. Read next on repairing cracked mortar joints.